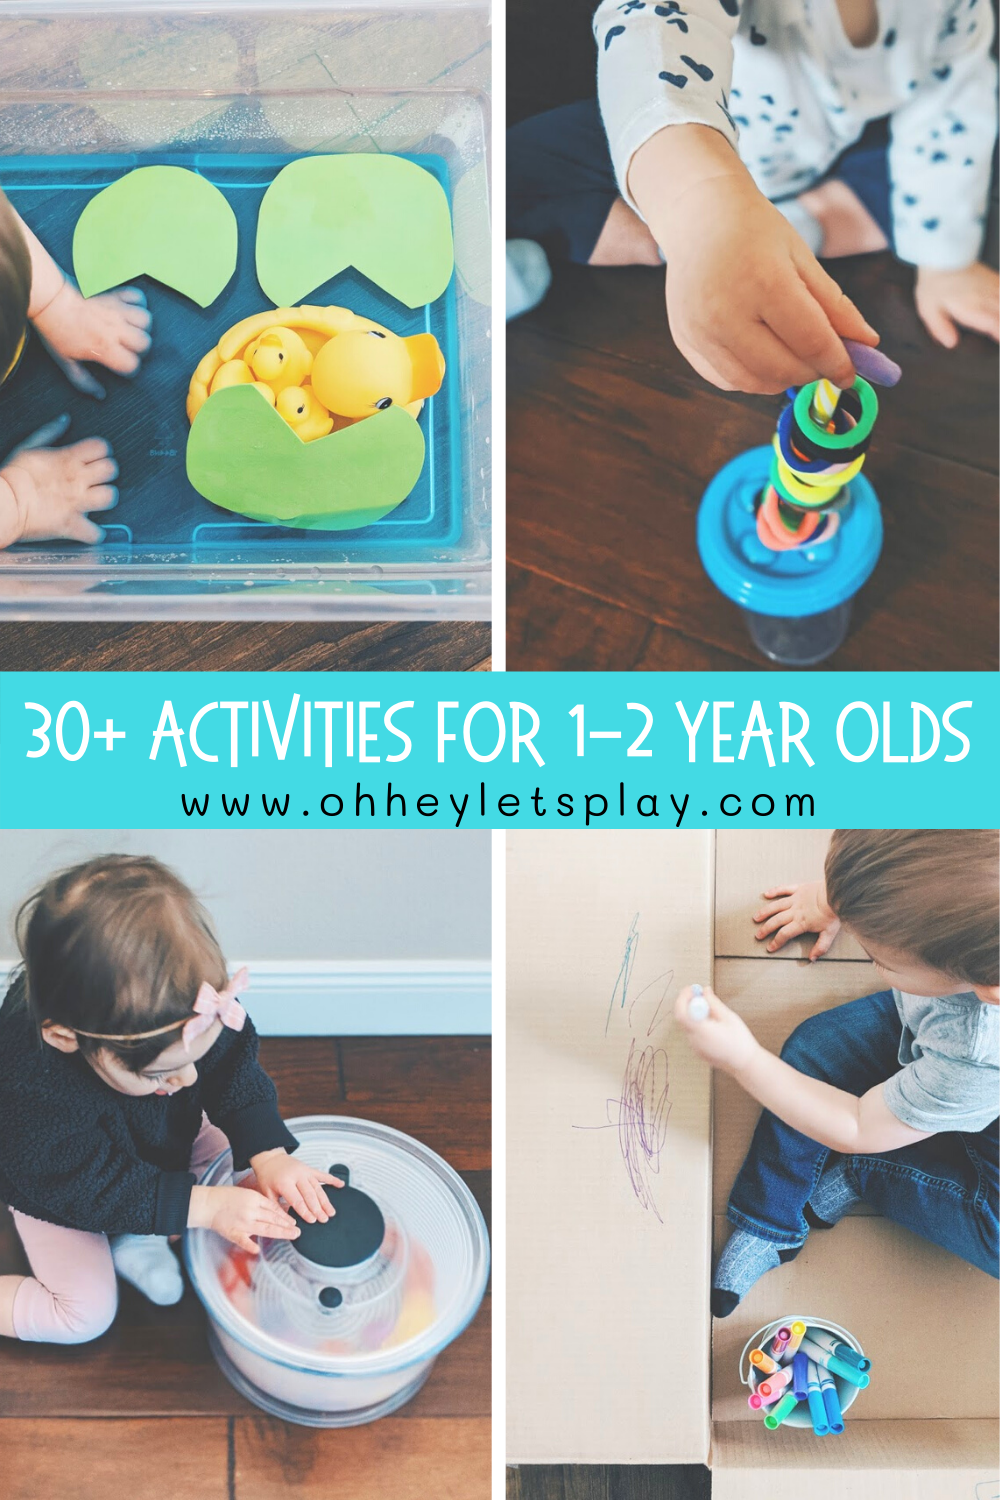
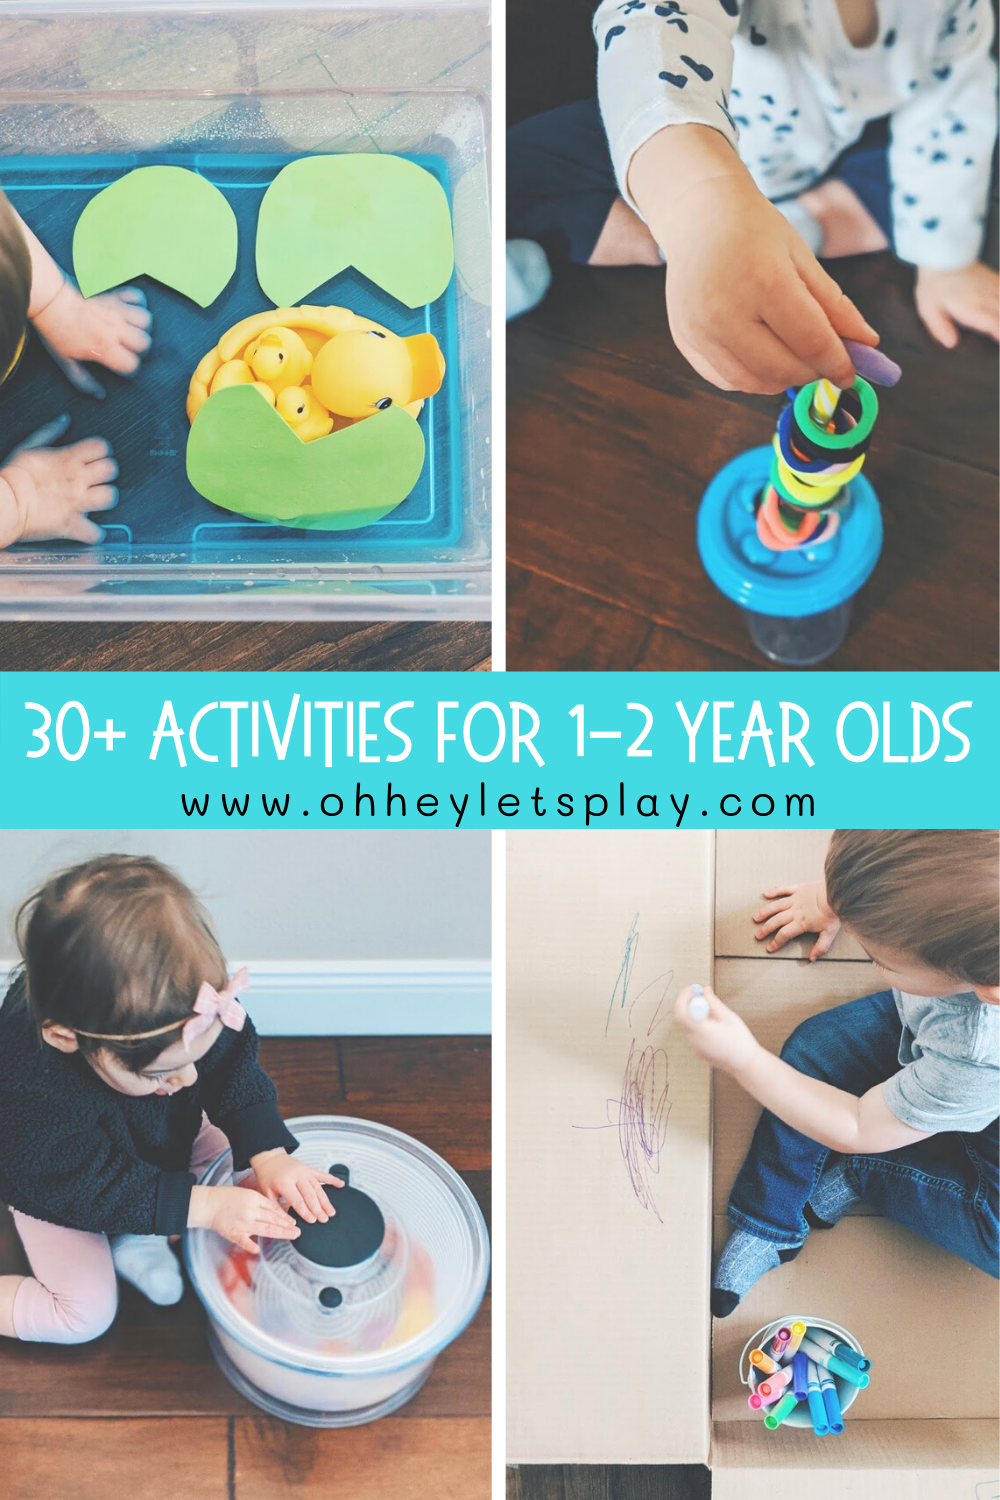
Activities for 1-2 Year Old Toddlers
A lot can happen between age 1 and 2, am I right?! It has got to be one of the most significant years of development and change in a child’s life. I don’t have research to back that up but just think about it- it’s crazy how much they learn those first couple of years.
I did a post awhile back on Activity Ideas for 12-18 Month Olds and had a lot of positive feedback come from it. I wanted to build on that a bit further, and put together a handful of activities for an even wider age group of 1-2 year olds. Every baby, toddler, and child develops so much at their own pace and in their own way, which makes it tough to put an exact age on any of these activities. For this reason, I felt the wider age range could be helpful.
Some of the main areas we can focus on when engaging in learning activities for this age group are sensory play, fine motor activities, gross motor activities, and arts/crafts.
Why sensory play?
Sensory play is a toddler’s best friend. You can accomplish so much through a sensory activity from simply exposing your little one to a new experience, to building vocabulary, to pretend play opportunities. Often times when we hear sensory play we think “messy.” It doesn’t have to be this way! You’ll find a couple of ideas here that can be just as fun, without too much mess. But- making a mess is okay, too. Lay a towel down and embrace it.
Why fine motor activities?
”Fine motor skills” are the use of the small muscles in our fingers and hands coordinating with our eyes. Working on these skills, and strengthening these muscles can help with good pencil grip, handwriting, use of scissors, and several other basic skills that children will be expected to master their first year or two of elementary school.
Why gross motor activities?
”Gross motor skills” are the skills used to control the larger muscles in our bodies that will eventually be used for walking, running, jumping, etc. Building these muscles are important for obvious reasons but I have also found, as a former early childhood teacher, that kids learn, and remember things better when they are up and moving, so incorporating gross motor skills into an activity is always an added bonus.
Why arts and crafts?
One word: creativity. Have you ever heard of anything negative happening from letting a child be creative? In the right context that is. ;) When doing arts and crafts, you are exposing children to a new experience, allowing them to create, and usually building fine motor skills, vocabulary, and maybe even providing some sensory play ALL AT THE SAME TIME.
I gathered up a bunch of photos I had from activities I had done with Kade when he was between the ages of 1-2, and have also collected photos of new activities I’ve been doing now with Tatum (who is 19 months).
I hope that these ideas are helpful and inspire you toward hands-on learning experiences that feel like PLAY for your kiddos!
Disclaimer: This post includes affiliate links which means I would earn a small commission if you were to purchase through those links. All opinions are my own, and I only link to products that I truly recommend.
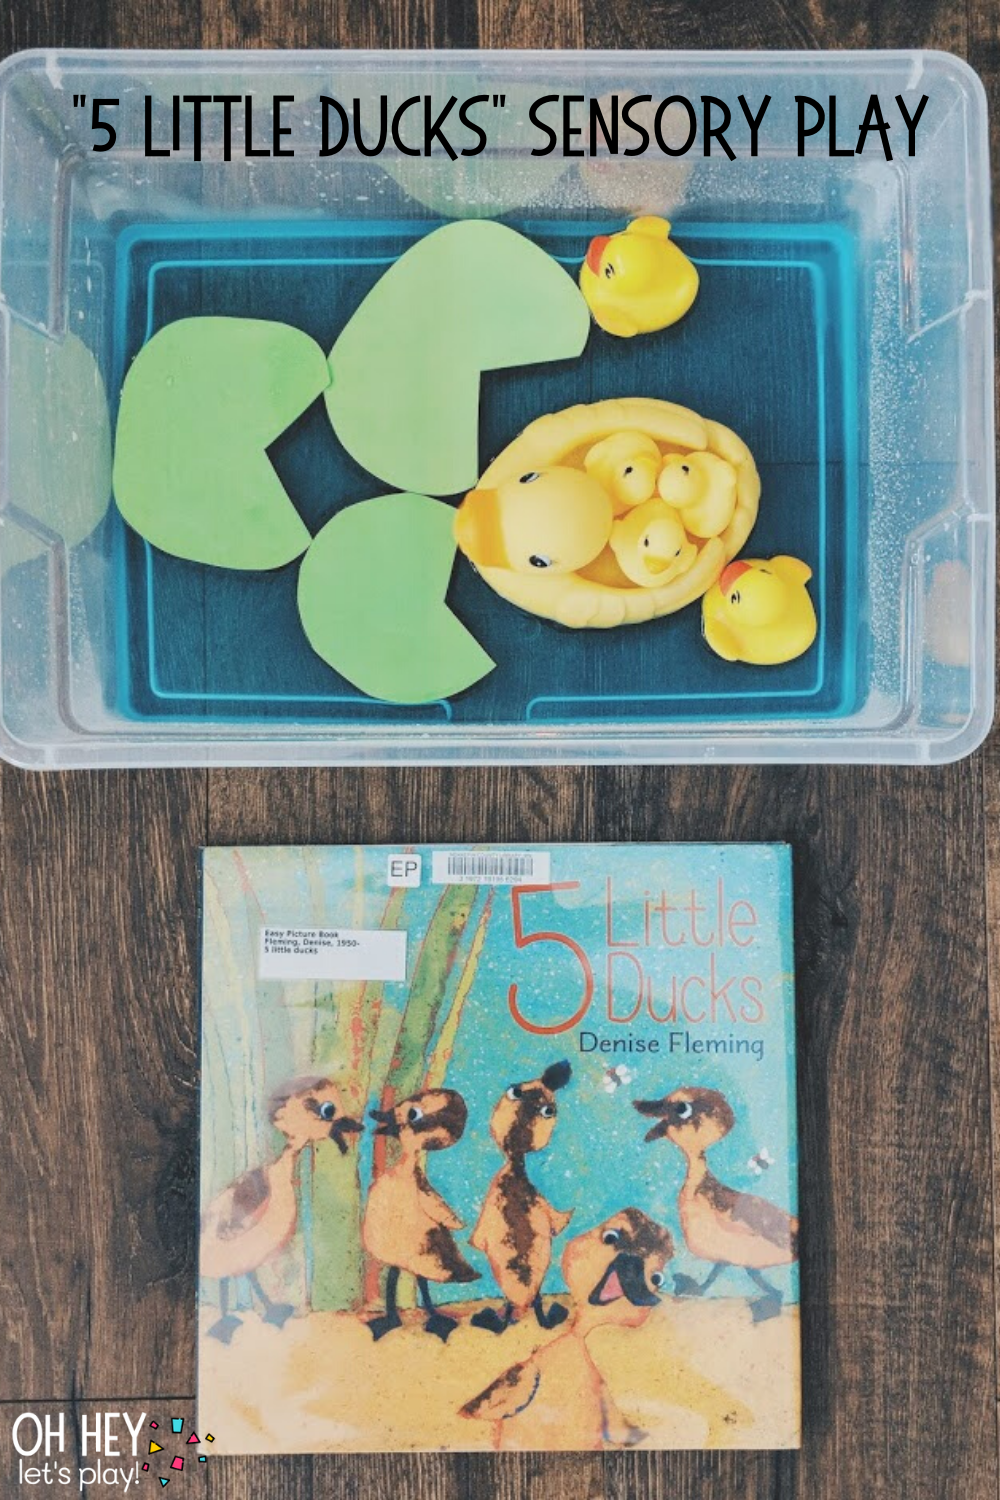
“5 Little Ducks” Sensory Play
Materials:
- clear storage container
- water
- blue food coloring
- rubber ducks
- green craft foam
- scissors
- “5 Little Ducks” book
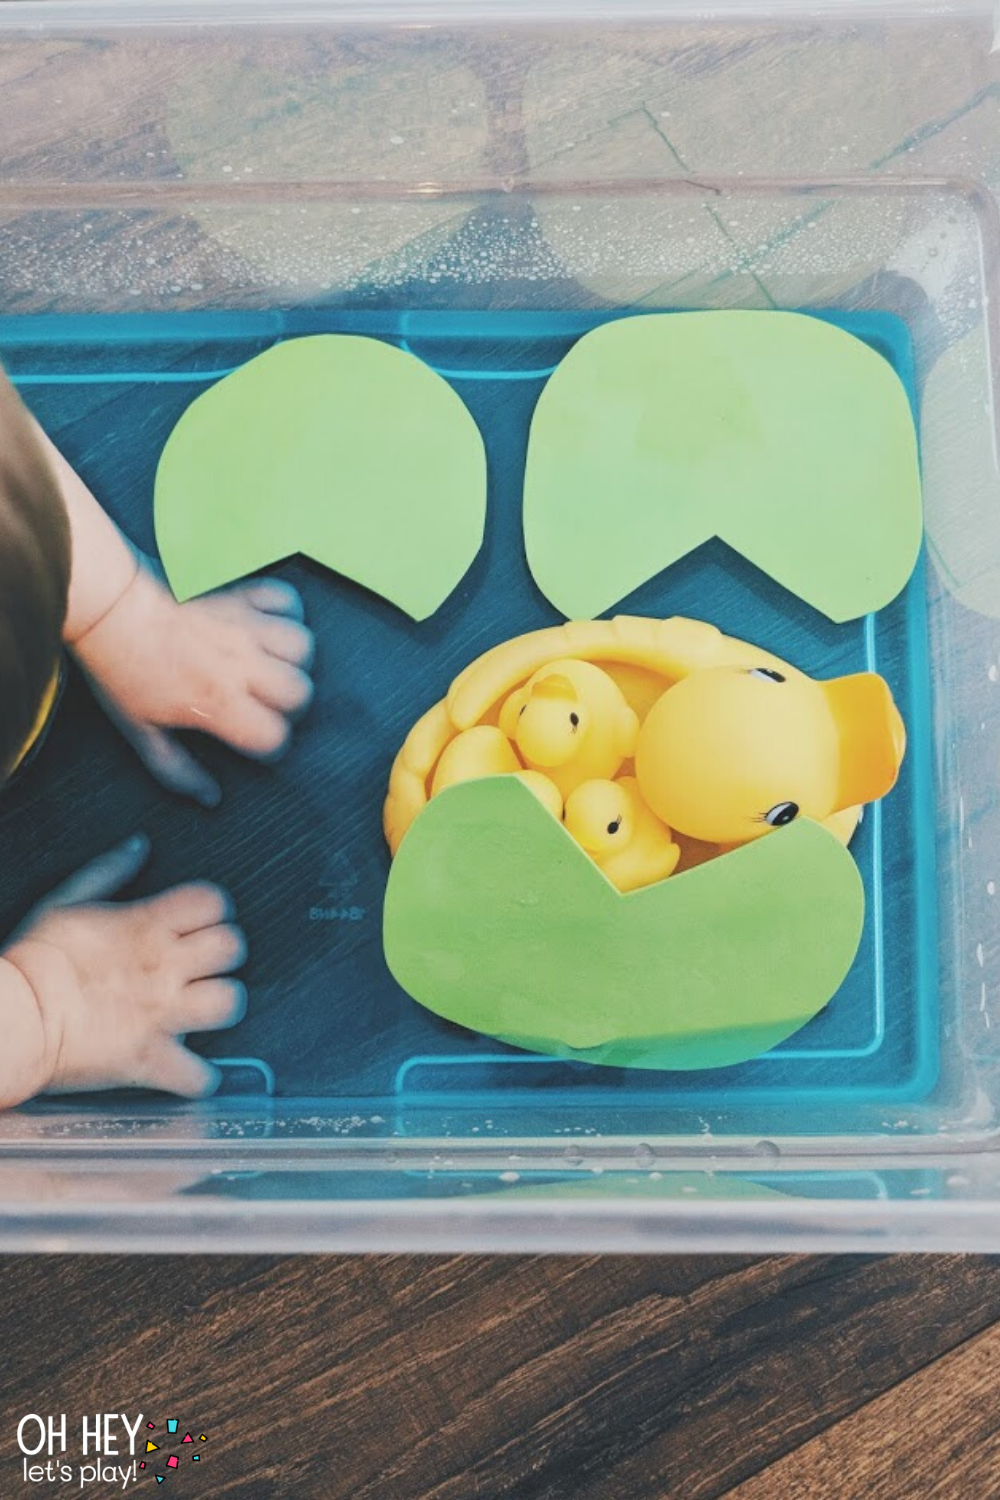
A few pieces to this sensory activity are optional (like dying the water blue, and adding the foam lily pads) but I listed everything I used to create the activity pictured. We read the story/sang the song and then played in the water! A great activity for story re-telling, building vocabulary, building early counting skills, and of course sensory play.
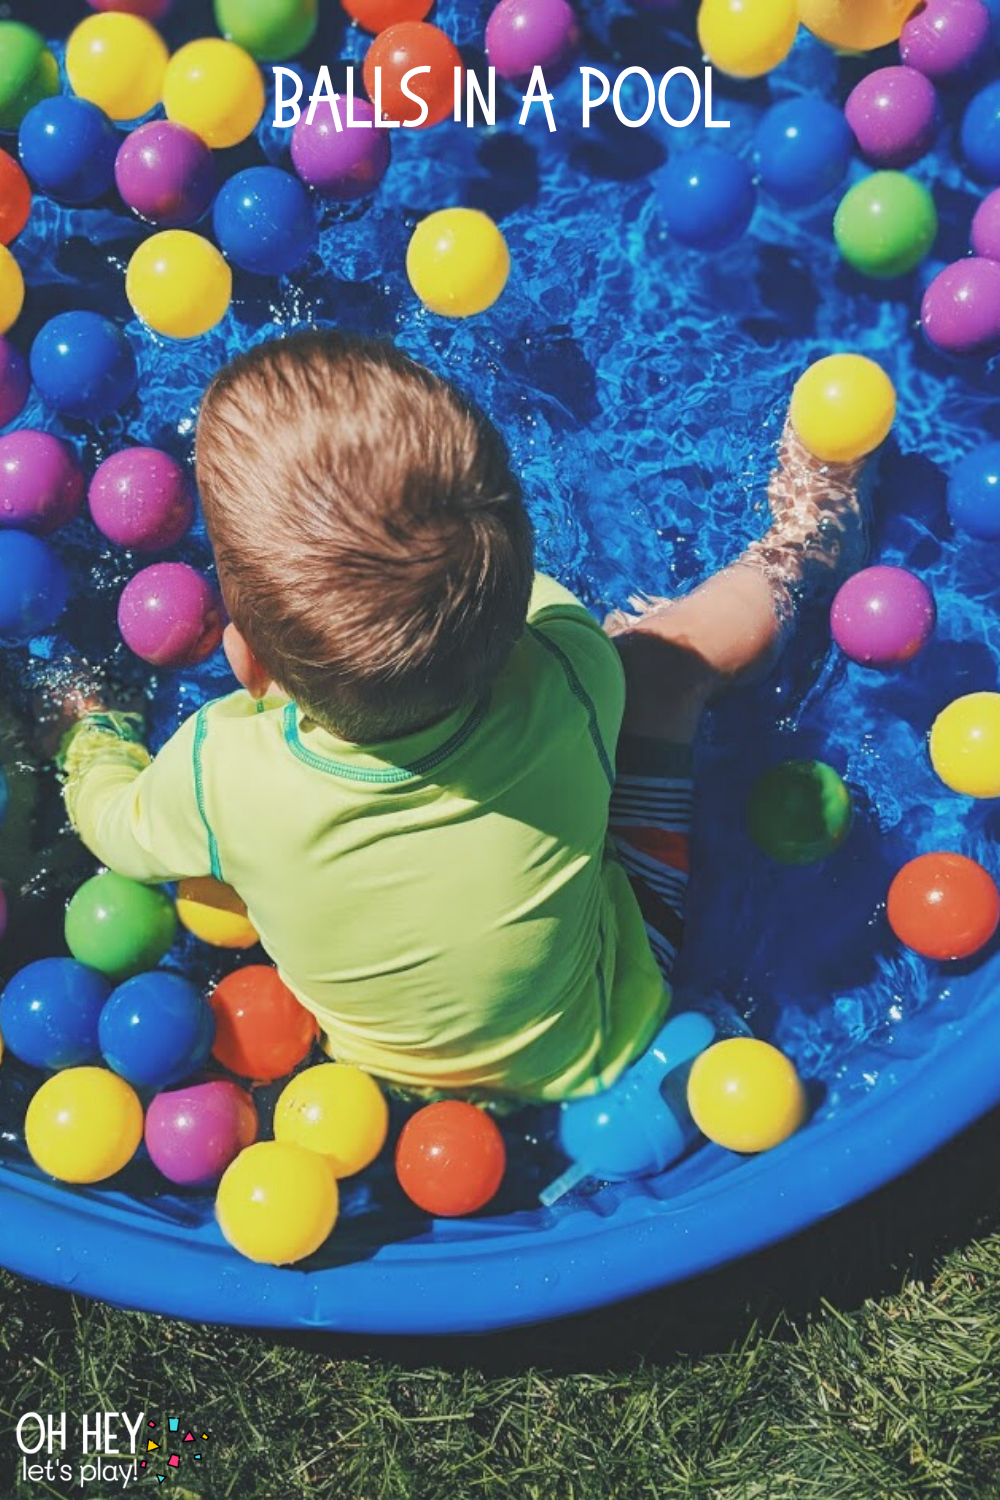
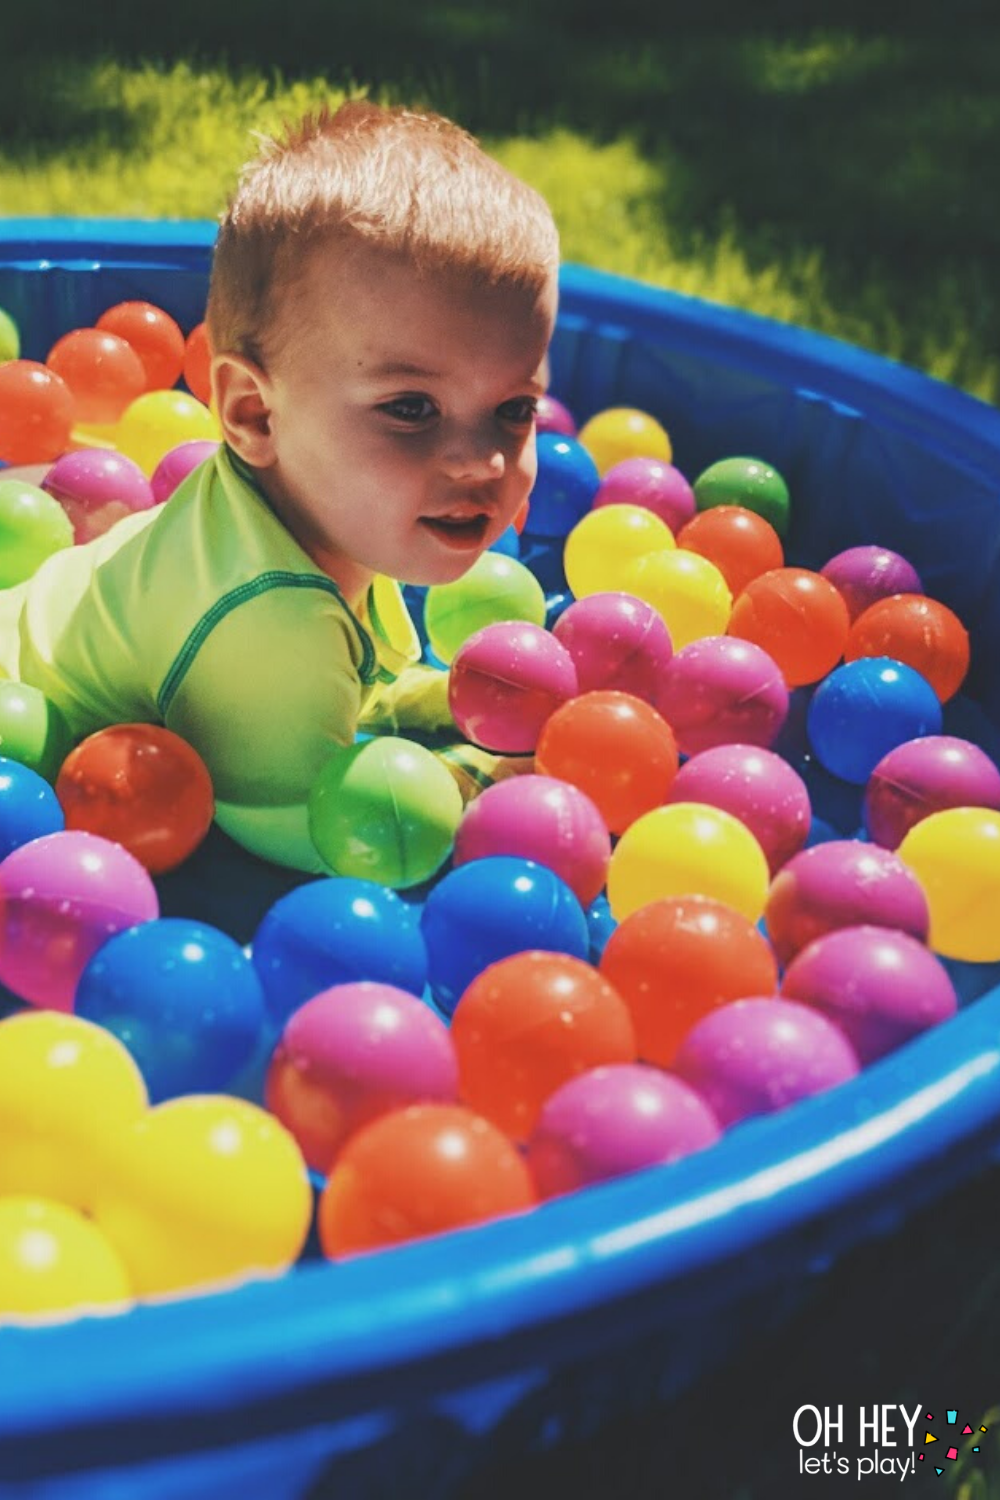
Balls in a Pool
Materials:
- ball pit balls
- kiddie pool (our plastic one is from Target but I linked a small, inflatable one from Amazon that would work just as well!)
- water (optional)
We just so happened to do this outside in the summer so our pool was filled with water, but the activity works just as great indoors without water. SO simple- just fill the pool with balls (and water if you can be outside) and play! Lots of opportunity to talk about COLORS.
Dish Soap in Water Table
Materials:
- water table
- hose
- dish soap
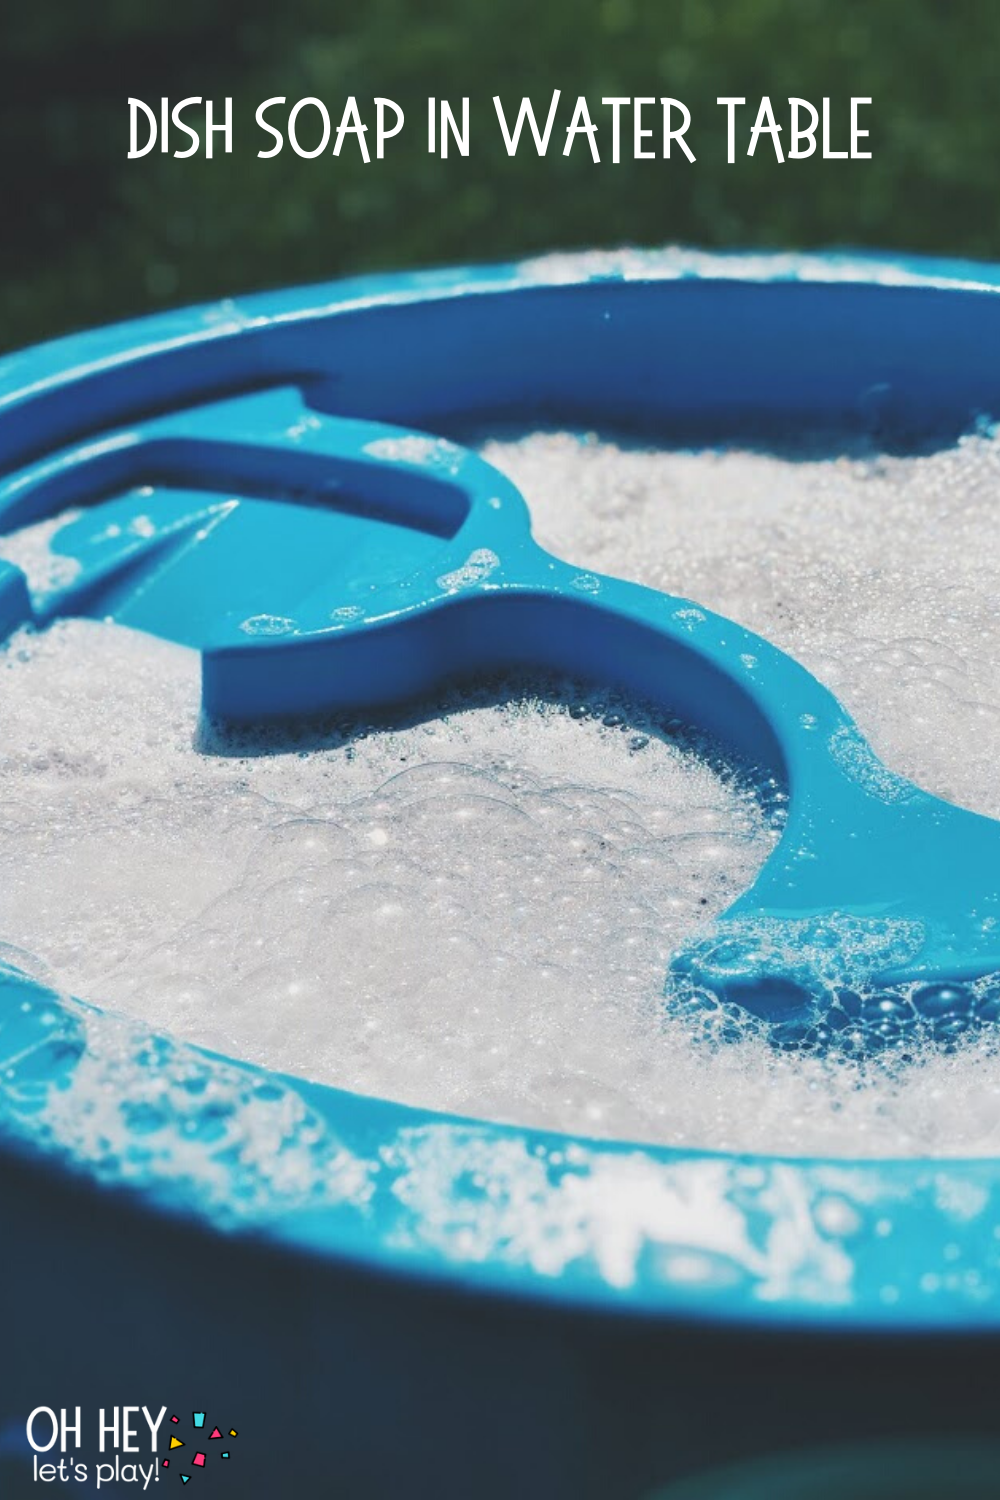
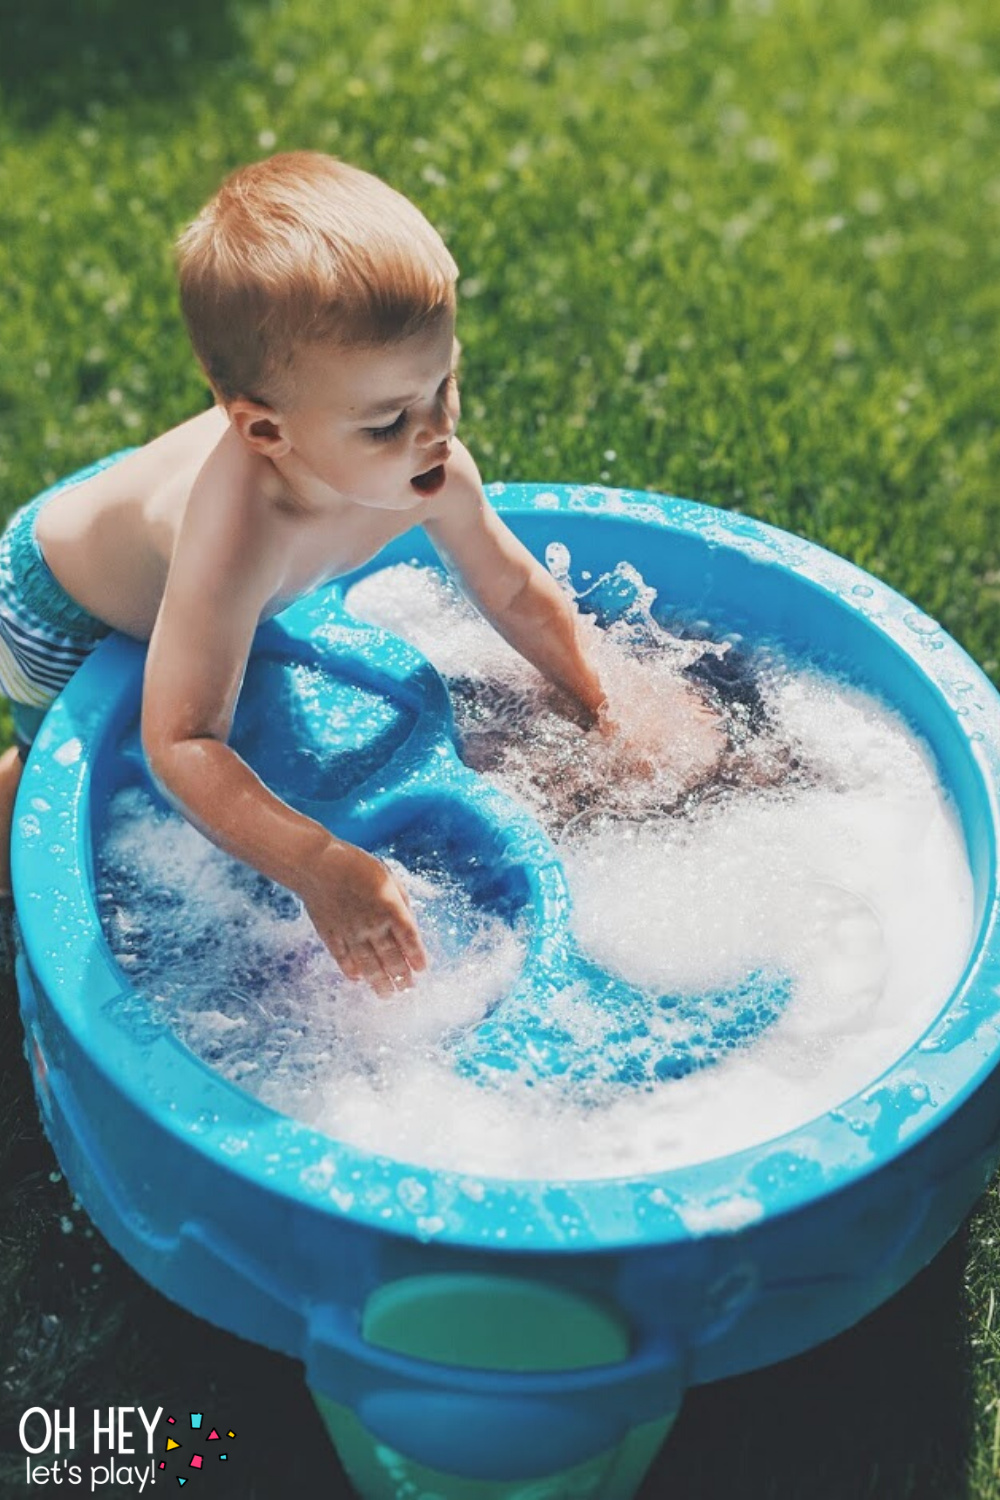
What toddler doesn’t love playing in bubbles?! For this simple, outdoor activity, I bought a bottle of dish soap and squirted it all over the bottom of our water table. Then, I used the hose to fill the table with water and the soap bubbled up. Not only are the bubbles fun to touch, but the dish soap adds a nice scent to the activity, too. A great, easy way to fancy up your water play on a hot, summer day!
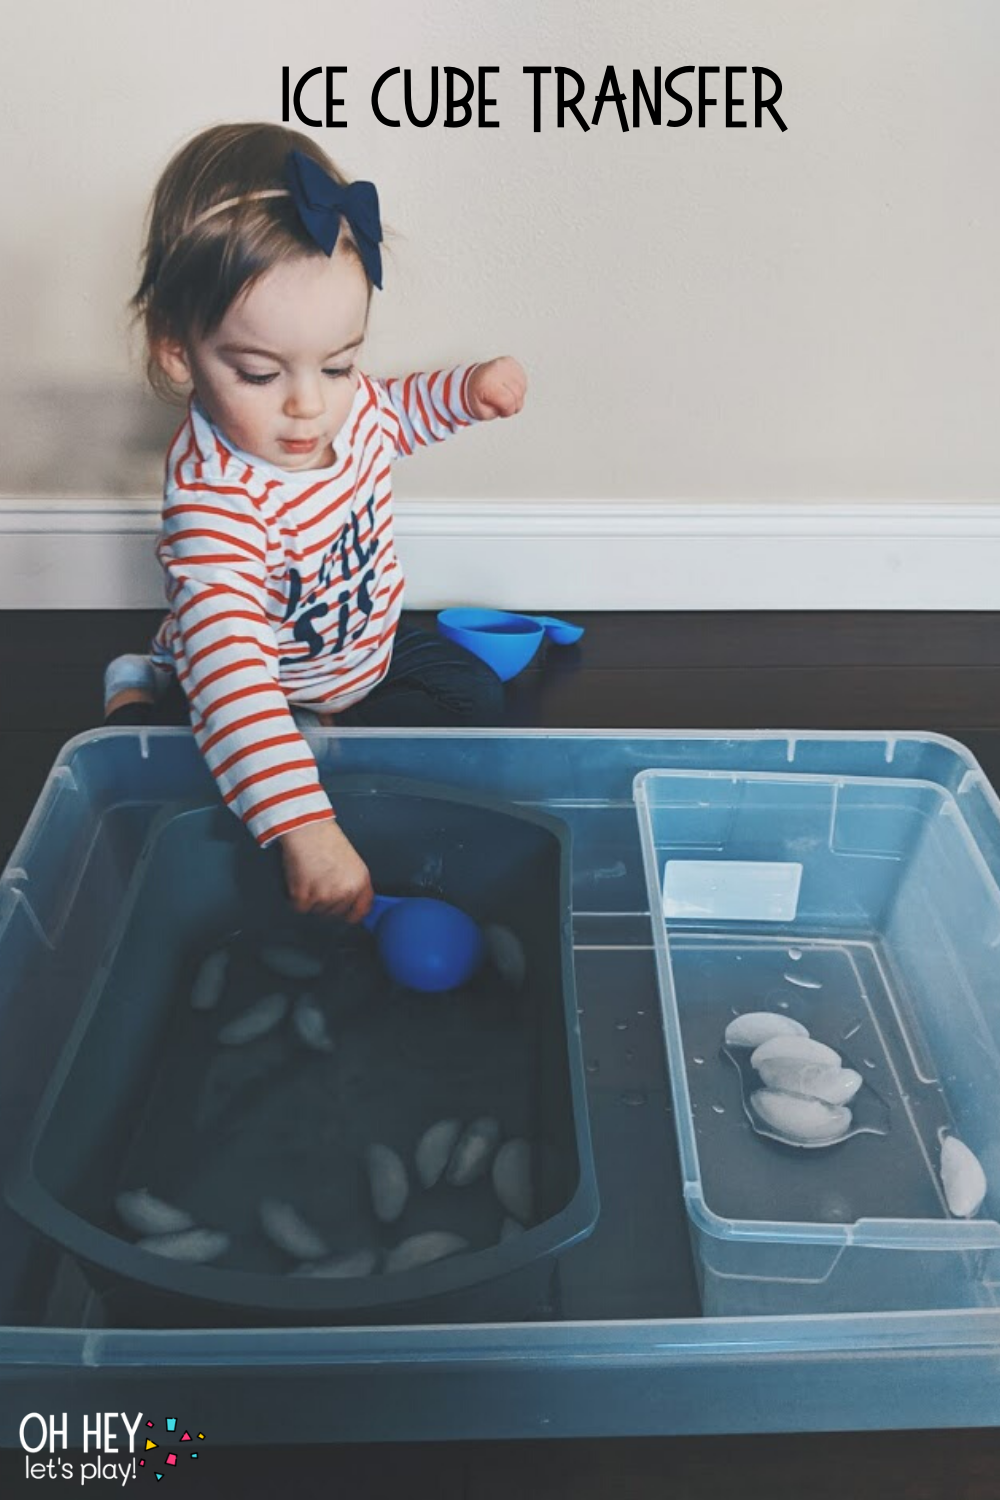
Ice Cube Transfer
Materials:
- large storage container
- two small storage containers
- large serving spoon or
- measuring cup
- ice
- water
This activity can be done indoors (as pictured above) or outside on a hot day. I used one big tub to hold our two smaller tubs just as an attempt to contain any spills, but laying out a towel would probably work, too. I put two smaller tubs inside the big tub and filled one with ice cubes (and a little bit of water), and left one empty. After modeling the activity myself a few times for Tatum, I then gave her a measuring cup (or a big spoon would work) and let her try to scoop up the ice cubes and dump them into the empty tub. Great for sensory play while also working on fine motor skills.
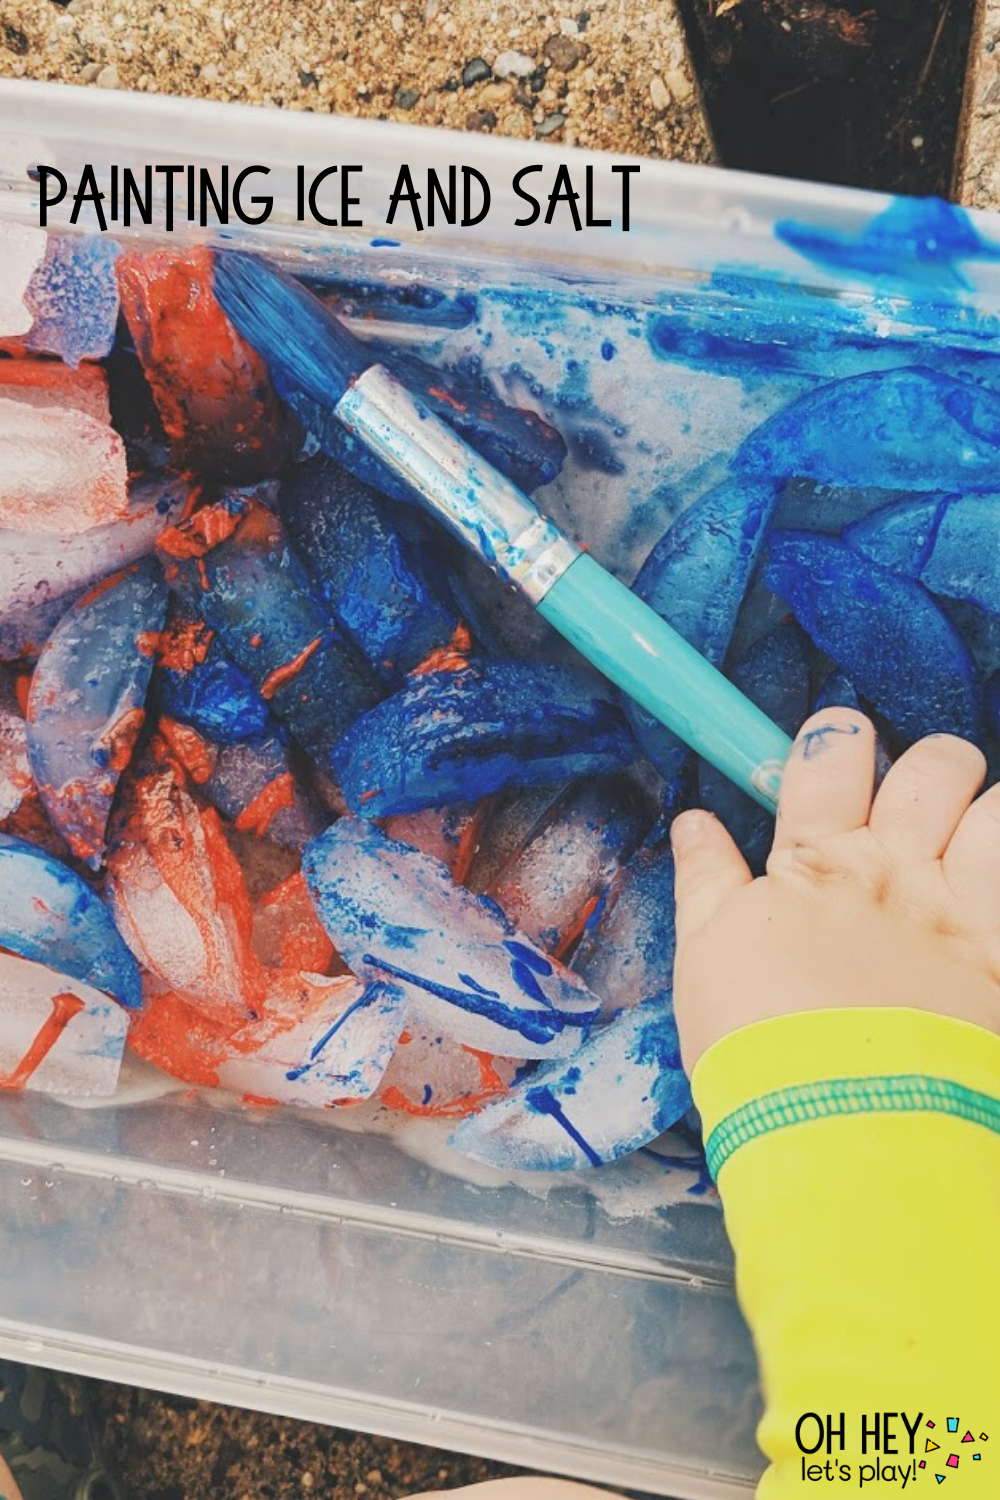
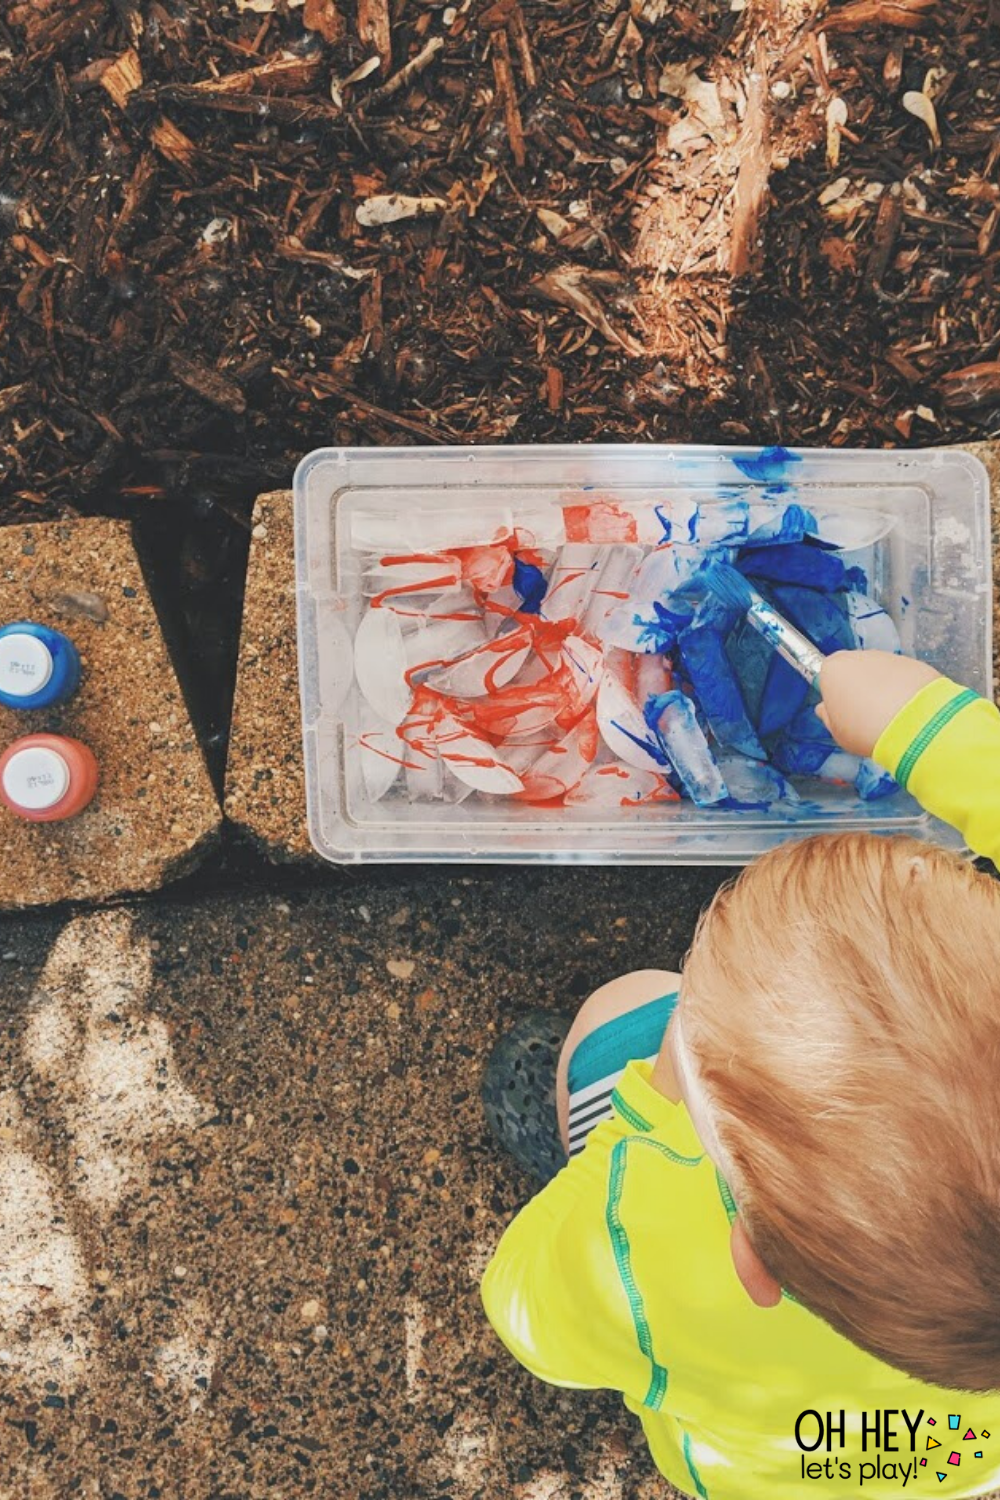
Painting Ice & Salt
Materials:
- small storage container
- ice
- tempera paint
- salt
- paint brush
We did this activity outside but it could be done inside as well. We have done just plain ice painting without the salt (which is also fun) but the salt adds a fun sensory component. Adding the salt gives the paint a little bit more of a grainy texture on the ice and just makes it a little more interesting. Add a bunch of ice cubes to a small storage container, squirt some different colored paints on top of the ice and then sprinkle salt all over the top. Hand your kiddo a paint brush and off they go!
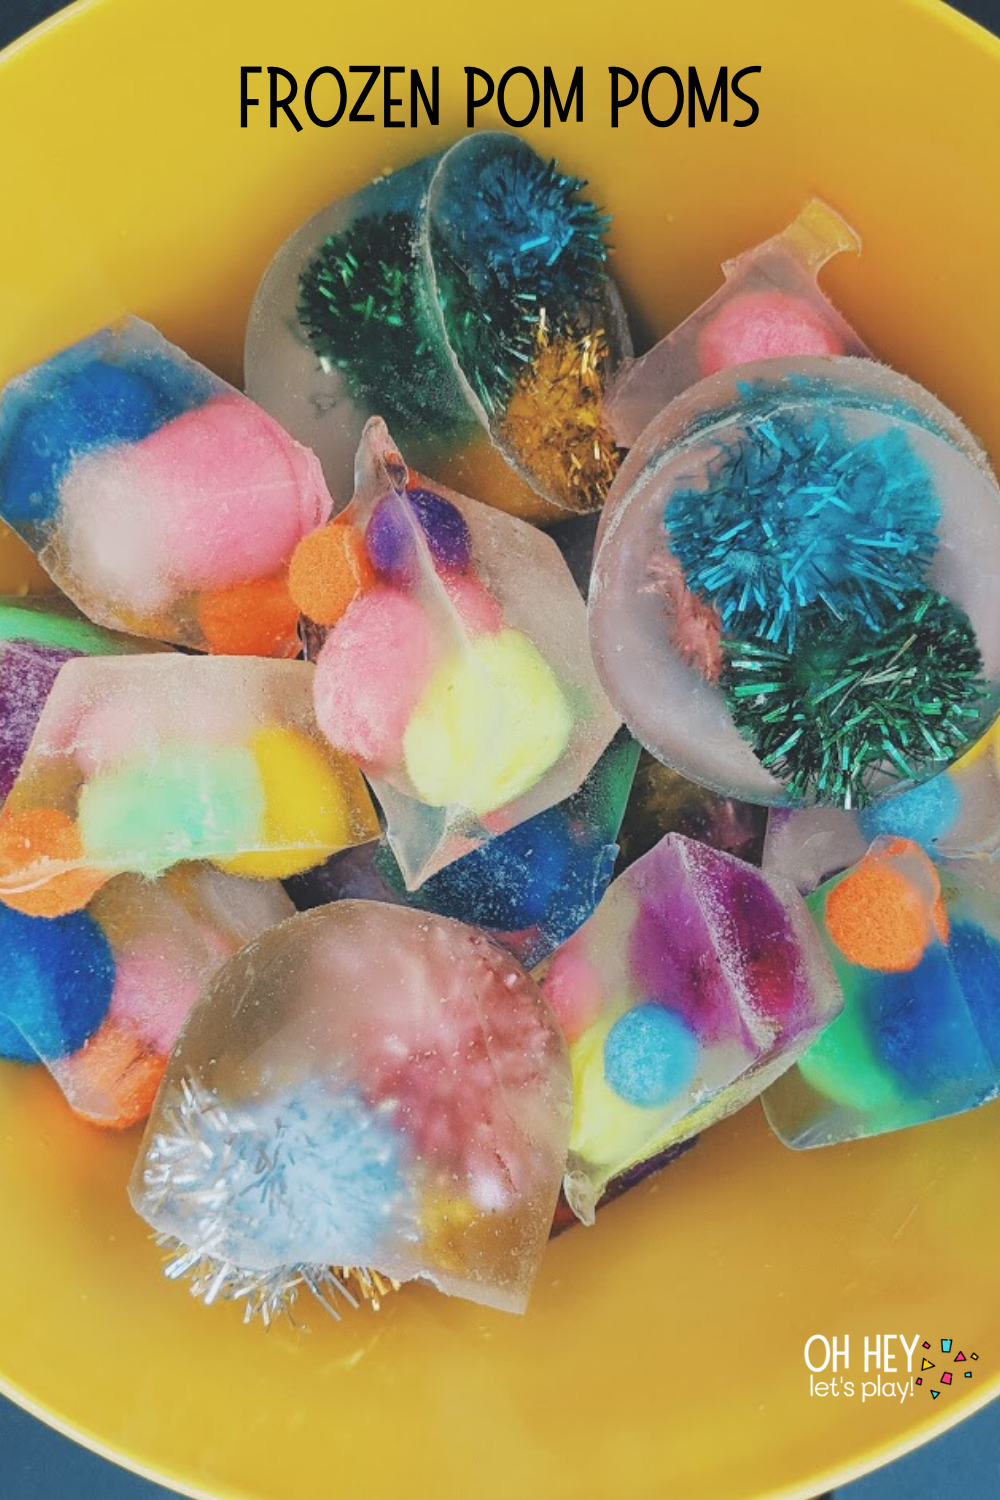
Frozen Pom Poms
Materials:
- pom poms
- ice cube tray
- silicone baby food storage (also froze poms in this for bigger ice cubes)
- storage container
- muffin tin
- shovel
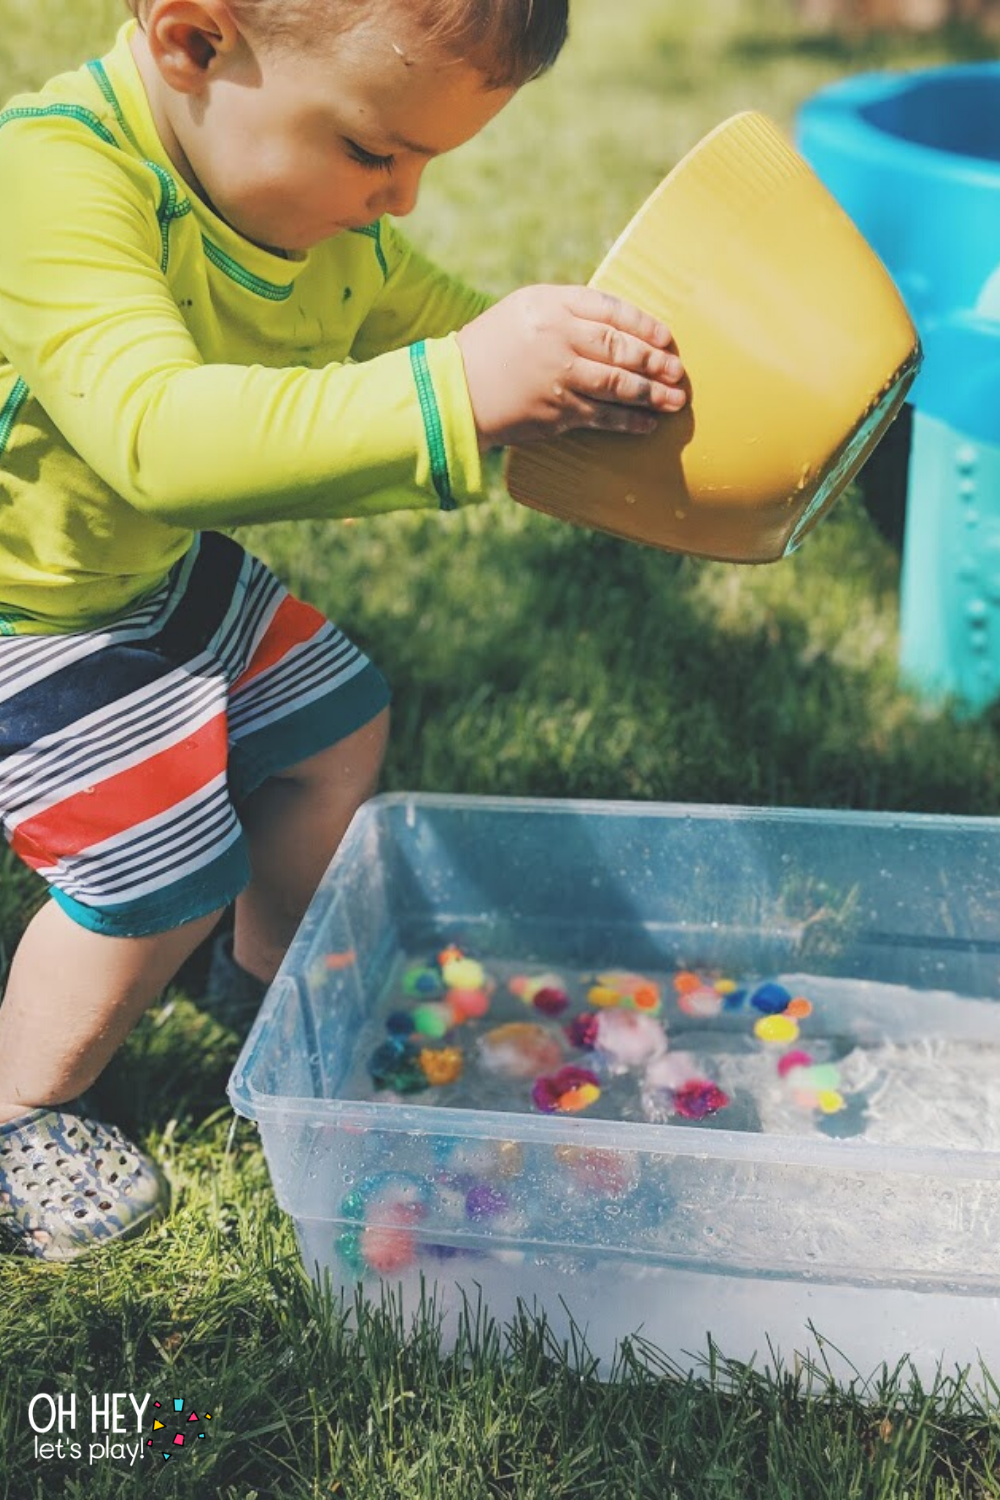
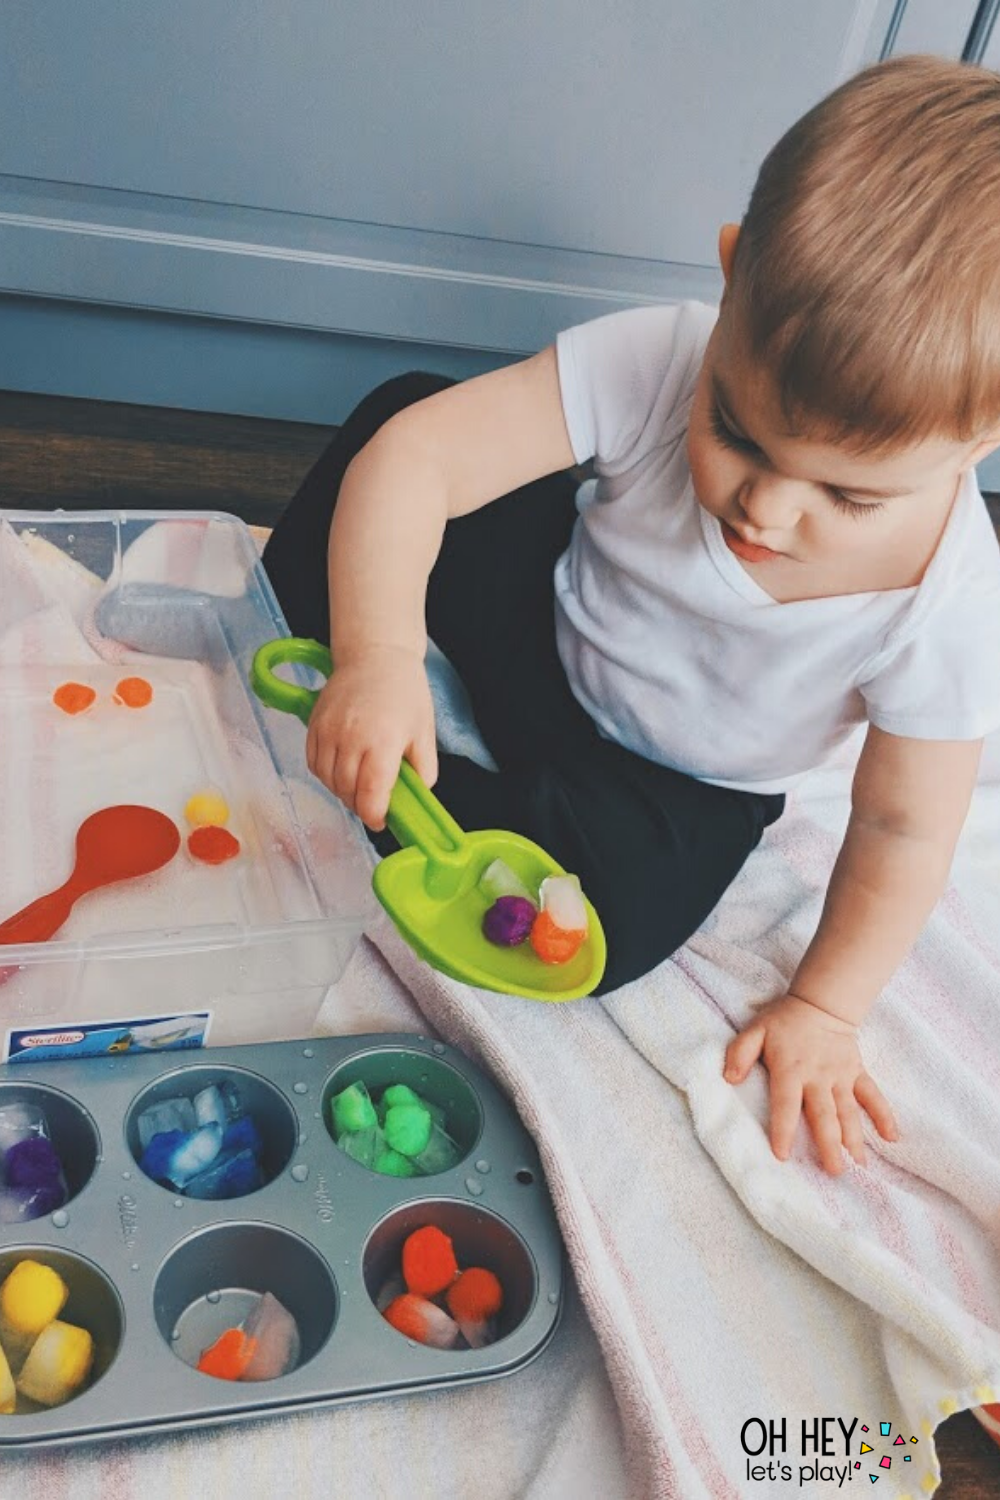
We LOVE pom poms. They are by far one of our favorite and most used activity/craft item. This activity could be done inside or outside (we’ve done both) and you could freeze the poms a few different ways.
Using ice cube trays, I’ve put more than one different color/type/size of pom pom in each slot, and I’ve also put only one color in each slot. The outdoor activity pictured was the one where I froze several different types and sizes into each ice cube slot. The ice melted pretty quickly as it was a hot day, and then it became a poms in water sensory activity. The most exciting part was getting to dump the bowl of colorful frozen poms out into the tub. ;)
The indoor activity pictured was where I froze one color at a time. I added a muffin tin and a spoon/shovel for a color sorting component. We laid out a towel for spills and got busy. :)
Also check out THIS POST where we melted a big chunk of frozen pom poms!
Painting with Colored Ice/Frozen Paint
Materials:
- silicone baby storage tray/ice cube tray
- colored craft sticks
- food coloring
- water
- tempera paint
- cardstock paper
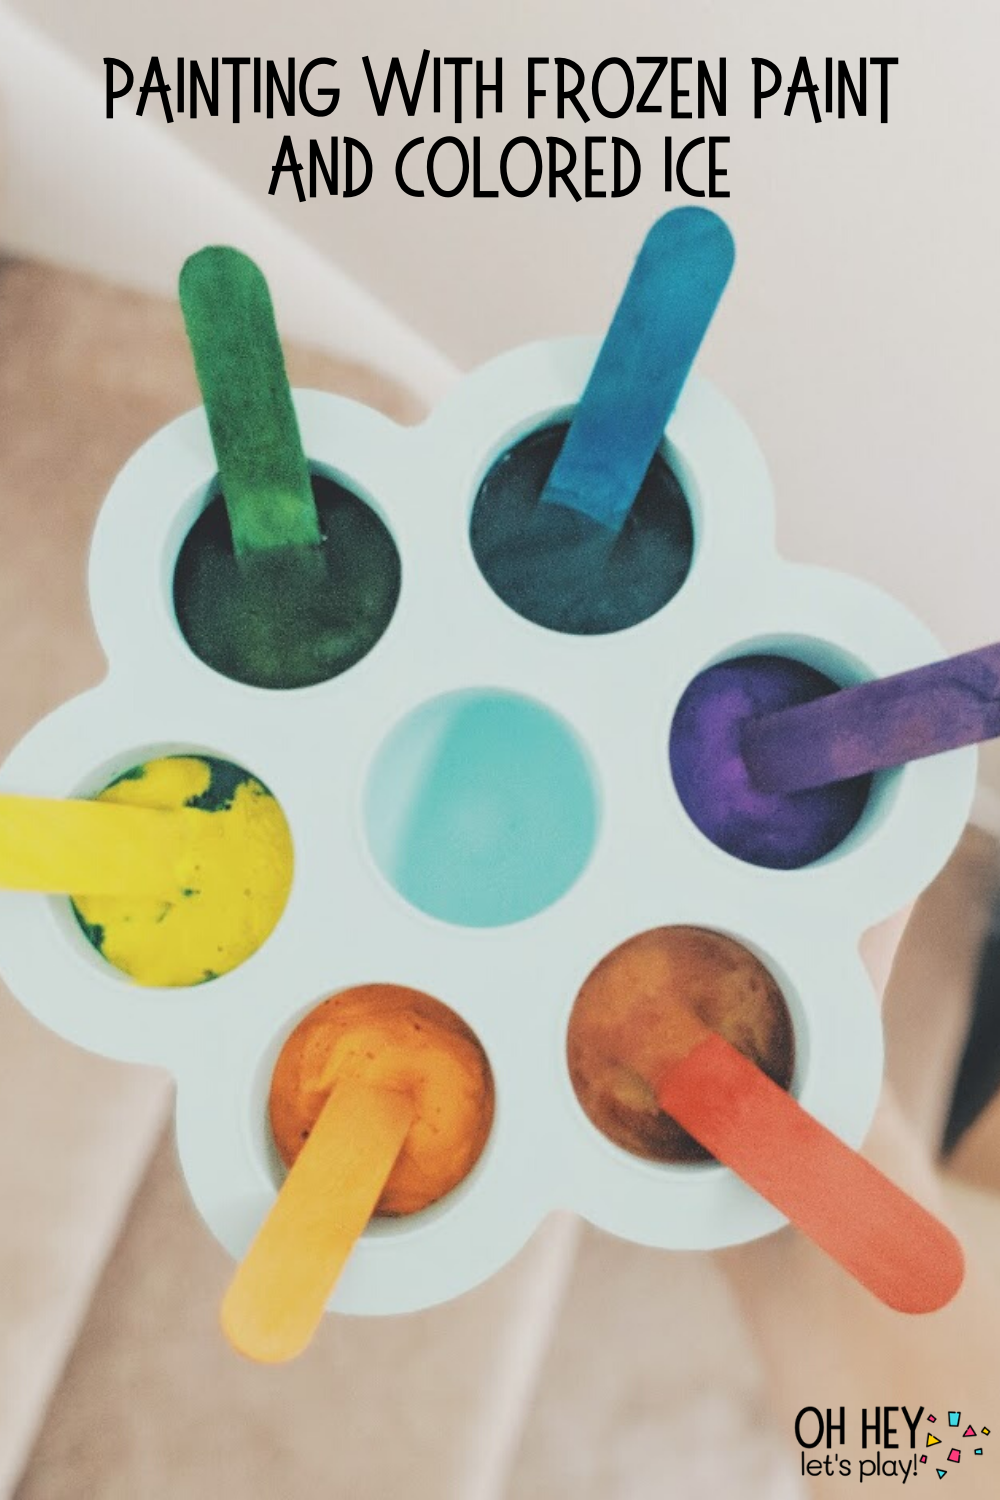
This is another great one to do outside, but can also be done inside. You can make the paint two different ways. Pictured here, I had tried both ways. You can put water in the tray with a few drops of food coloring, then stir them up a bit with the stick, or you can just put paint right in the tray.
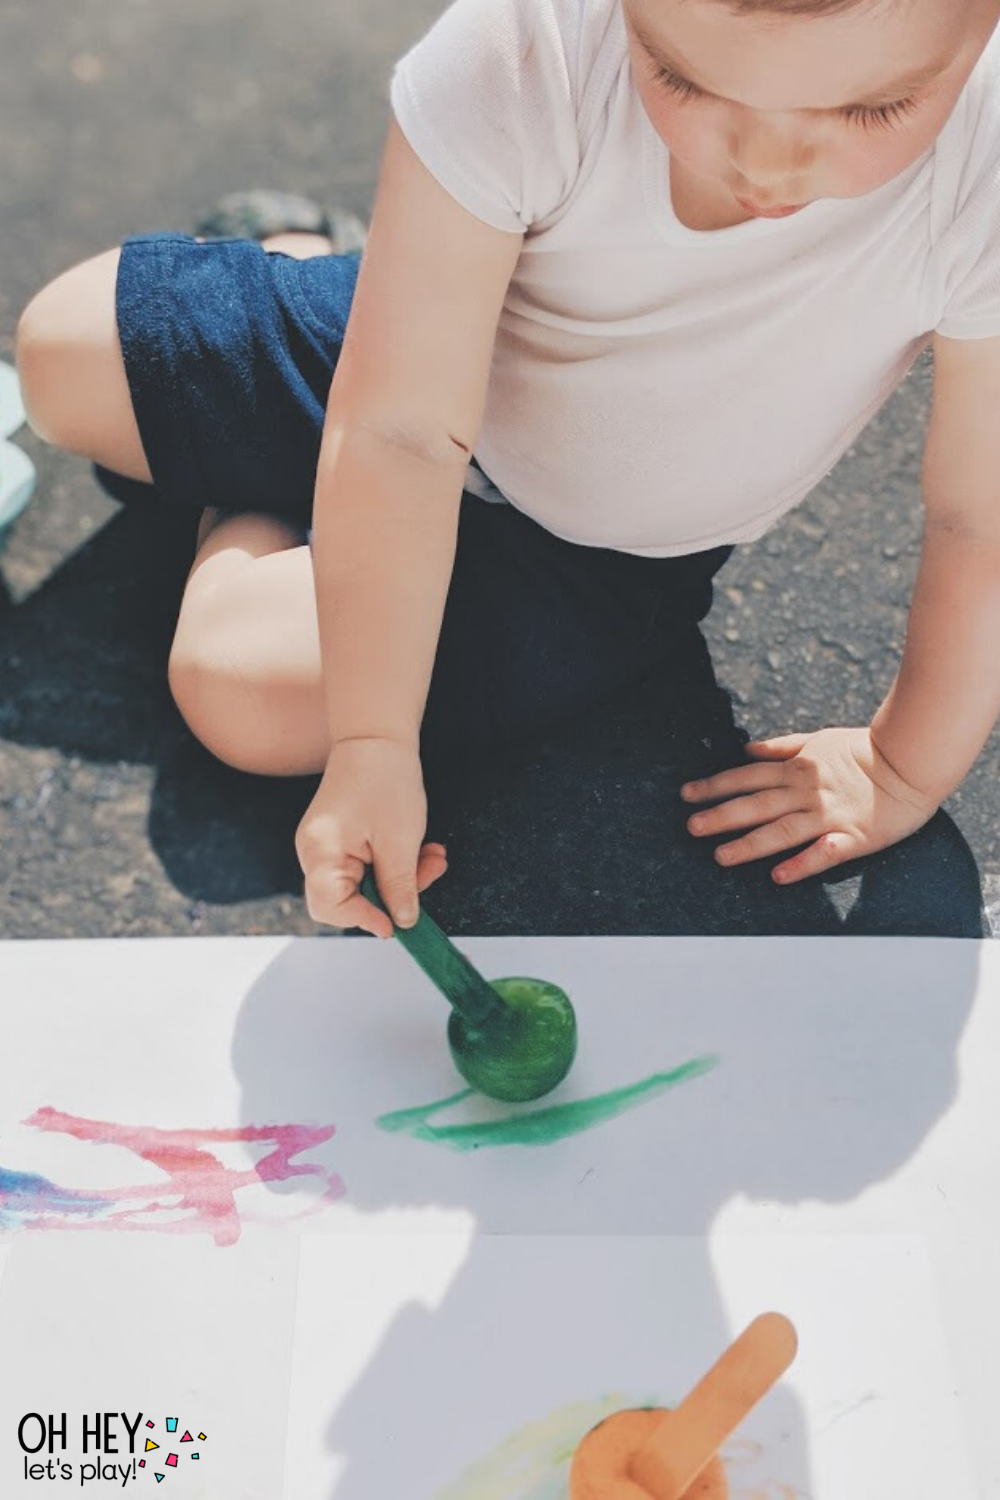
Whichever you choose, put a stick in each spot (they won’t stand up straight so you would have to just find a way to get them to lean against the side) and freeze them for a few hours or over night. Then, once they’re frozen, help your kiddo pop them out of the tray (we like to use this silicone tray because they are easier to pop out then your typical plastic ice cube tray) and let them paint! With either option (the colored water or the paint), the colors turn out so vibrant and it is such a fun sensory experience.
Painting with Water
Materials:
- suction bowl for water (less chance of spill)
- paint brush
- cookie sheet
- colored construction paper
- tape
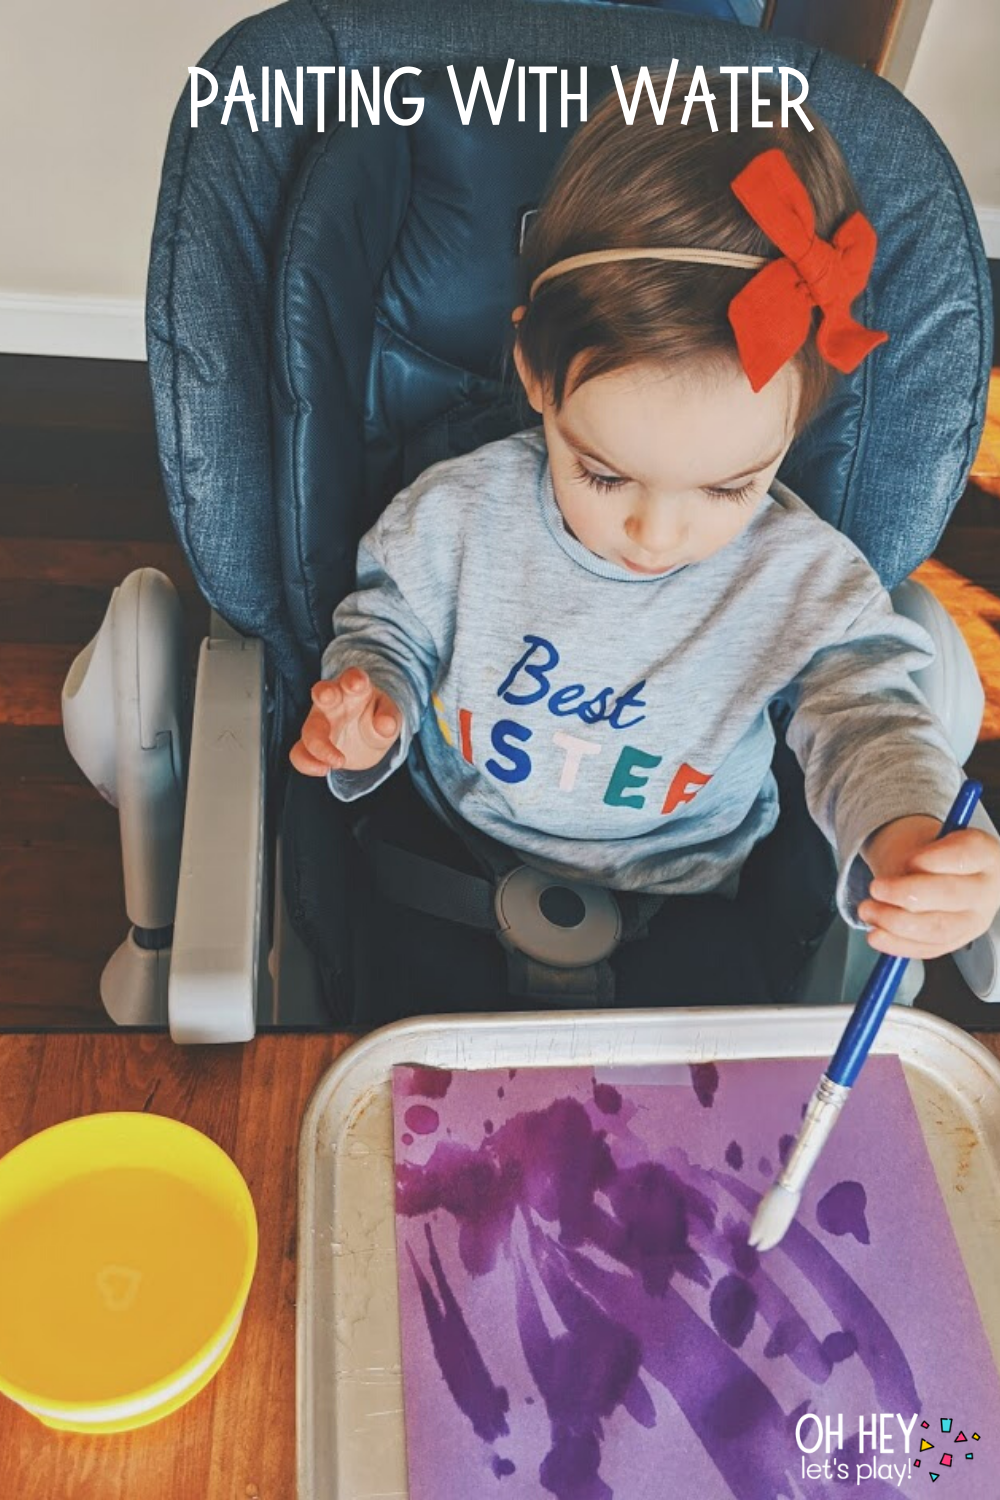
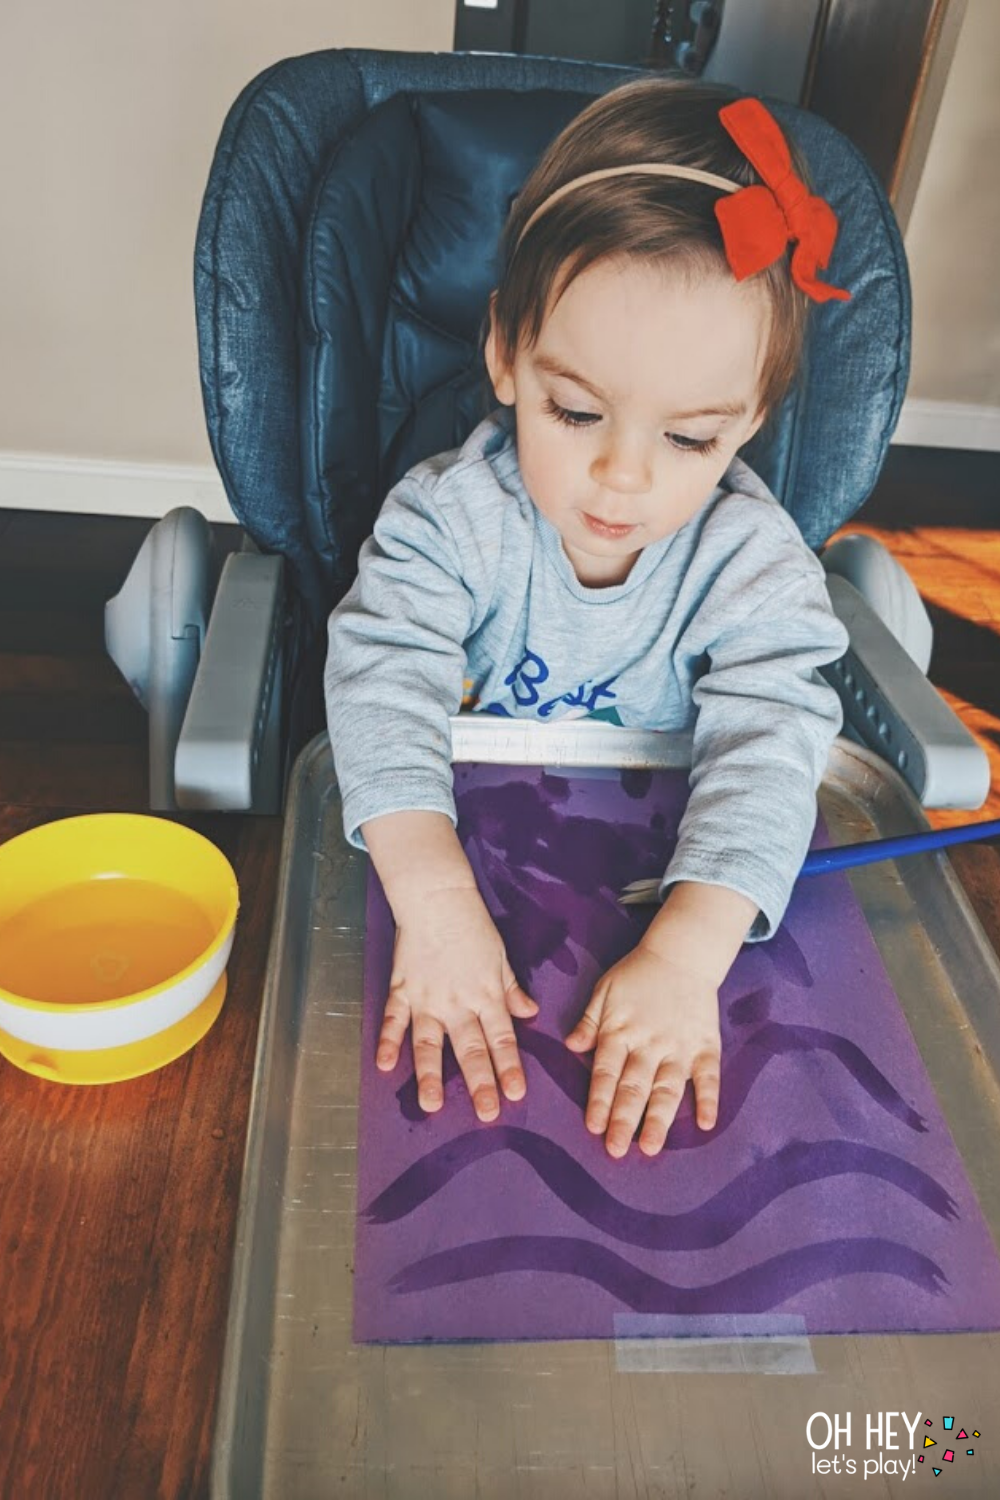
Yes, it’s literally that simple. Pick a colored piece of construction paper and tape it to a cookie sheet (so it doesn’t slide around and also so you don’t get your table wet). Show your kiddo how to dip the paint brush into the water and paint with it on the paper!
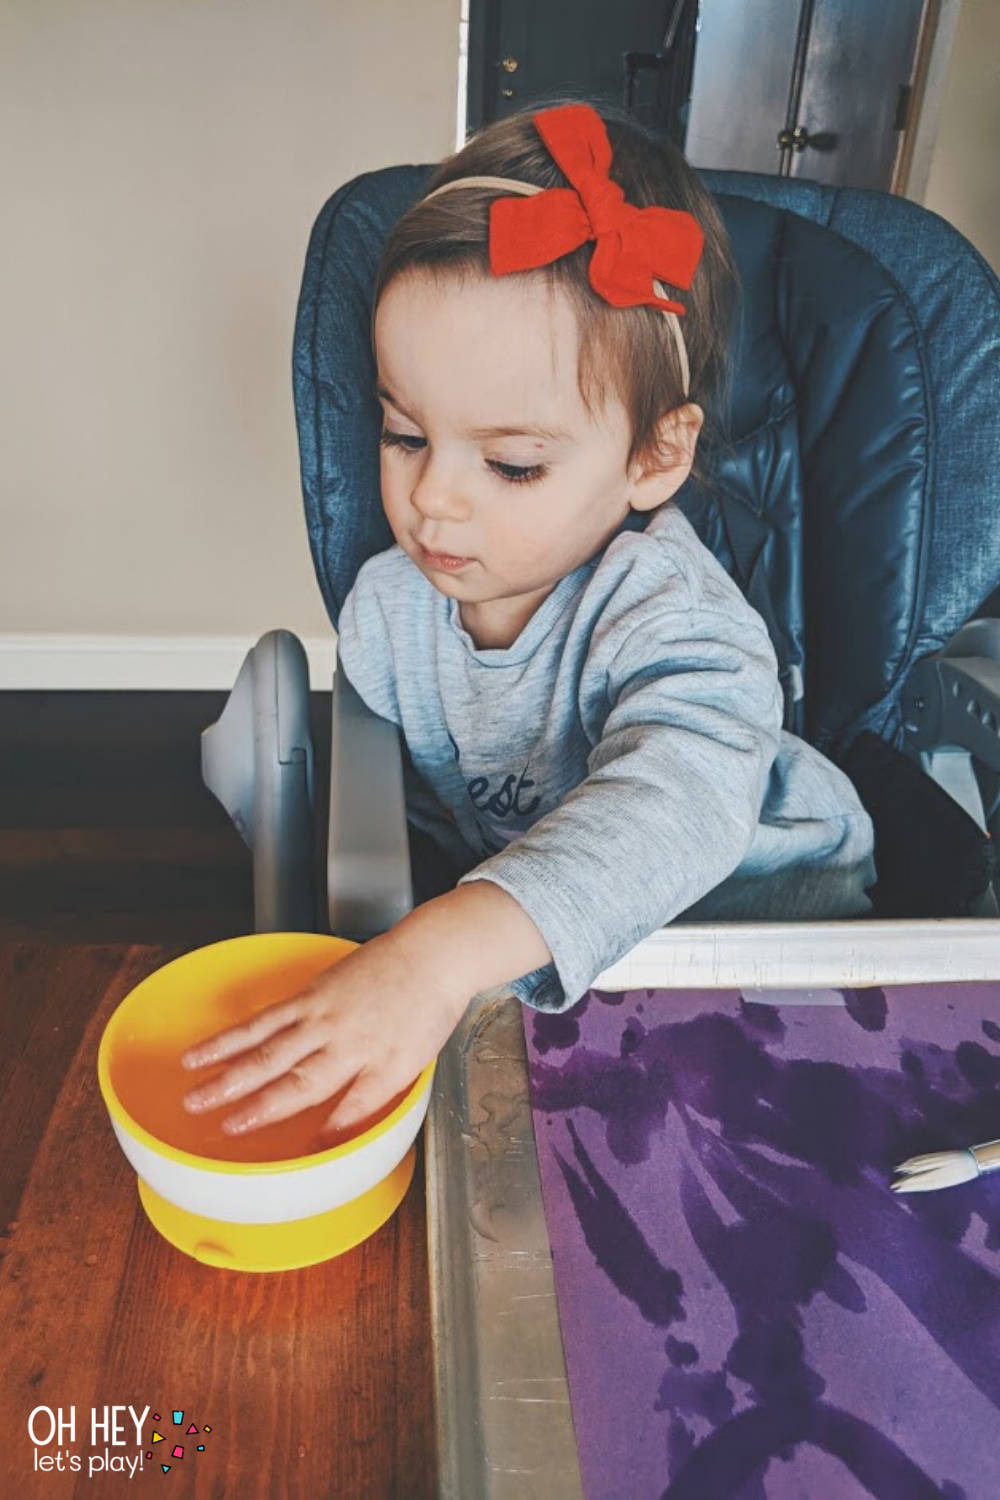
Also pictured is a little dose of reality for you. Tatum ended up enjoying splashing in the bowl of water more than painting with it and then it turned into a “make a mess and help clean it up” type activity. ;)
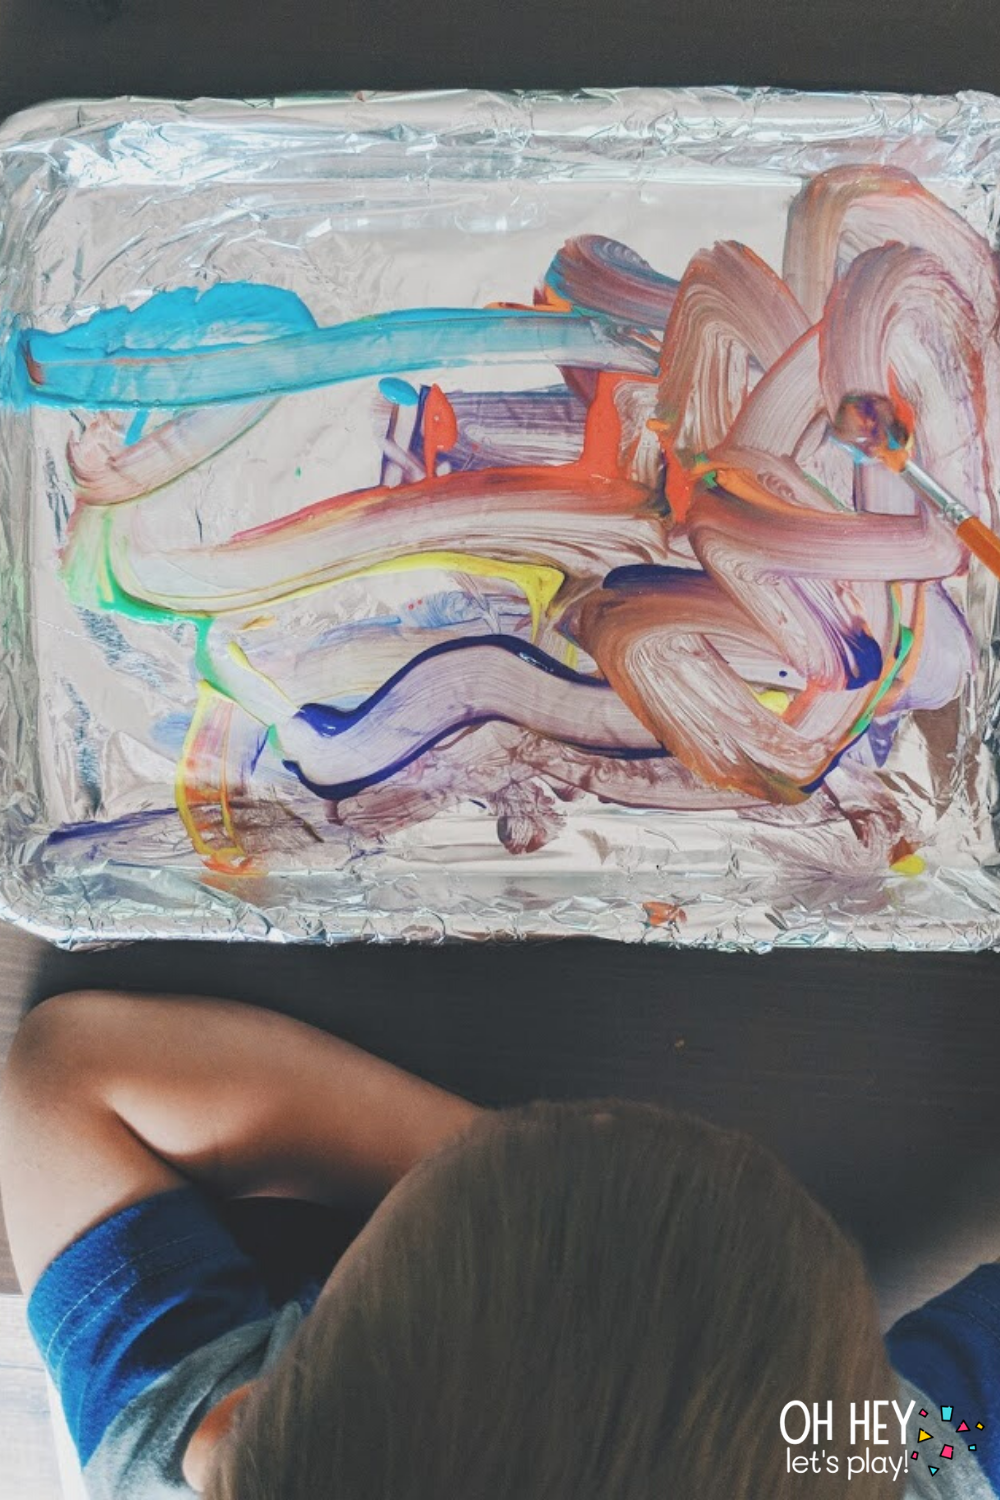
Painting on Tin Foil
Materials:
- cookie sheet
- tin foil
- paint brush
- tempera paint
- small paint palette
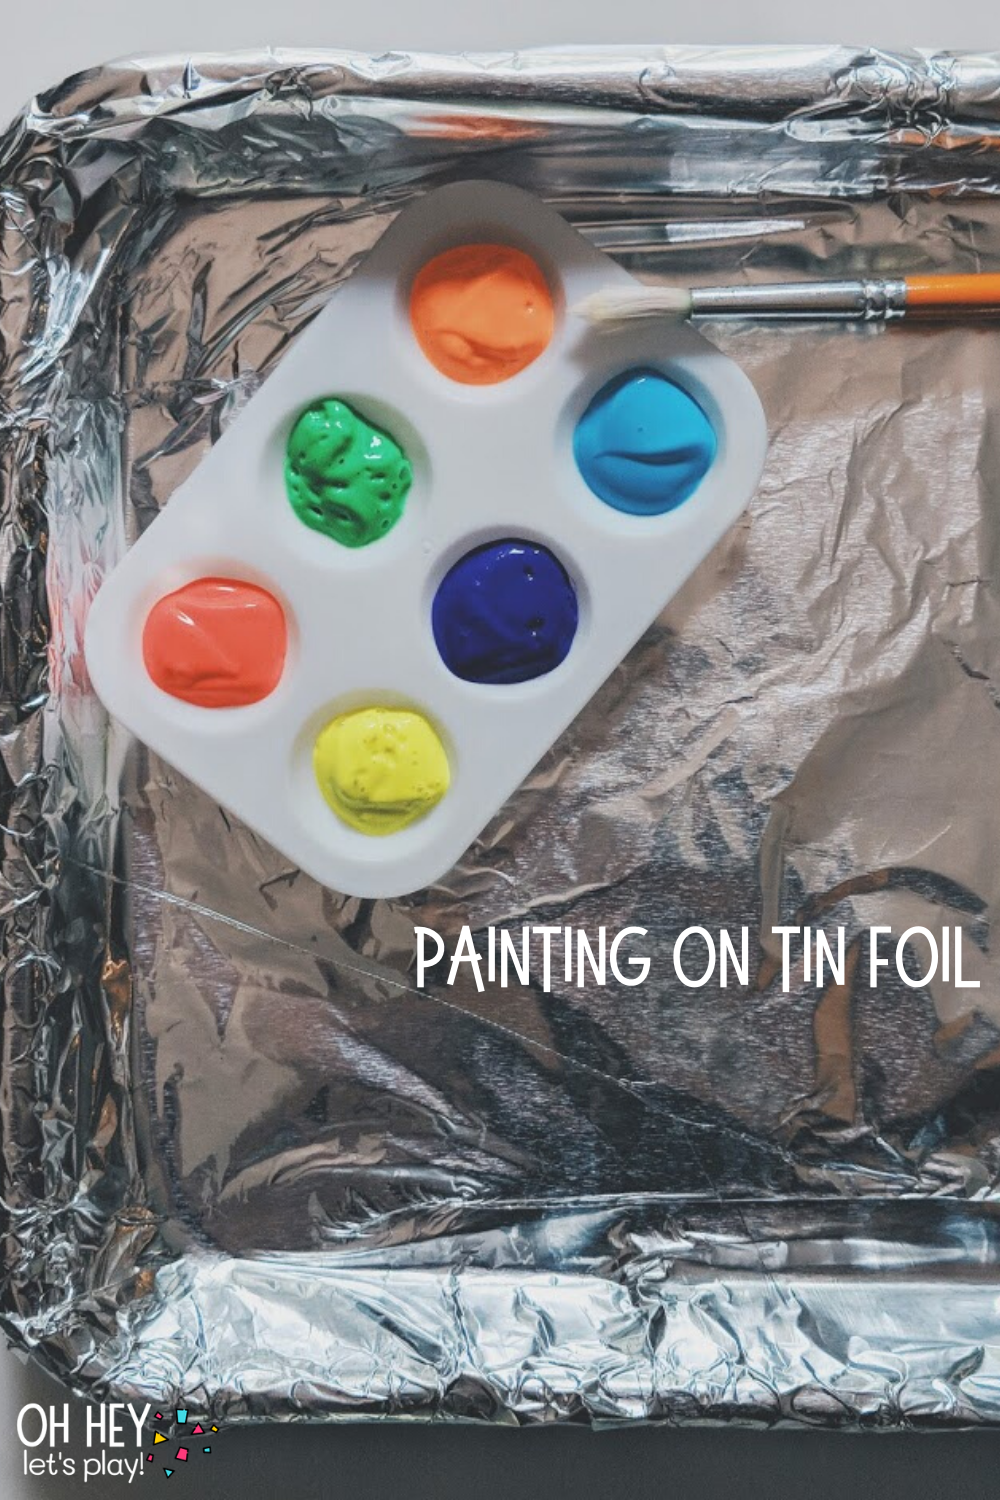
Another super simple art activity that is also a great sensory experience is to paint on tin foil. The paint brush slides around so smoothly and the shiny texture is enticing to look at. I linked something similar to the little paint palettes that we have which come in handy a lot for our activities but you could always use a small paper plate or something for your paint as well. Just cover a cookie sheet with tin foil and paint away- best part of this activity is the EASY CLEAN UP!
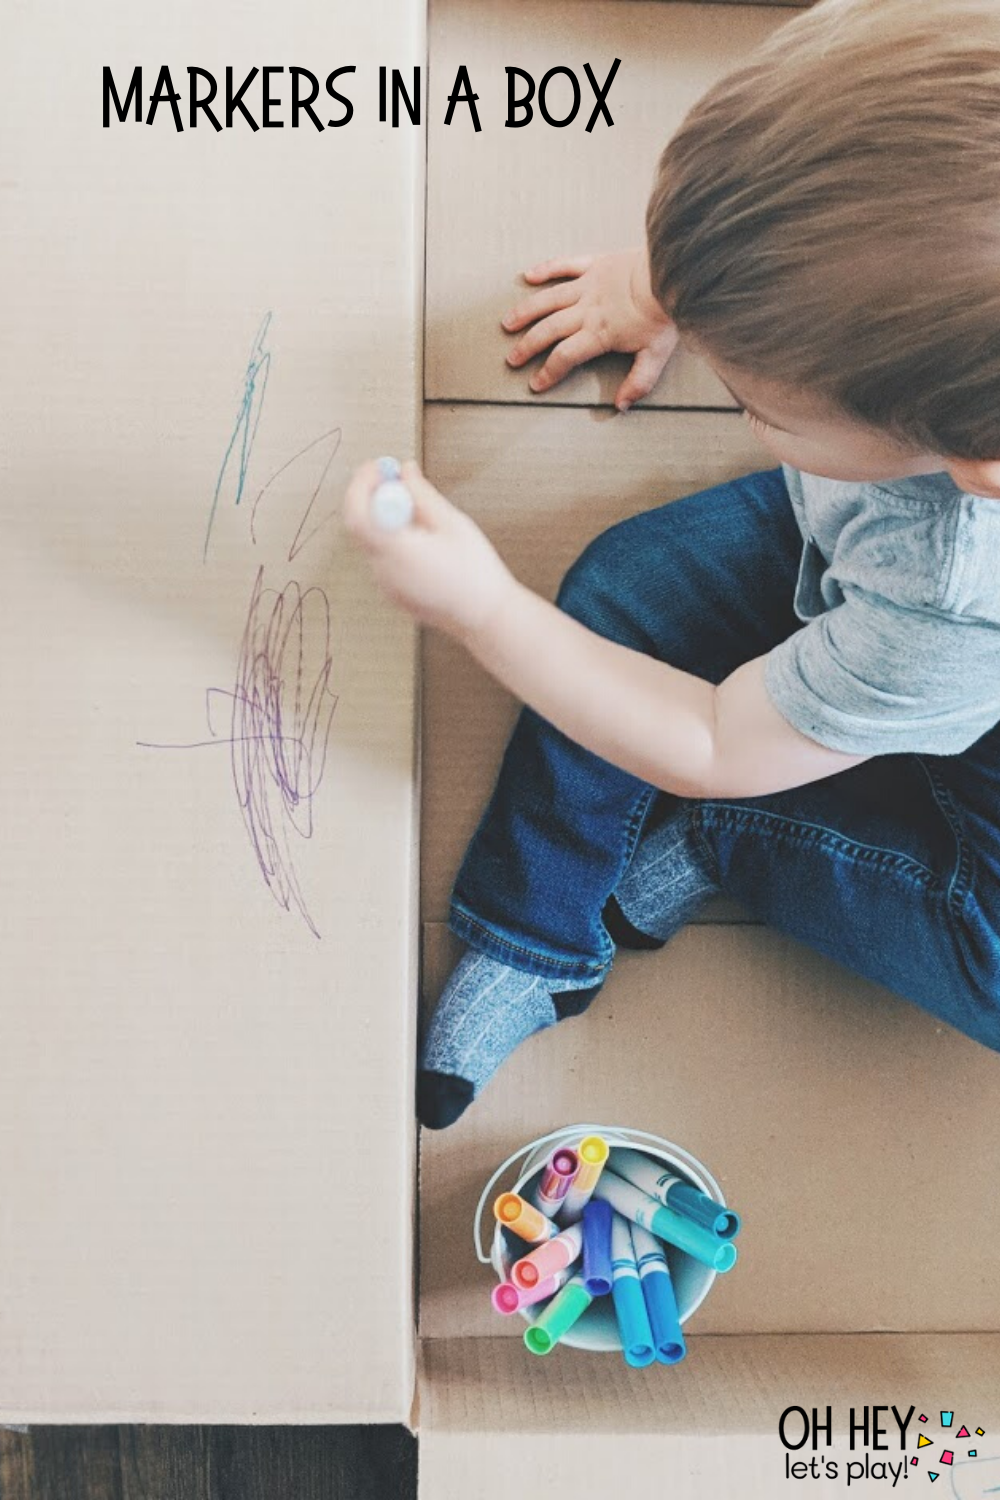
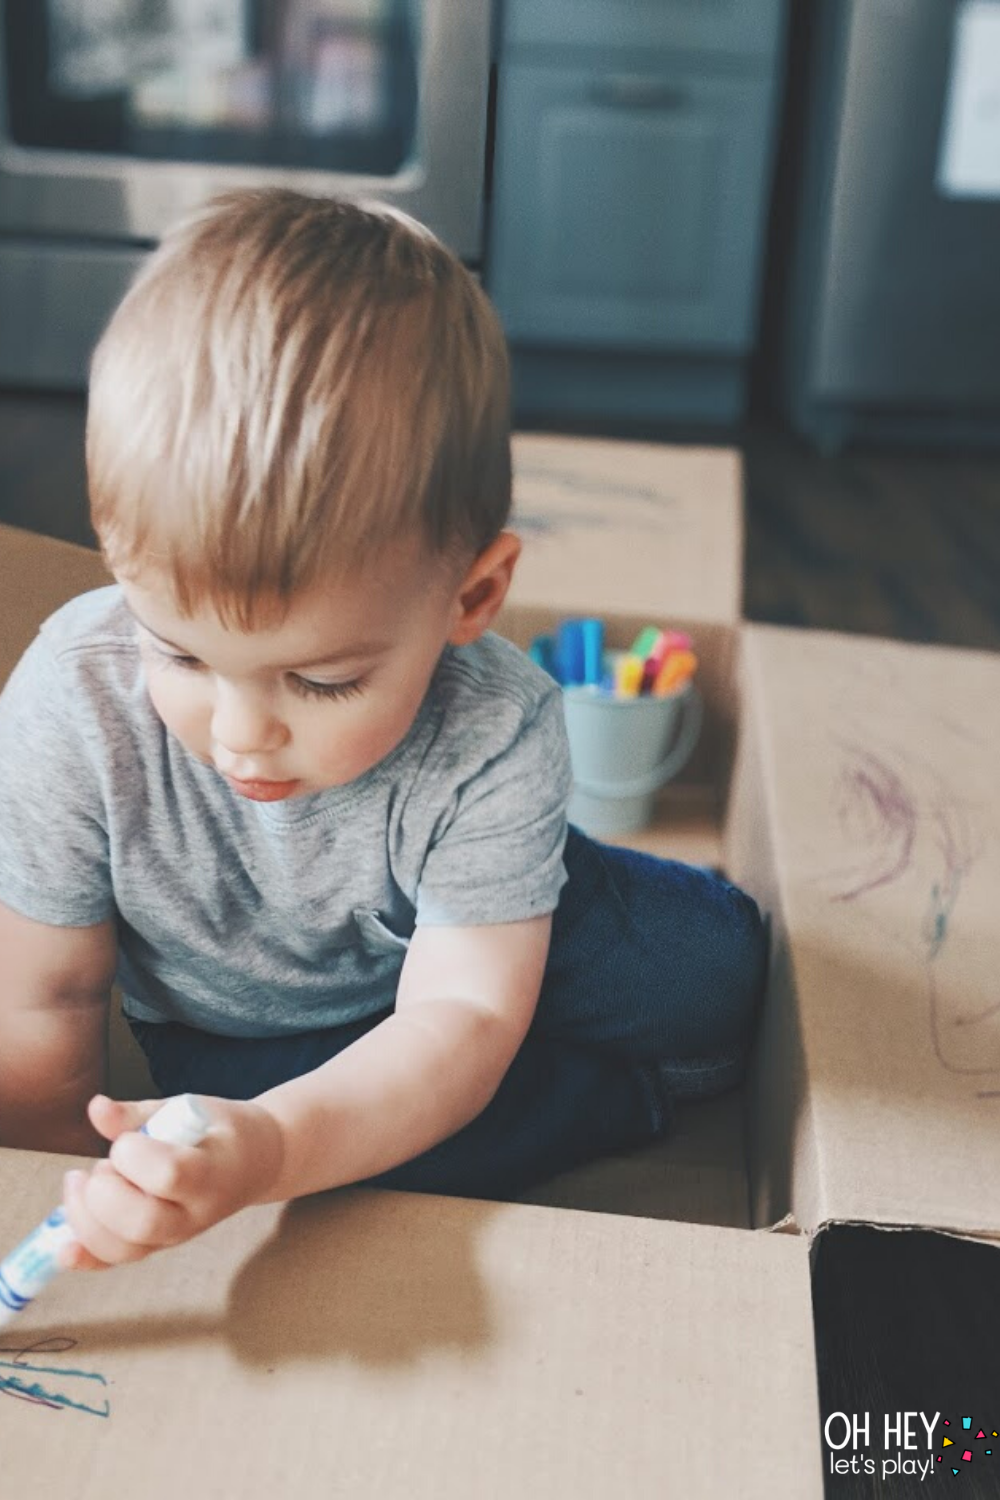
Markers in a Box
Materials:
- big box
- markers
Yep, that’s all you need! Don’t throw away that big Amazon box quite yet ;) - this could keep a little one busy while you cook a whole meal, folks. Just give them a bucket of markers, plop them down inside a box and you’re good to go.
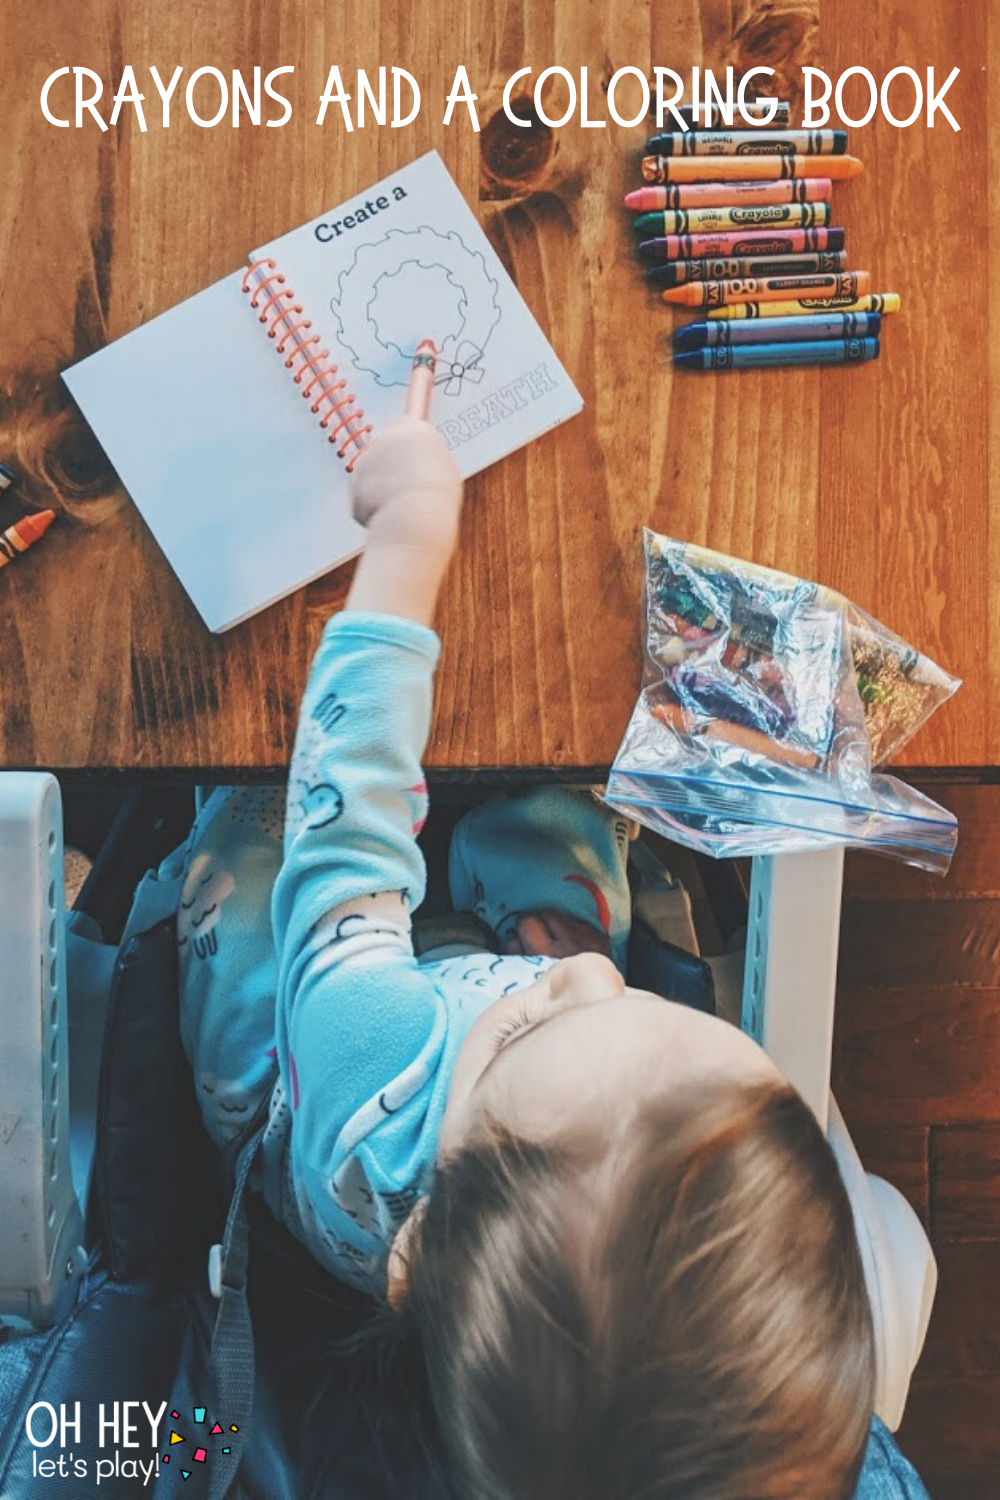
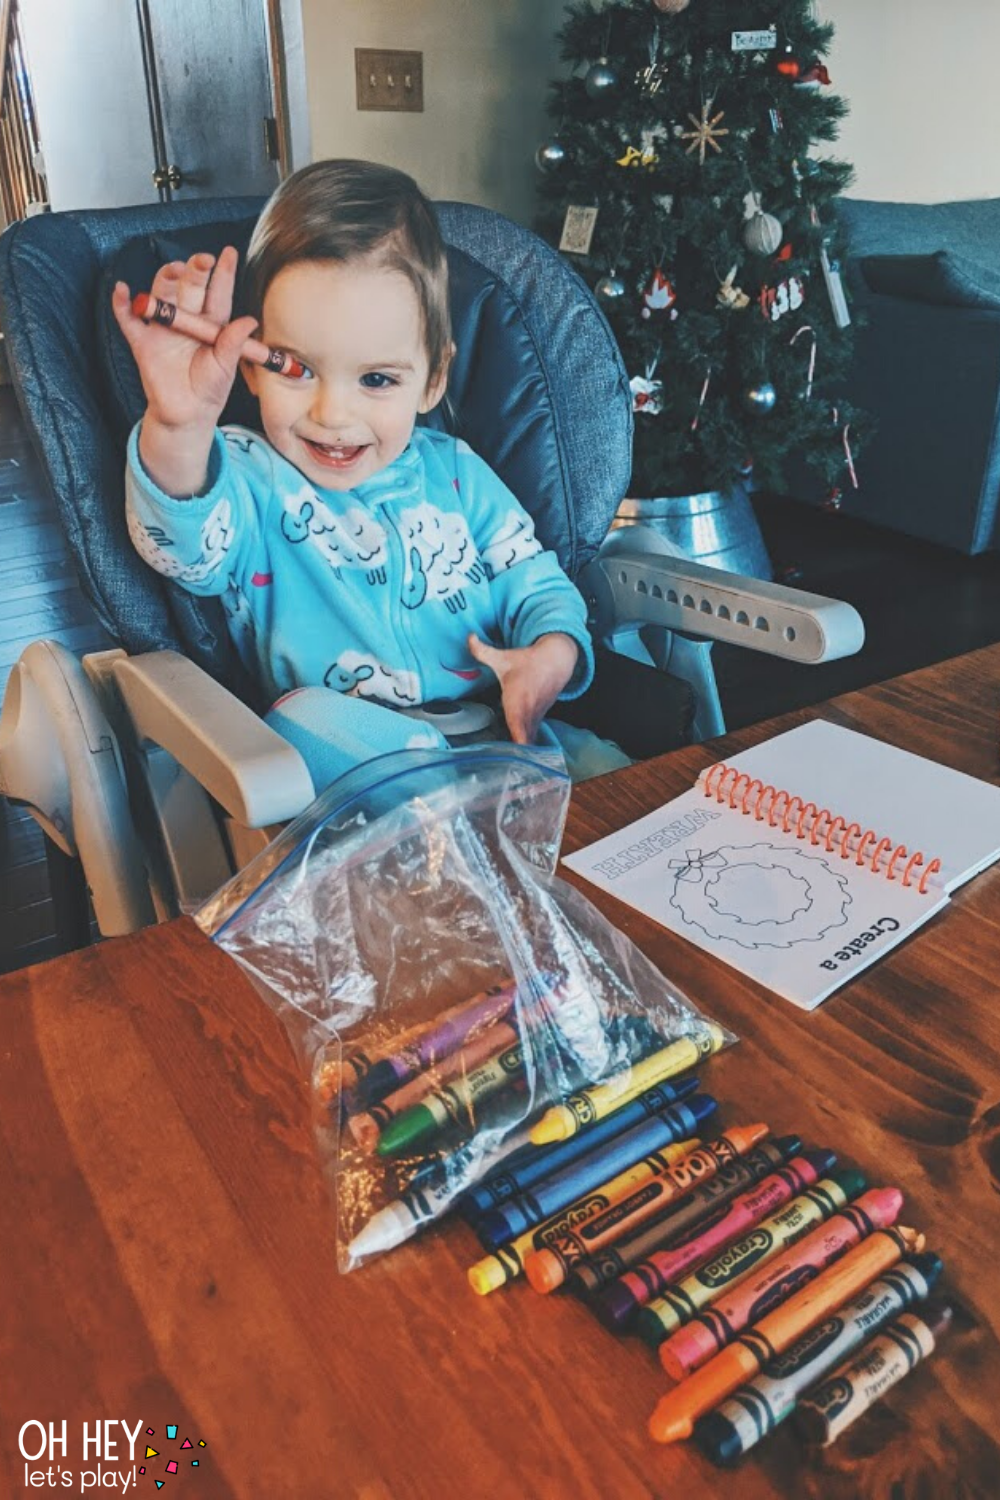
Crayons & a Coloring Book
Materials:
- jumbo crayons
- coloring book
Here’s another quick, easy activity that I like to keep handy/close to the table we eat at. It’s a good one for kiddos who are waiting for their food, or if you just need something for them to do contained in their high chair for a few minutes. We found this little coloring book in the dollar section around the holidays this year but a bigger one would be even better- more surface area and less of a chance of crayon getting on the table. ;)
Sometimes Tatum even enjoys just flipping through the pages to look at the pictures, and sometimes she just enjoys dumping out the crayons and putting them back in the bag. Anything that’s somewhat “new” to them and out of the ordinary from what they typically get to play with should entertain them for a good chunk of time.
Also, the thick crayons like the ones I linked are GREAT for little hands and any chance they get to grip a utensil is helpful for their fine motor muscles.
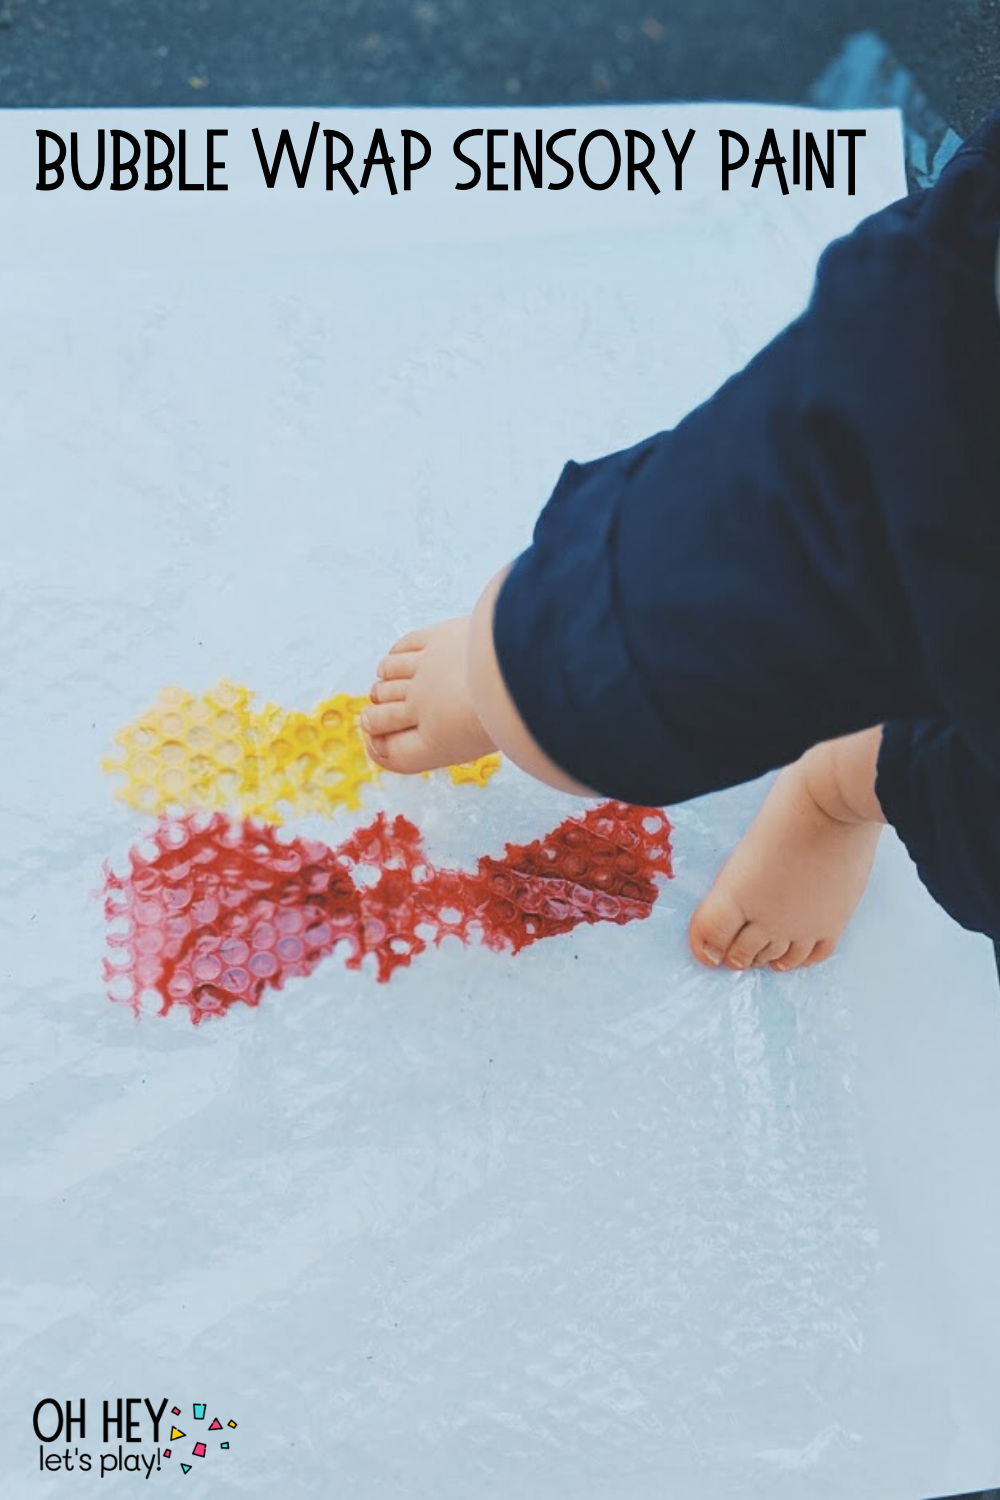
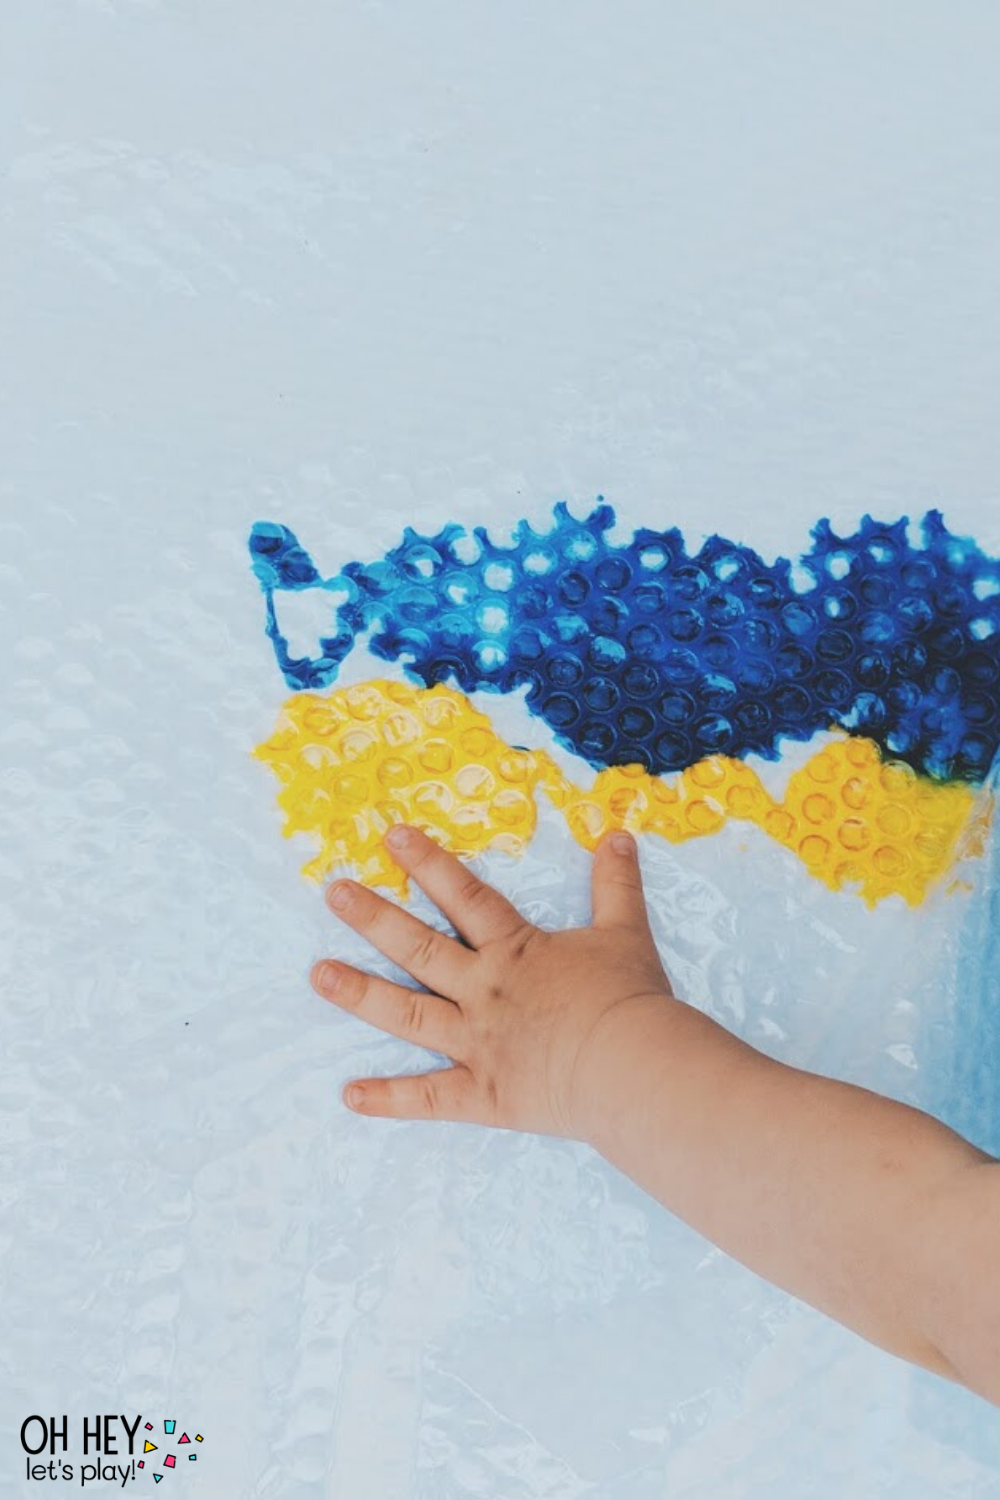
Bubble Wrap Sensory Paint
Materials:
- easel paper
- tempera paint
- bubble wrap
Here is another activity that combines art with sensory play. What toddler isn’t intrigued by bubble wrap?! I save this stuff whenever I come across it because there are so many fun ways to reuse it. For this activity, I was going for a “color mixing” vibe but you could just do any colors of paint. Squirt your paint onto the large piece of paper and then tape down a sheet of bubble wrap over it. You could use the wrap with the small bubbles or the big bubbles, and depending on what type of experience you want for your kiddo or which you think they’d enjoy more, you could either tape it with the bubble side up or down.
If you tape it bubble side down, you will likely get more texture to show up on the paper when you un-tape it. If you tape it bubble side up, you will get more of that sensory experience because I imagine the bubbles would pop more easily. I let Kade use his feet to walk along the bubble wrap/squish the paint around, and also his hands/fingers. Aside from the occasional paint oozing out the sides, this activity was fairly “mess-free” which is always an added bonus.
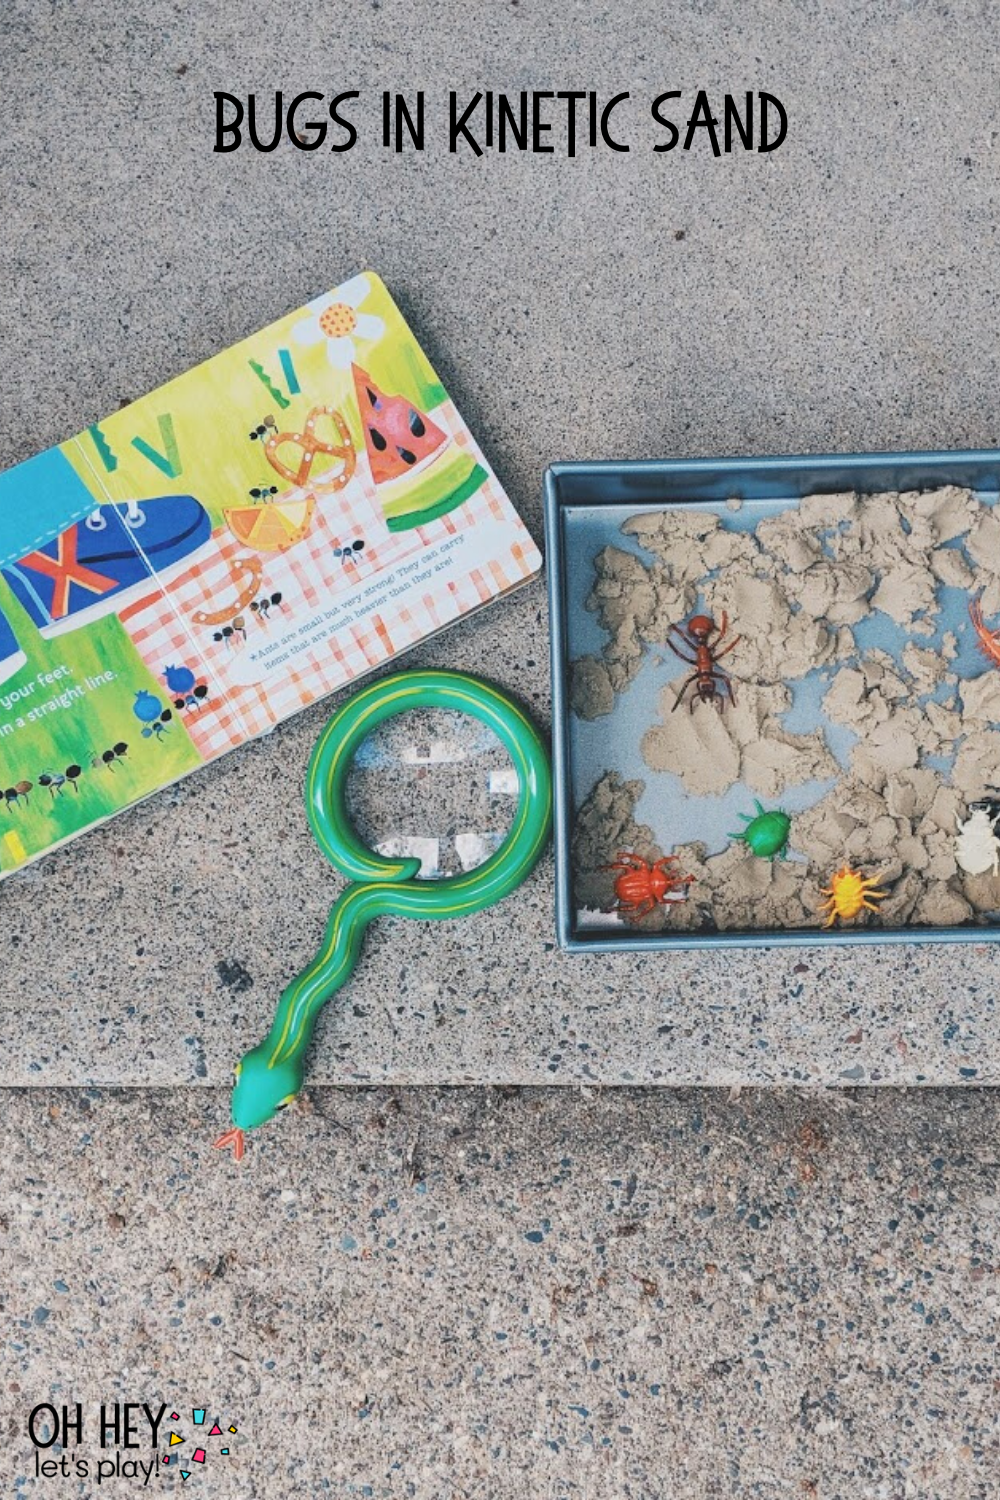
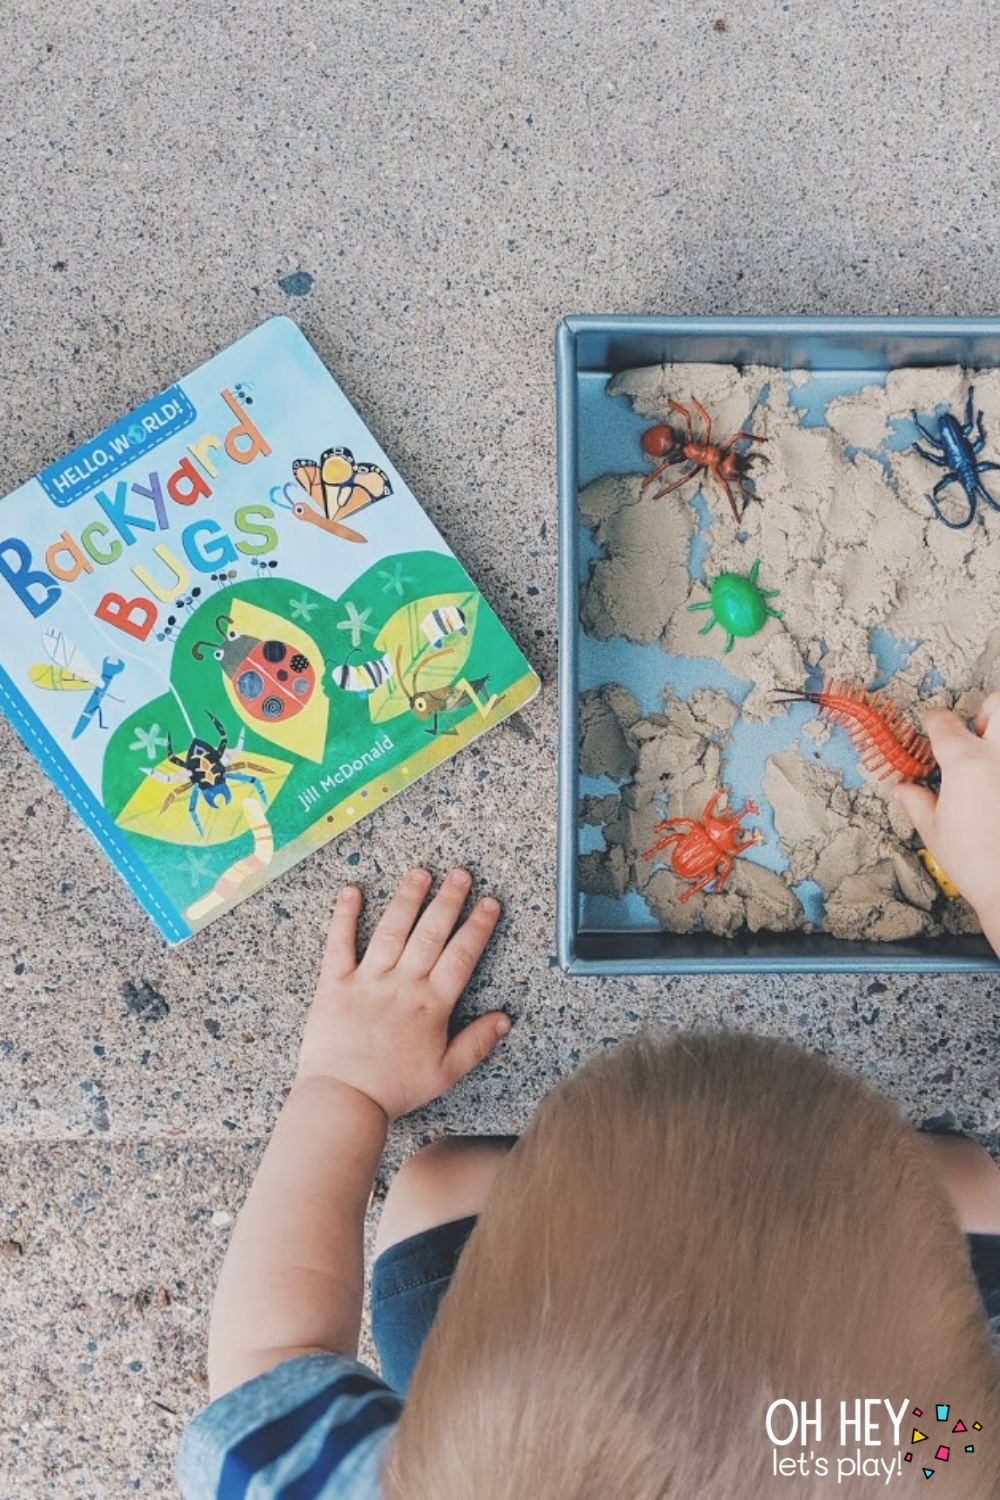
Bugs in Kinetic Sand
Materials:
- bugs
- also linking these bugs because it’s a great little game and lends itself to color sorting, too ;)
- kinetic sand
- baking pan or storage container
- magnifying glass
- “Backyard Bugs” by Jill McDonald
We love any chance we get to incorporate some literacy into our activities and this was an easy one to do that with. “Backyard Bugs” is a cute board book we have that features different common bugs with fun illustrations. Kinetic sand is super popular right now and can be found even at Target- it’s the BEST. It’s not real messy and has such a different texture than regular sand. This activity allows a lot of pretend play, opportunities for building vocabulary and is a fun sensory experience.
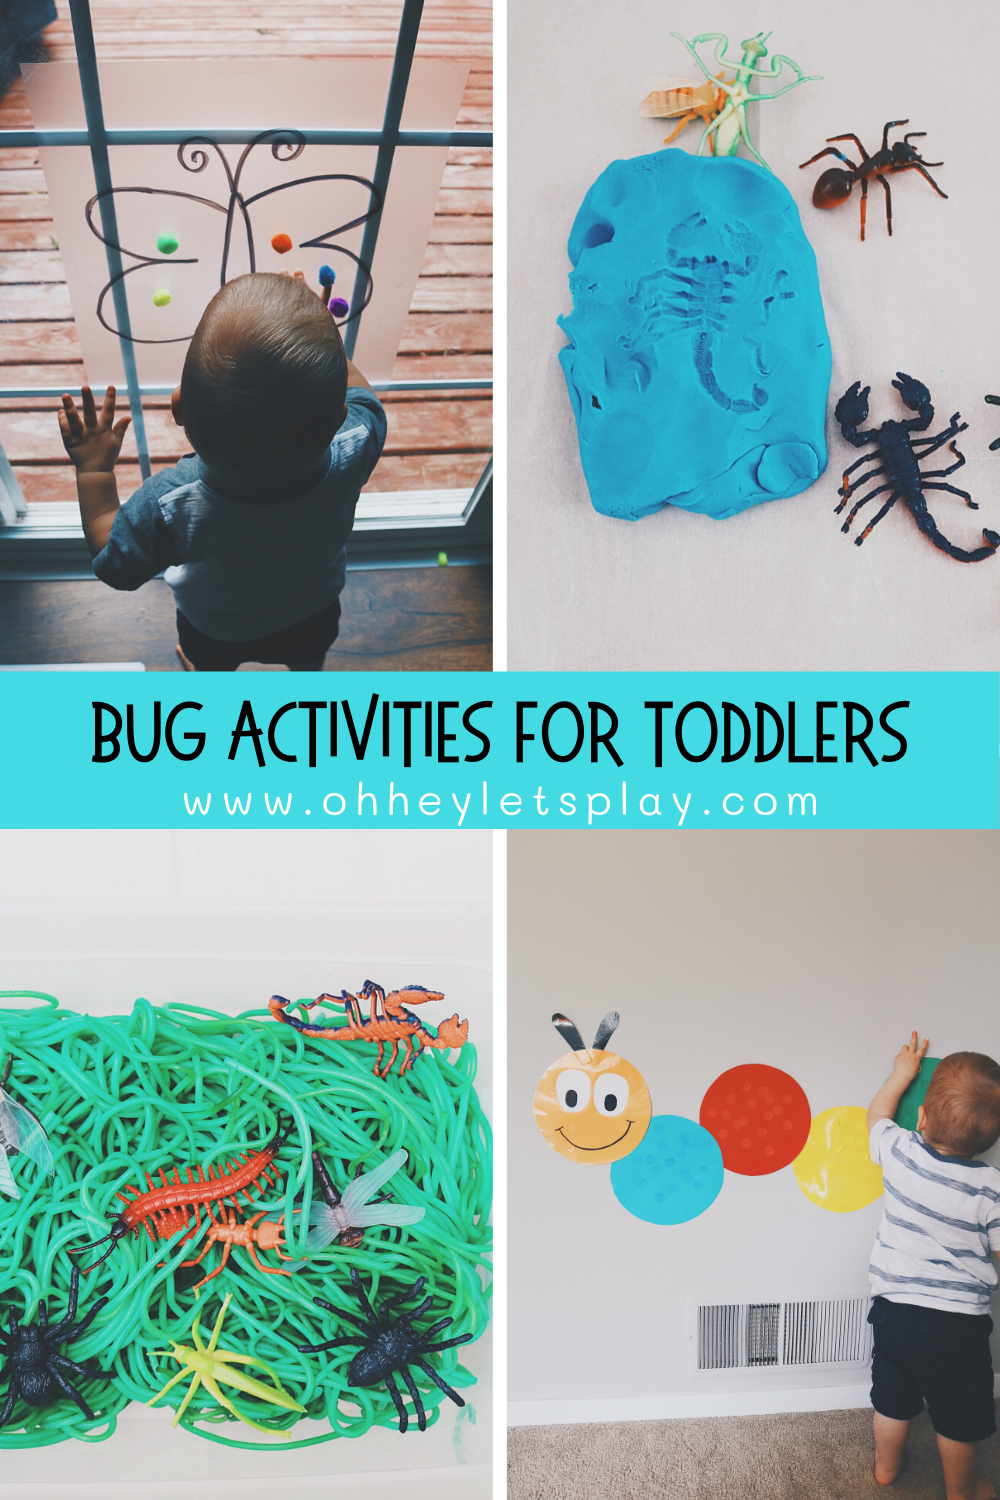
Want more creepy crawly activity ideas? Check out this Bug Activities for Toddlers post!
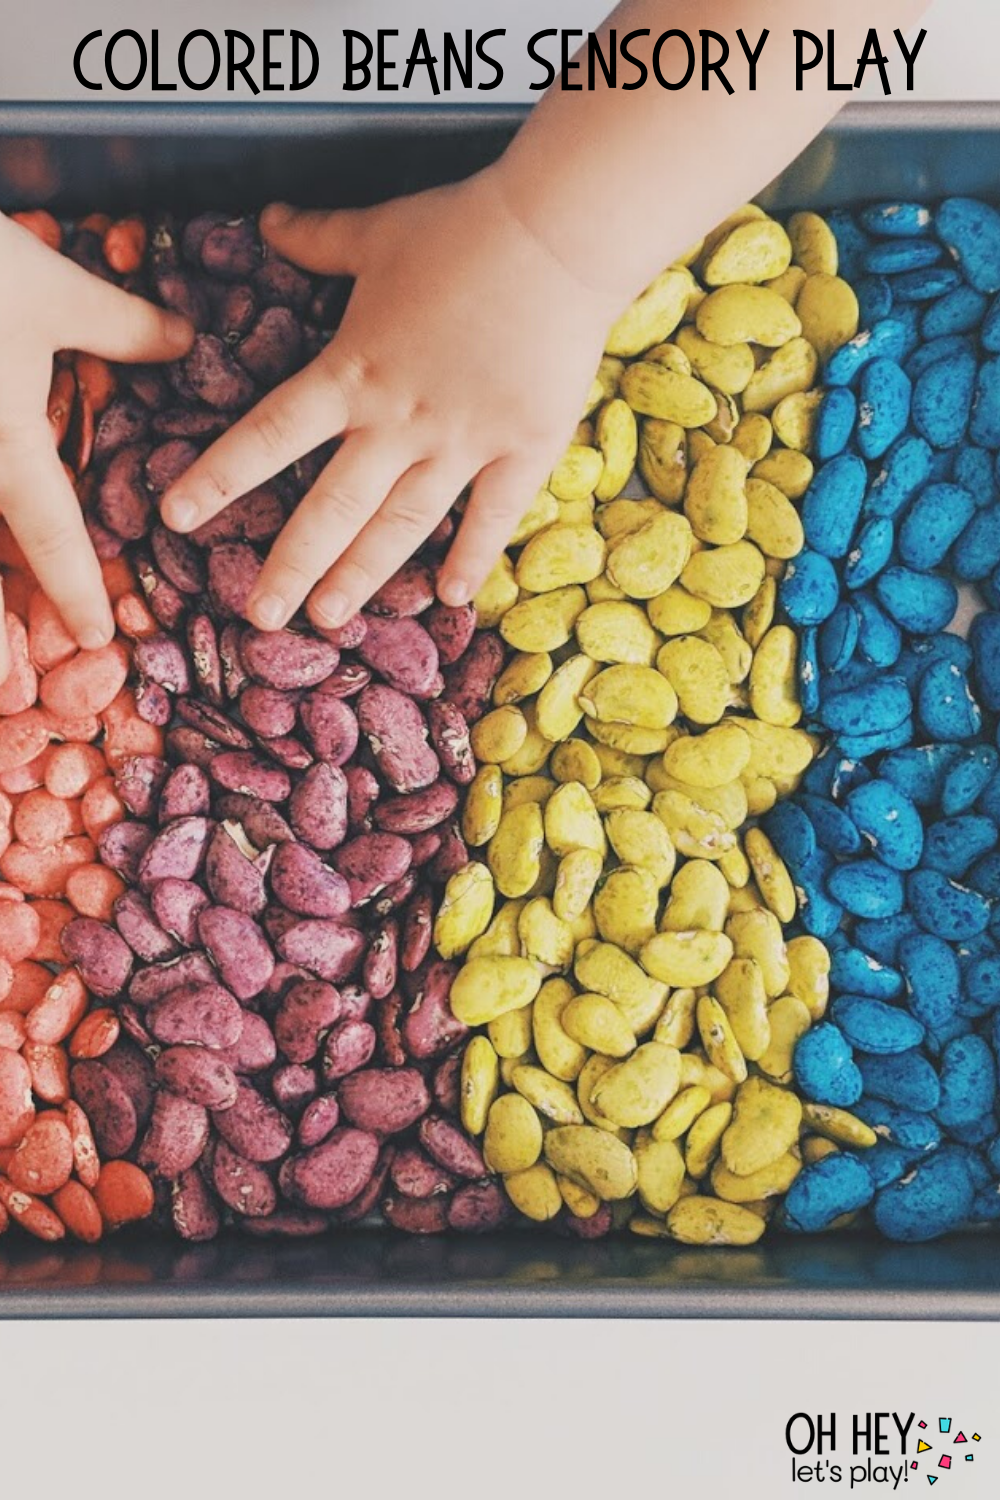
Colored Beans Sensory Play
Materials:
- dried white kidney beans
- distilled white vinegar
- food coloring
- small storage container or baking pan
- spoons, bowls/sensory play tools
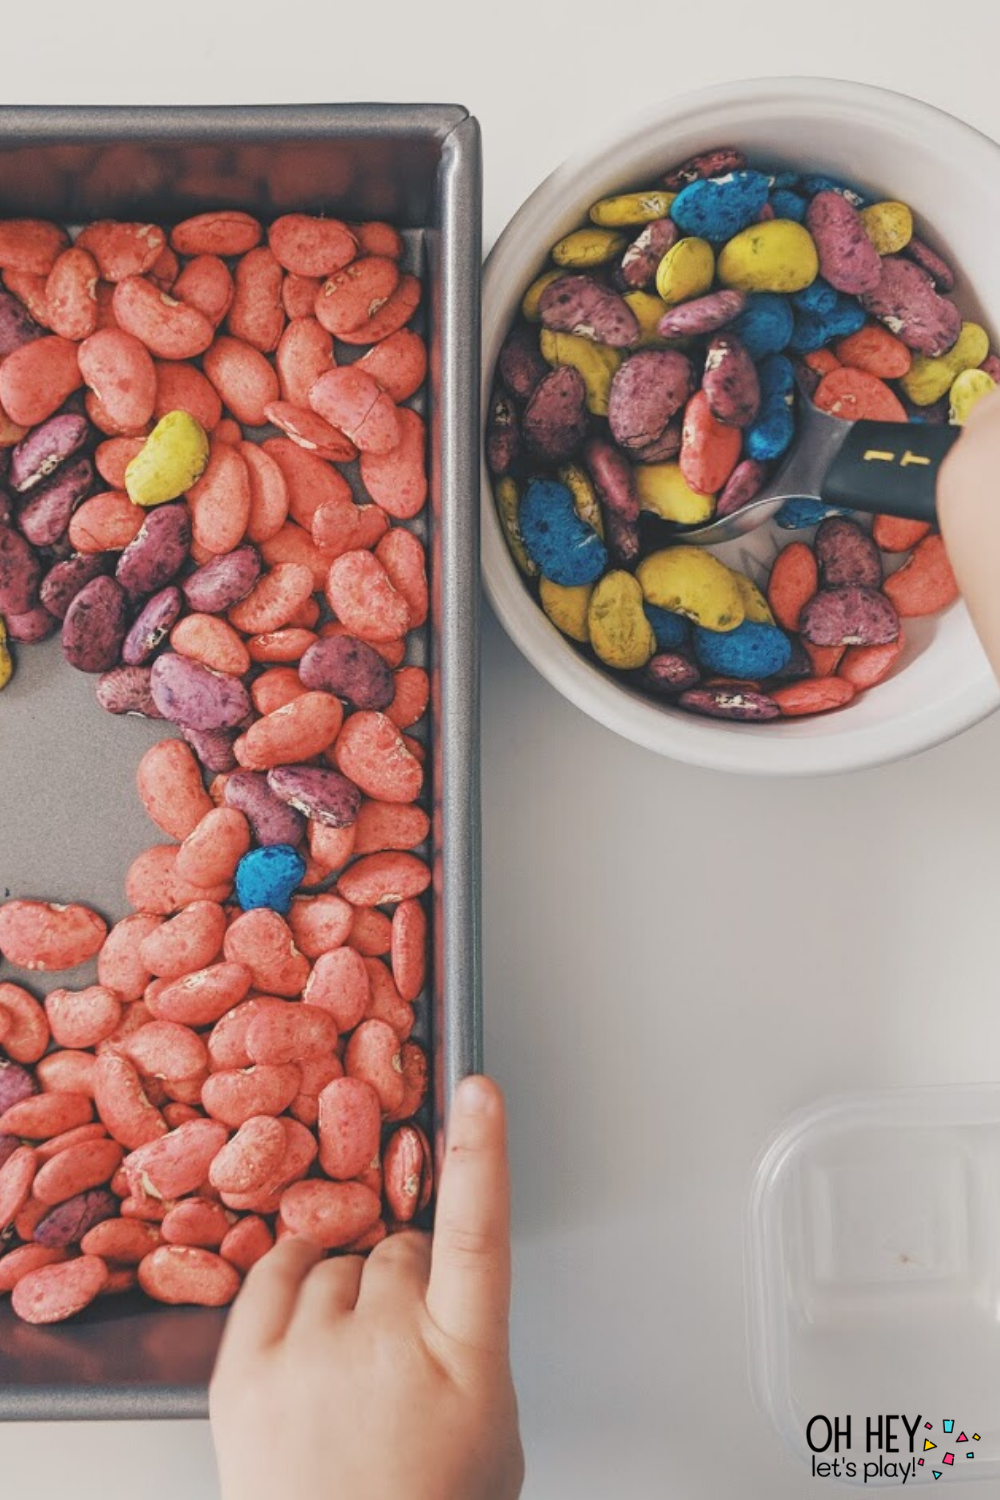
These dried, colorful beans are SO fun to play with. Don’t they look inviting? I’m pretty sure these were white kidney beans to start with and I dyed them using vinegar and food coloring. Just put about a cup of beans into a ziploc baggie, along with about 2 tablespoons of vinegar and a generous amount of food coloring. Seal the baggie and mix it all up until the food coloring is covering all the beans. Lay them out to dry on a cookie sheet for a couple hours and then they will be ready to play! I did four different colors pictured here so I did that process four separate times each with a different color food coloring. The colors turned out great and this kept Kade super busy!
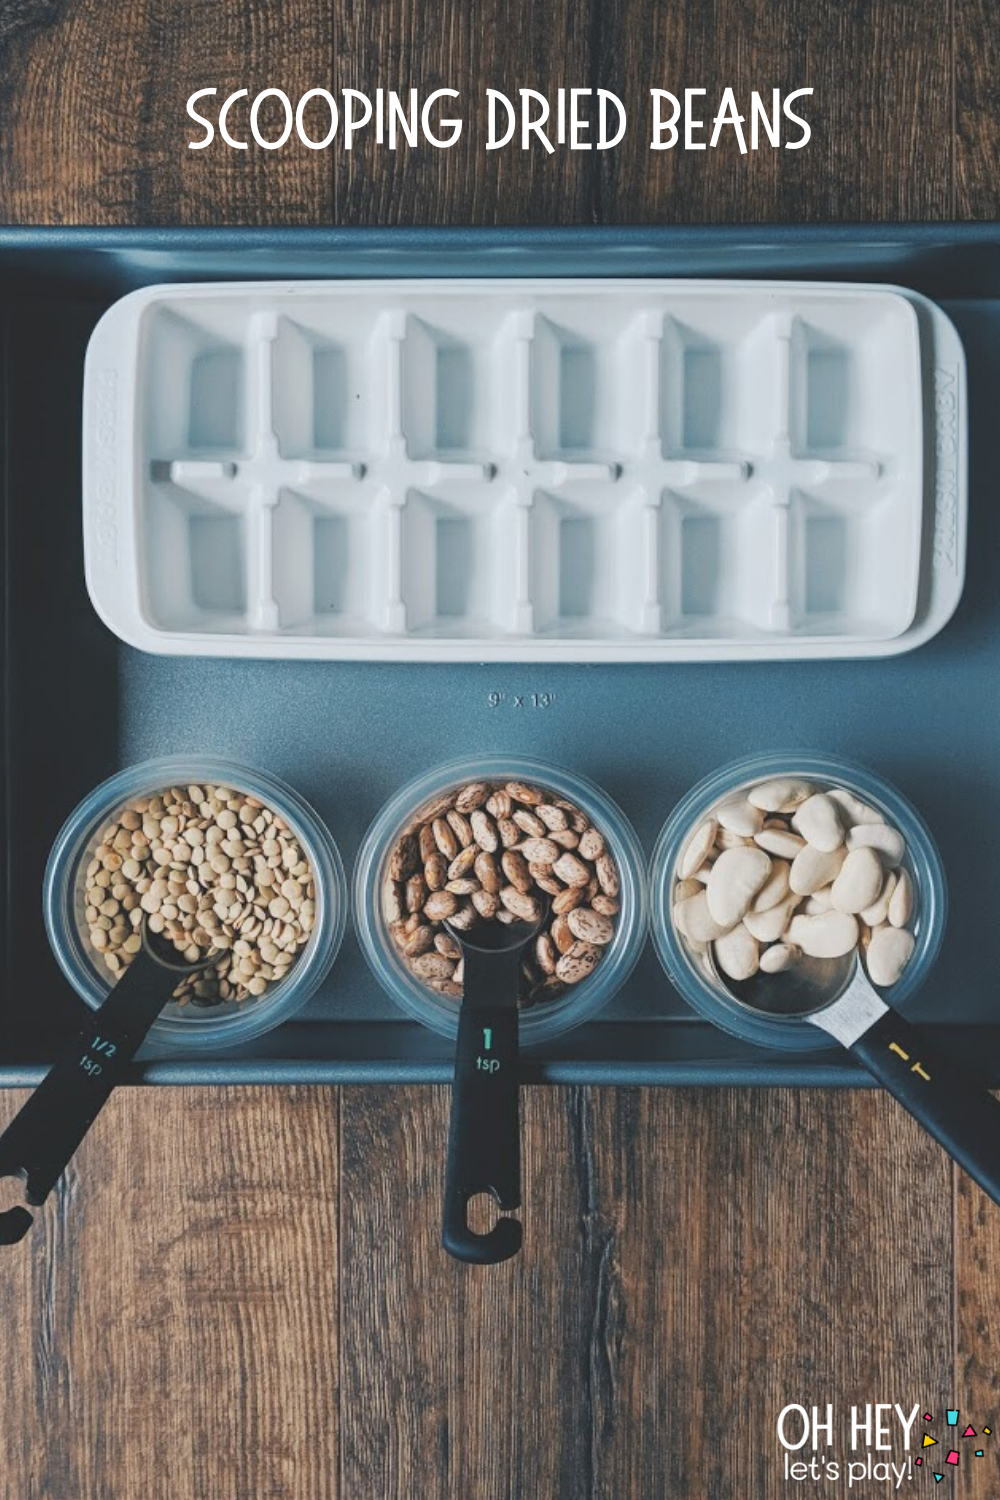
Scooping Dried Beans
Materials:
- different types of dried beans
- measuring spoons
- small containers/cups
- ice cube tray/muffin tin
- small storage container or baking pan
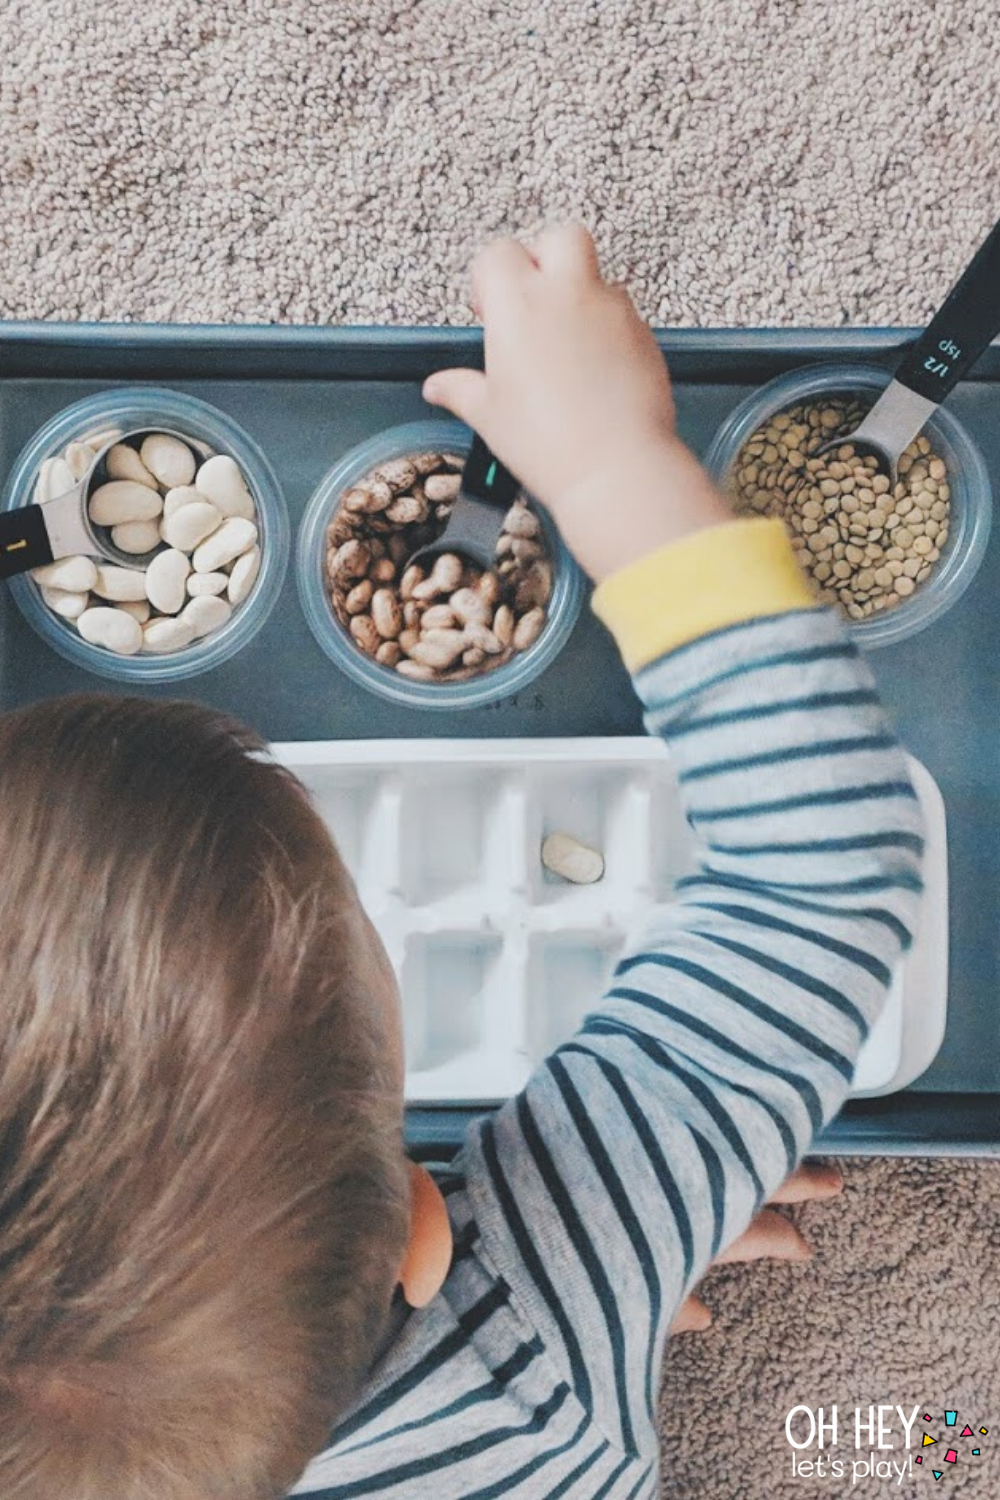
No color dying necessary for this activity. So much to explore in terms of textures, sounds, you name it. I used three different types of dried beans that I found at the store and just poured a little of each in a different container. There was no rhyme or reason to this activity other than to just let Kade have fun mixing, scooping, dumping, pouring, exploring, and playing. Sometimes the best activities are the ones where we let THEM come up with the rules. It’s so fun to see the different ways they decide to play when we just set the materials in front of them.
You better believe all these beans ended up in that pan all mixed together by the end. Which is FINE! That’s how he wanted to play and we rolled with it. :)
If you like this idea, check out this Farm-Themed Invitation to Play with dried beans and an intro to sequencing!
Pom Pom Sensory Bin
Materials:
- pom poms
- sparkly pom poms
- small storage container
- spoons
- small containers to fill
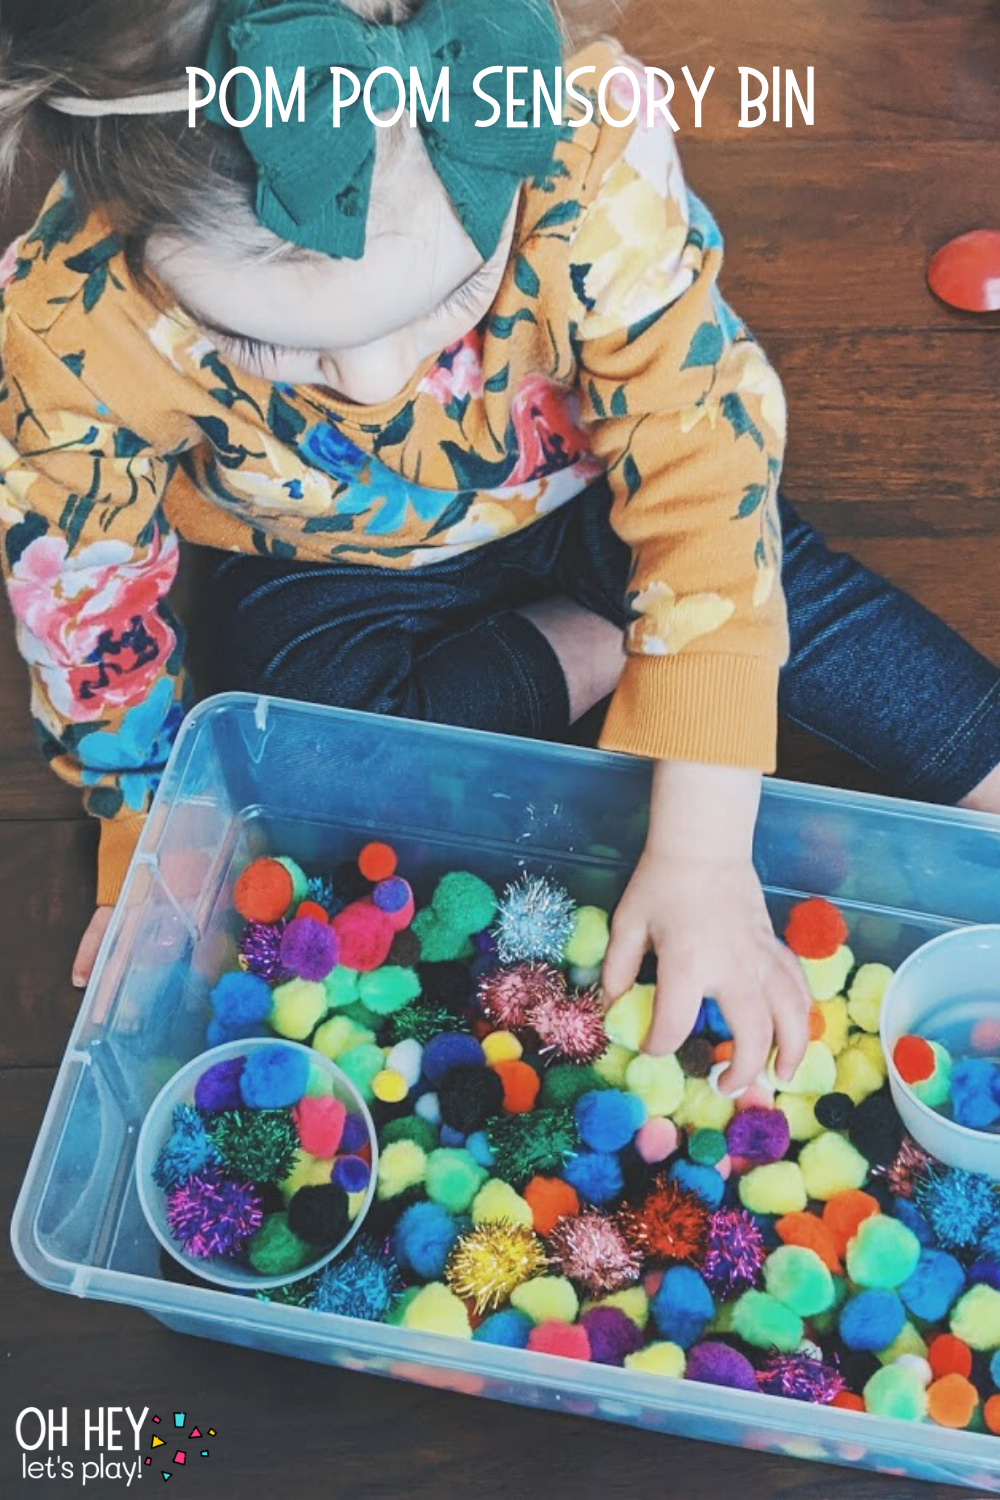
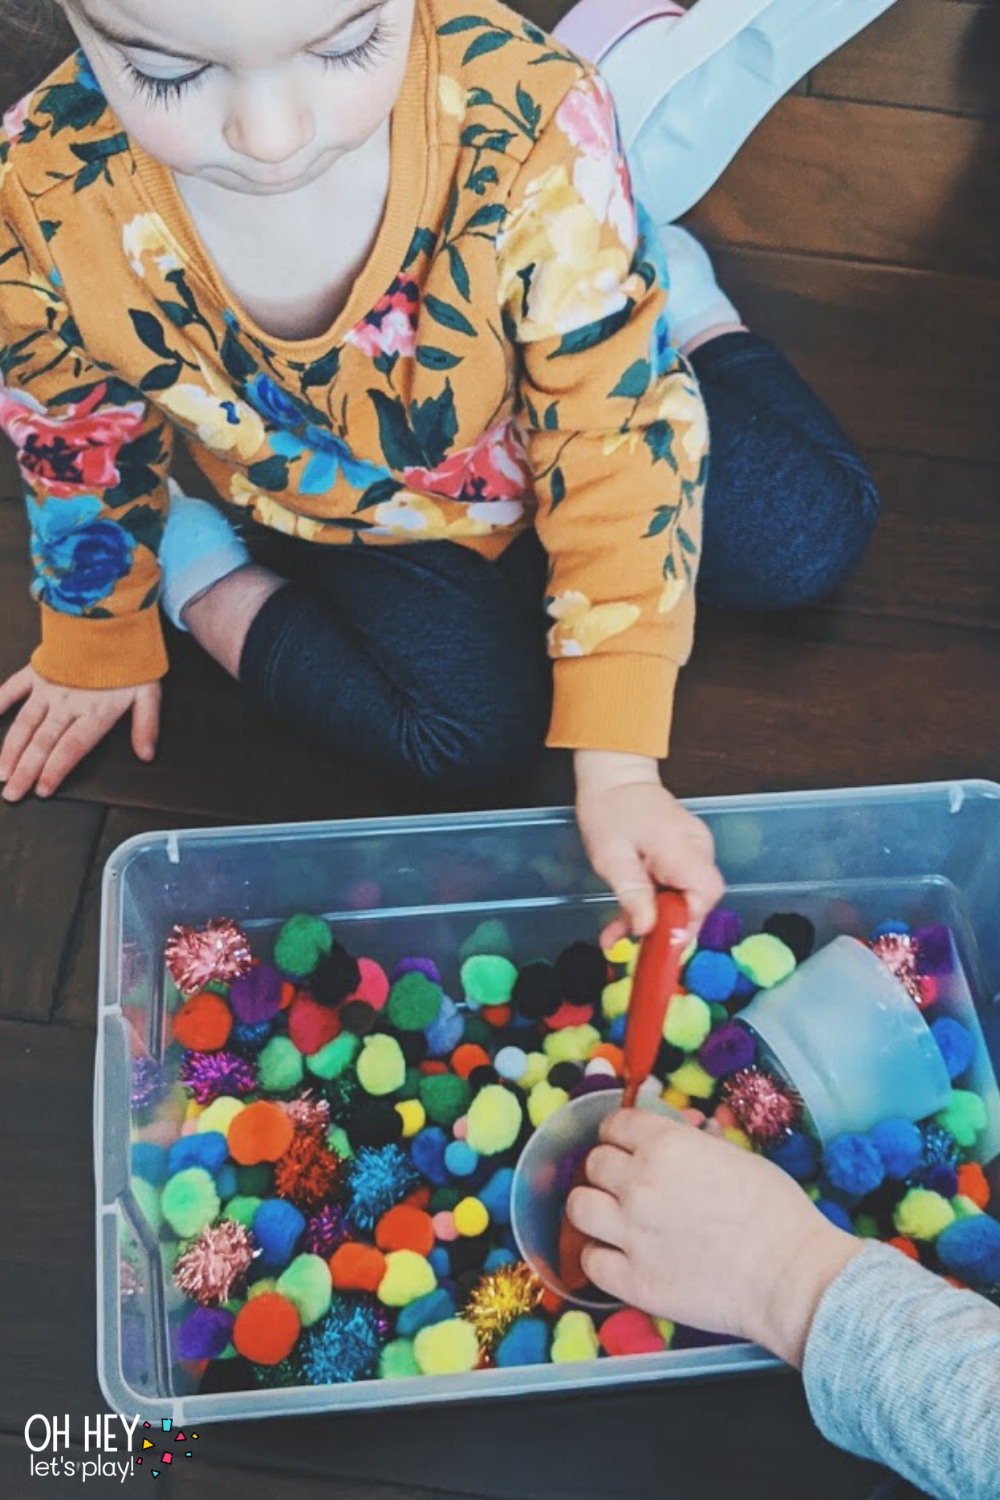
Super quick and easy for this one- dumped all of our poms into a small bin, set out some spoons and bowls and that’s it! Tatum loves these poms as much as Kade did and sometimes when you’re in a pinch for some quick entertainment, simple is best. Later on I ended up setting out a muffin tin for some sorting opportunities as well (which was mostly for big brother but little ones learn so much by watching their older siblings)!
Don’t miss this post about Melting Frozen Pom Poms!
Poms in Water
Materials:
- pom poms
- small storage container
- water
- measuring cups/shovels etc.
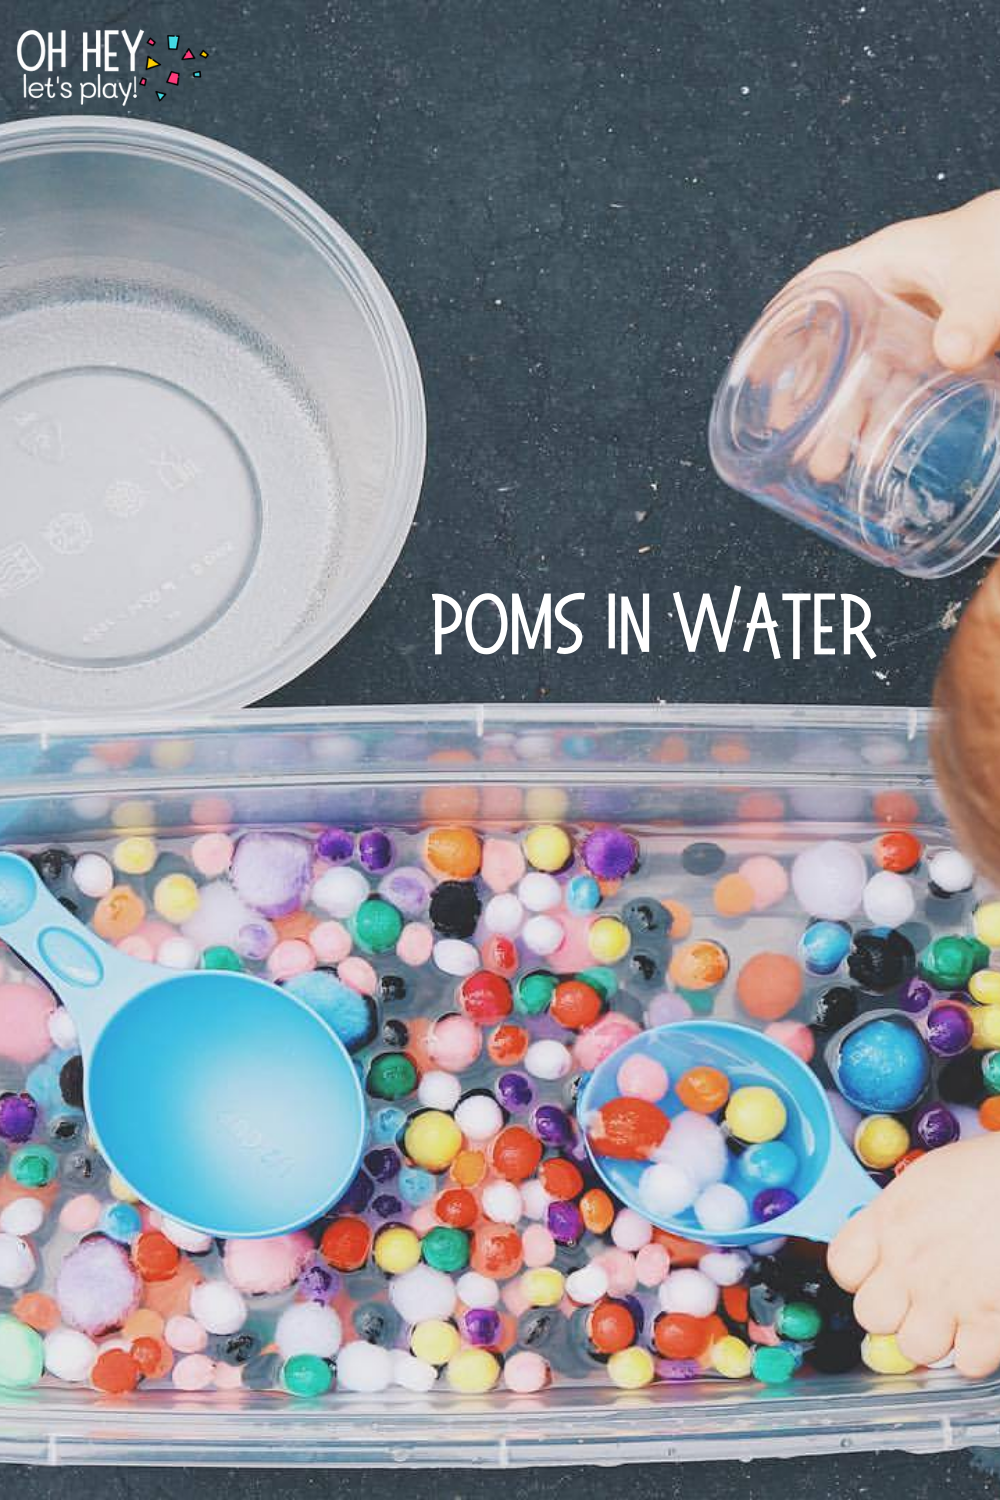
Just add water to the last activity and you have this activity! We used measuring cups that are good for scooping for this activity but spoons or shovels would be fun too. Wet poms are great because they become super squishy. The best part is when it’s time to clean up, just drain the water, take a handful of poms at a time and squeeze them out as best you can, then lay them out on a towel to dry and they come back to life for you to continue to use as regular poms, or to use in water all over again. :) This activity is one of our faves!
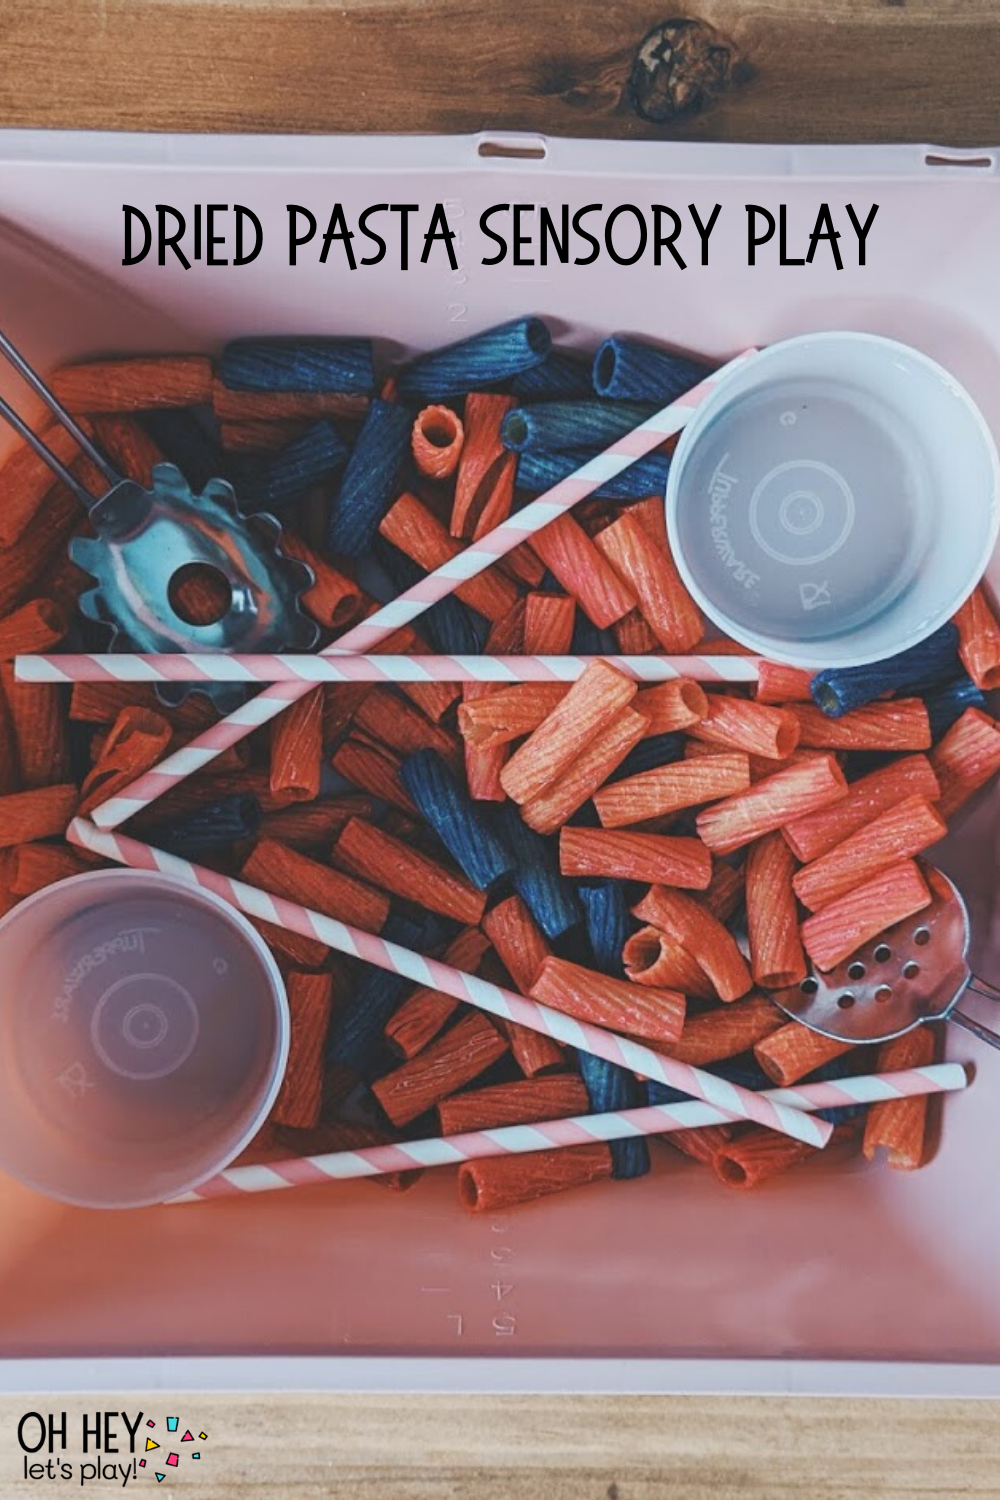
Dried Pasta Sensory Play
Materials:
- rigatoni pasta
- small storage container
- straws
- spoons
- small bowls/cups/containers
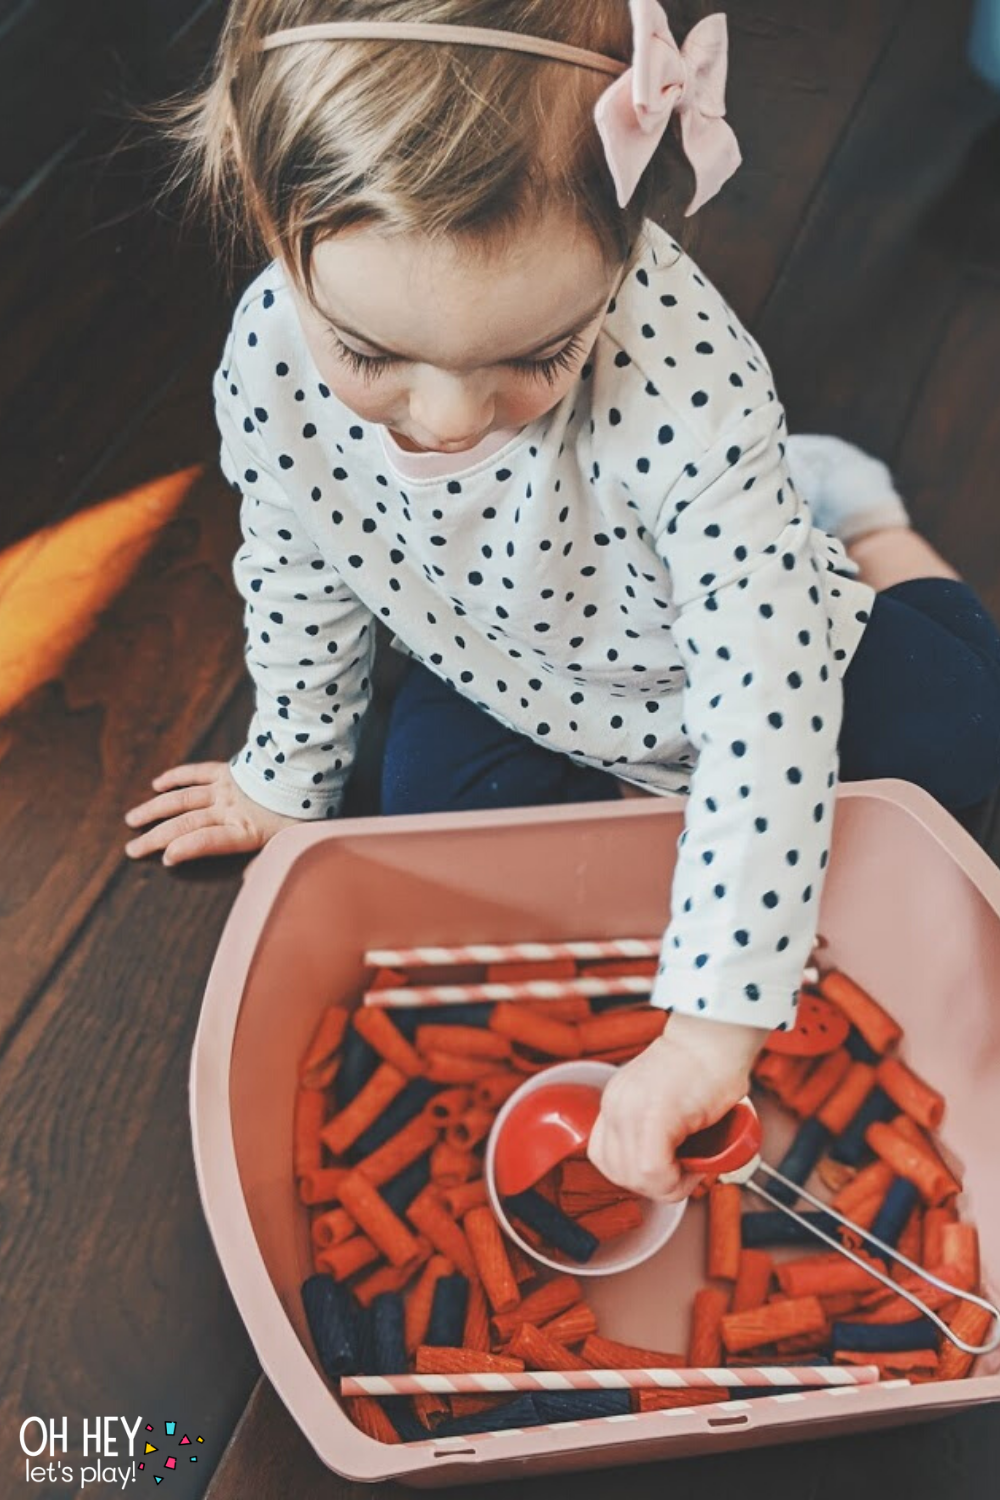
More pretend play happening here- kids were pretending to make “soup.” ;) Along with pretend play, you get sensory play and also fine motor if you use rigatoni. Tatum like to stick these noodles on her little fingers and if you happen to have a spoon with a hole in the middle, these fit perfectly through the hole. We used some spoons we have from our Melissa & Doug kitchen utensil set and they worked perfectly for this. I love using those for sensory play!
I dyed the pasta a few years ago and we pull these out around Valentine’s day but you definitely do not need to do that. I dyed them the same way I dyed the dried beans, and the same way I dye rice (about a cup of the pasta with about 2 tablespoons of vinegar, and a generous amount of food coloring all mixed together in a large ziploc until the dye is covering all the pasta- lay out to dry for a few hours before playing).
You can use different types of dried pasta too- rotini would be fun if you want a corkscrew vibe, or you could use elbow macaroni, bow tie, or honestly whatever you have on hand!
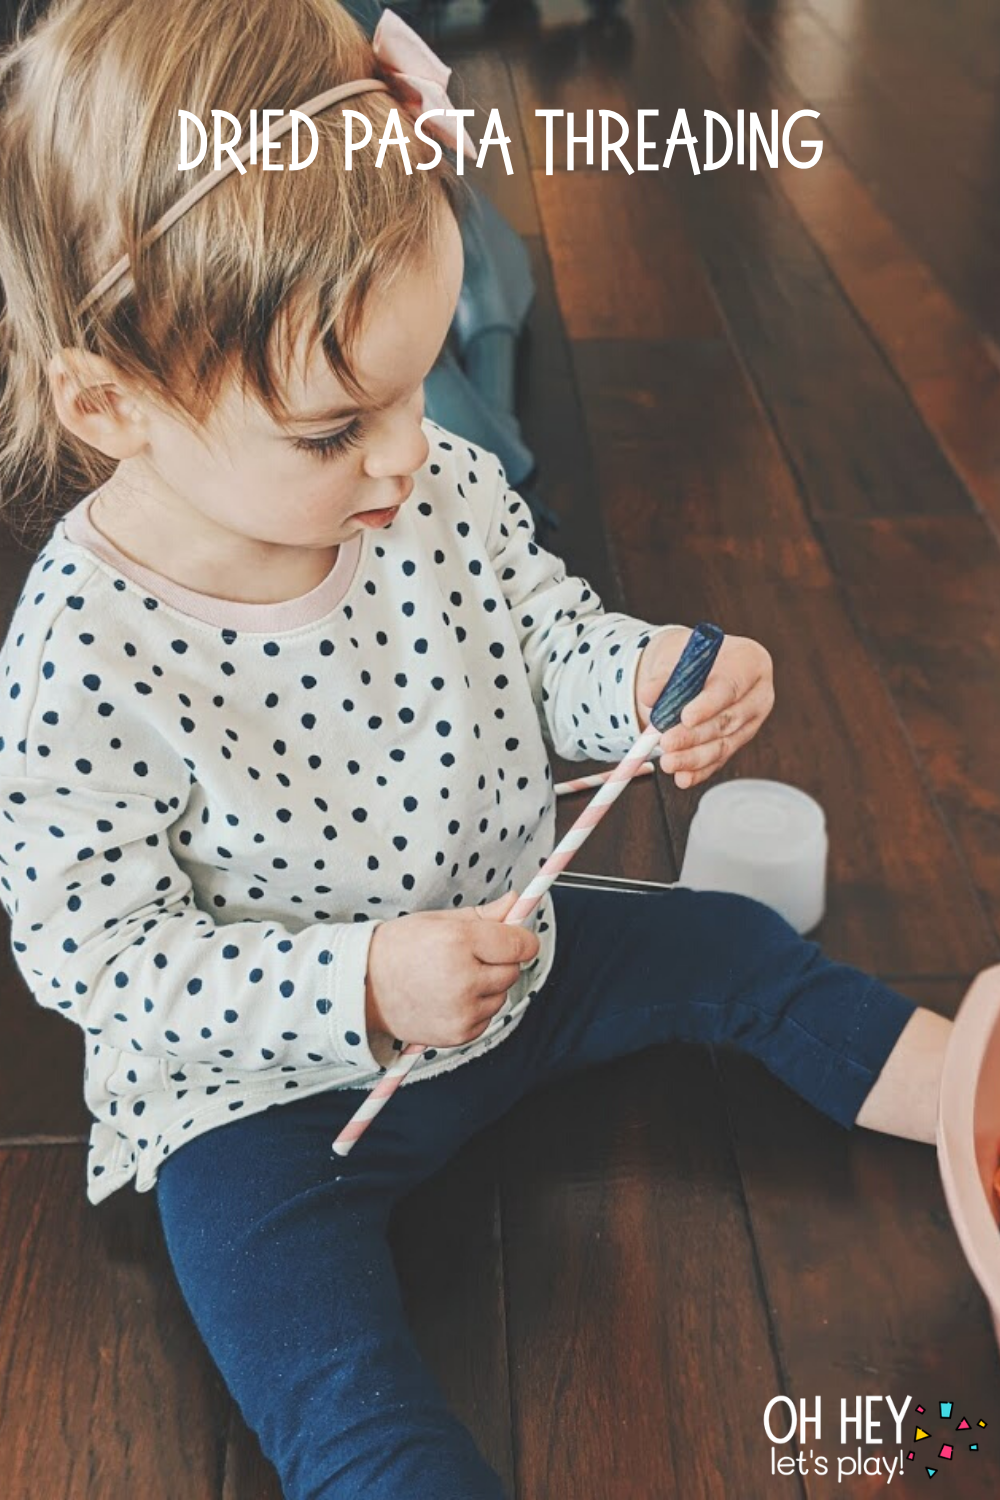
Dried Pasta Threading
Another way to use this rigatoni pasta is for threading- a great way to build fine motor skills. I used these paper straws that we had but you could use regular plastic straws, or even pipe cleaners.
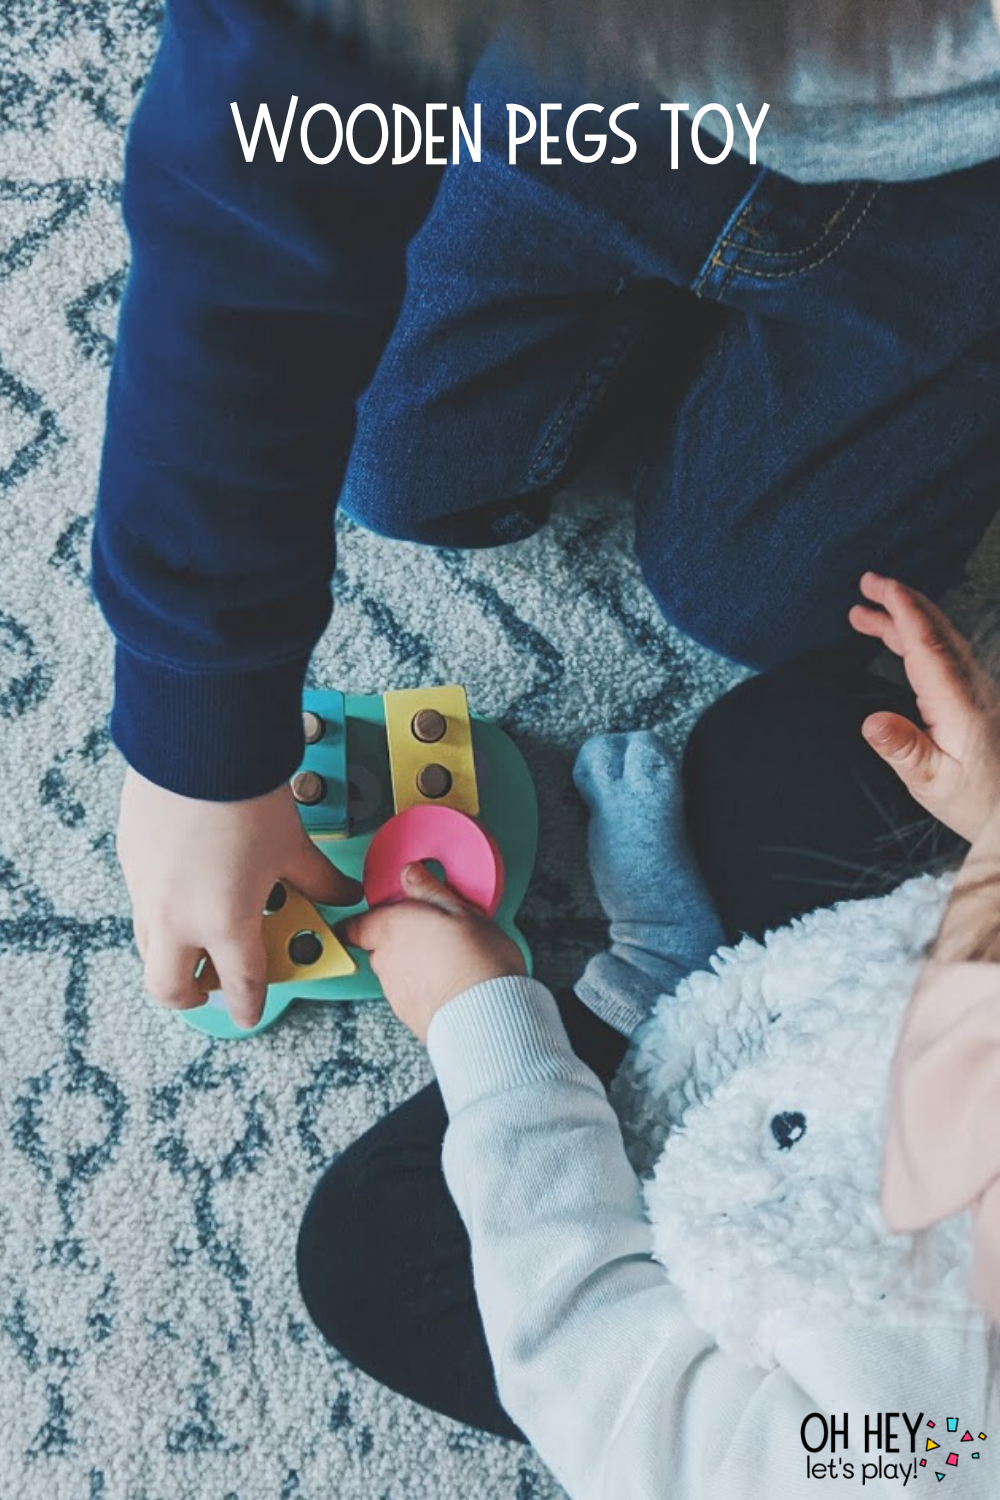
Wooden Pegs Toy
Materials:
- this toy
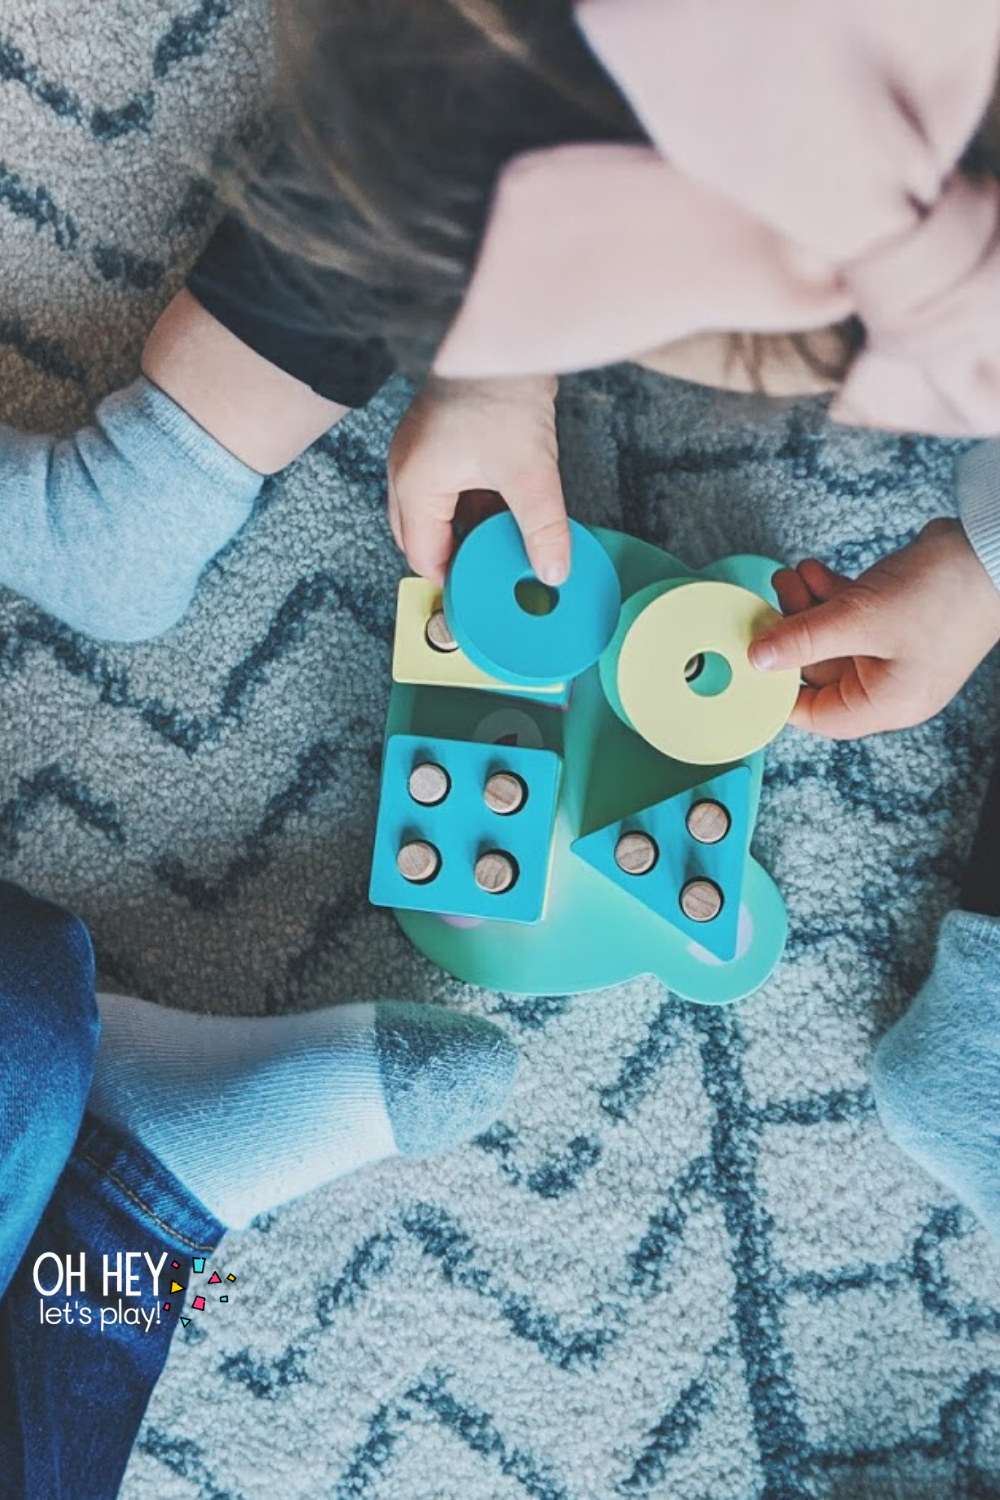
This was a Christmas gift this year and has been great for both of my kiddos (19 months and 3.5). So many skills covered from fine motor to color sorting to counting. We also sometimes build with the little pieces, make patterns with them or see how high we can stack them. Love a good, open-ended toy like this one!
Hair Ties on a Straw
Materials:
- small hair ties
- cup with a straw
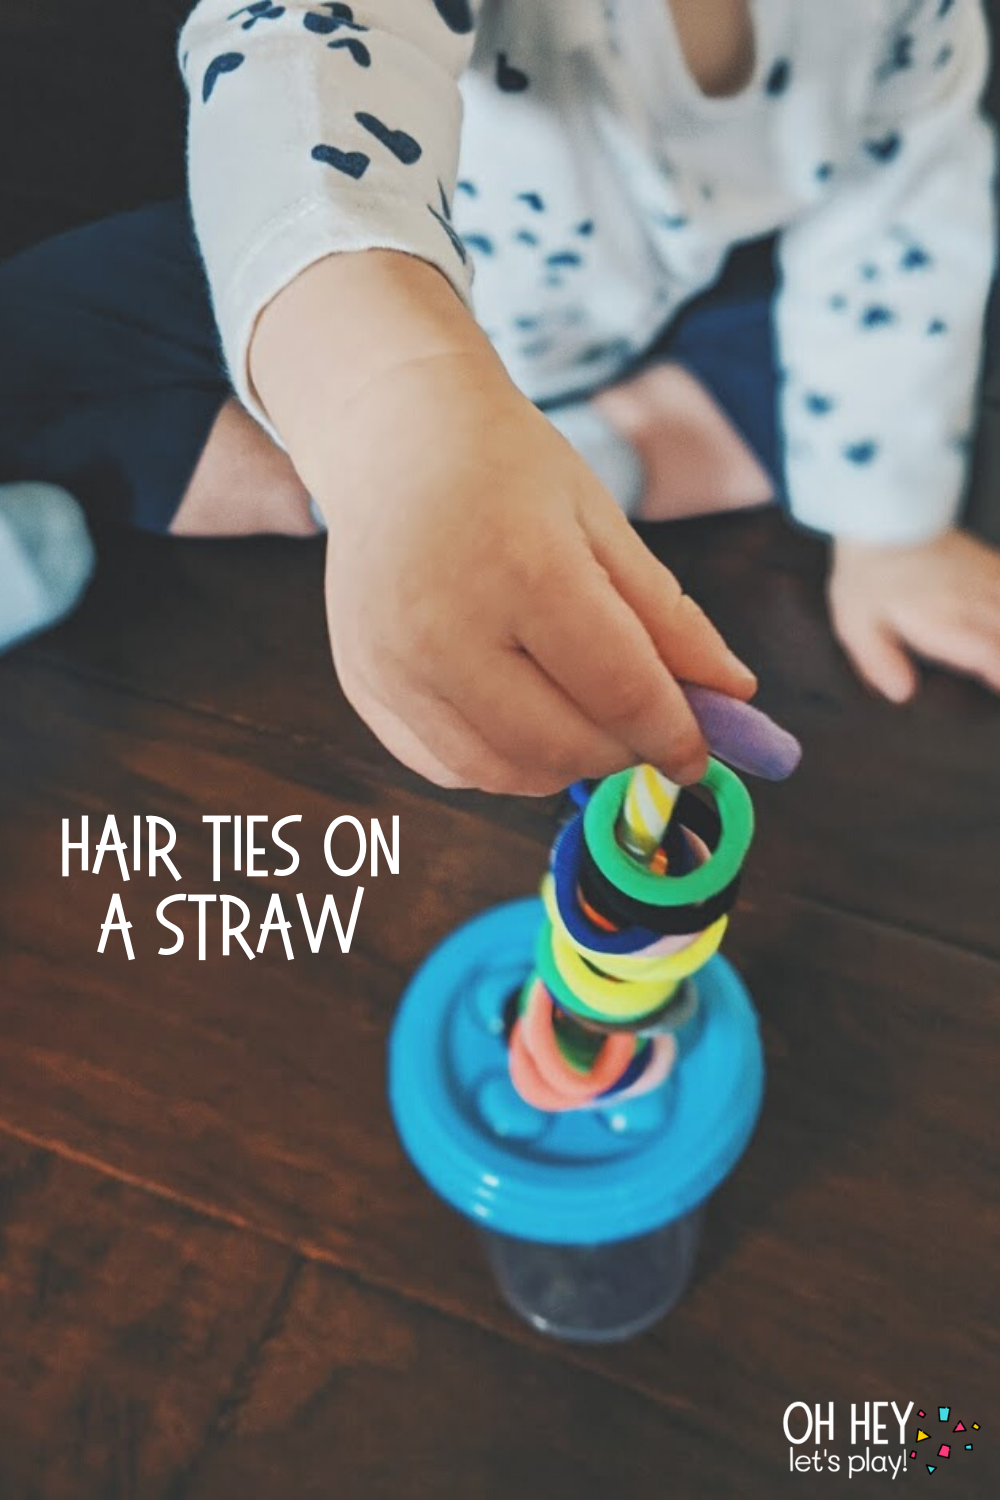
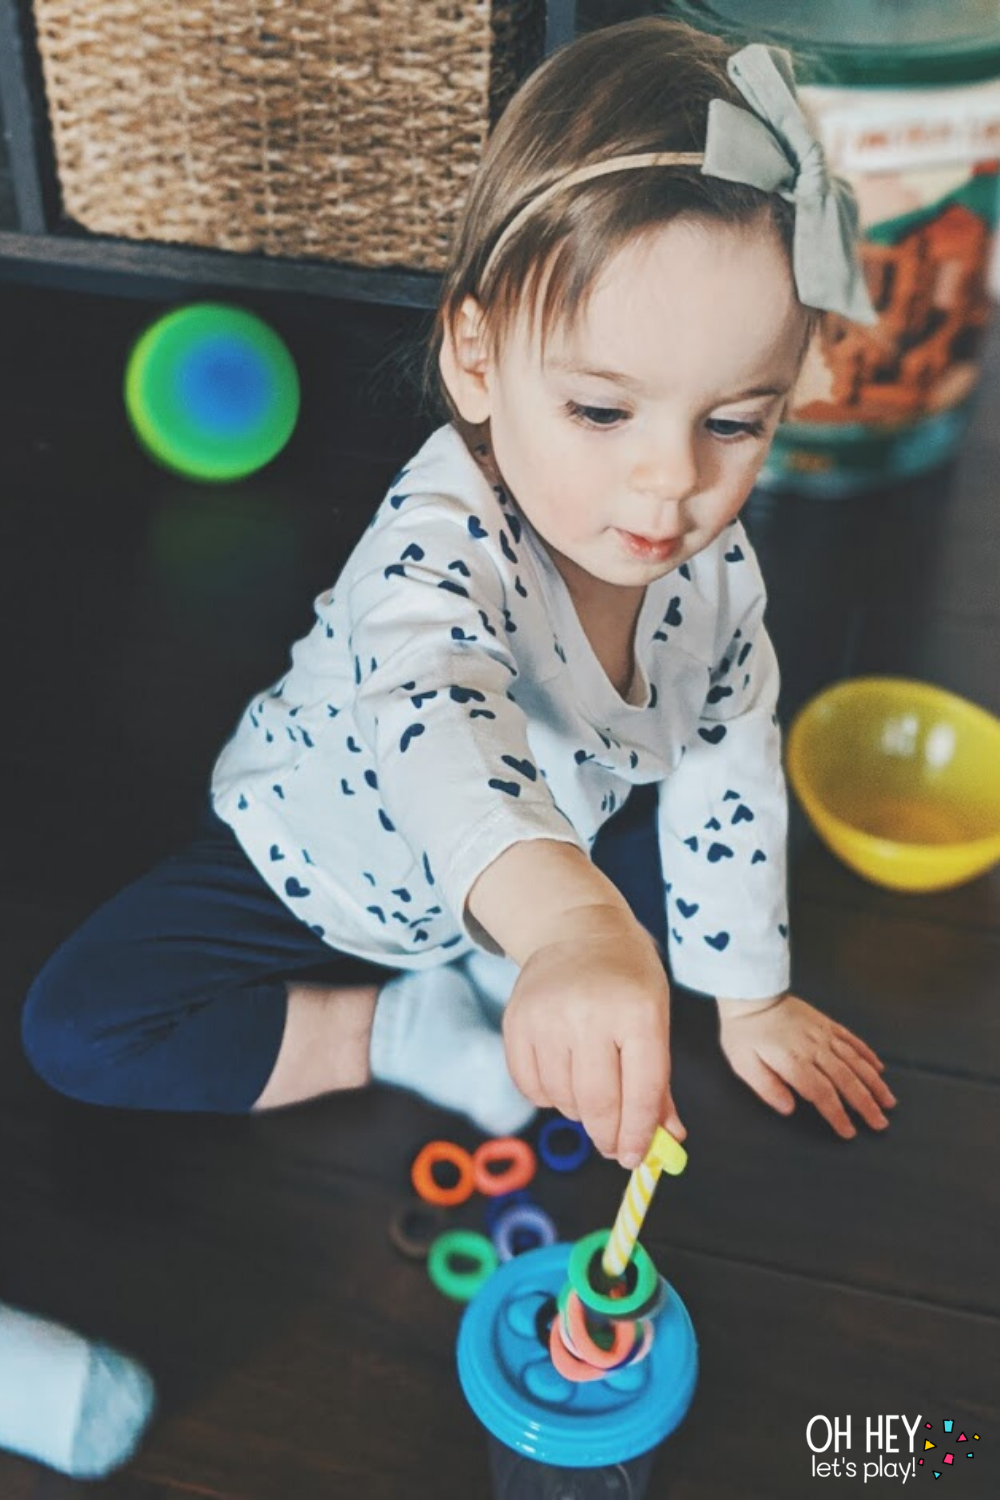
There are a few different ways you could modify this activity. I used the little toy cup that came with this Melissa & Doug blender (which my kids love, btw), but you could use any regular-sized tumbler. You could also stick a plastic straw in some play doh to get it to stand up rather than using a cup. Tatum loves this one and it’s a great way to work on fine motor skills!
Popsicle Stick Drop
Materials:
- empty puffs container
- scissors
- craft sticks
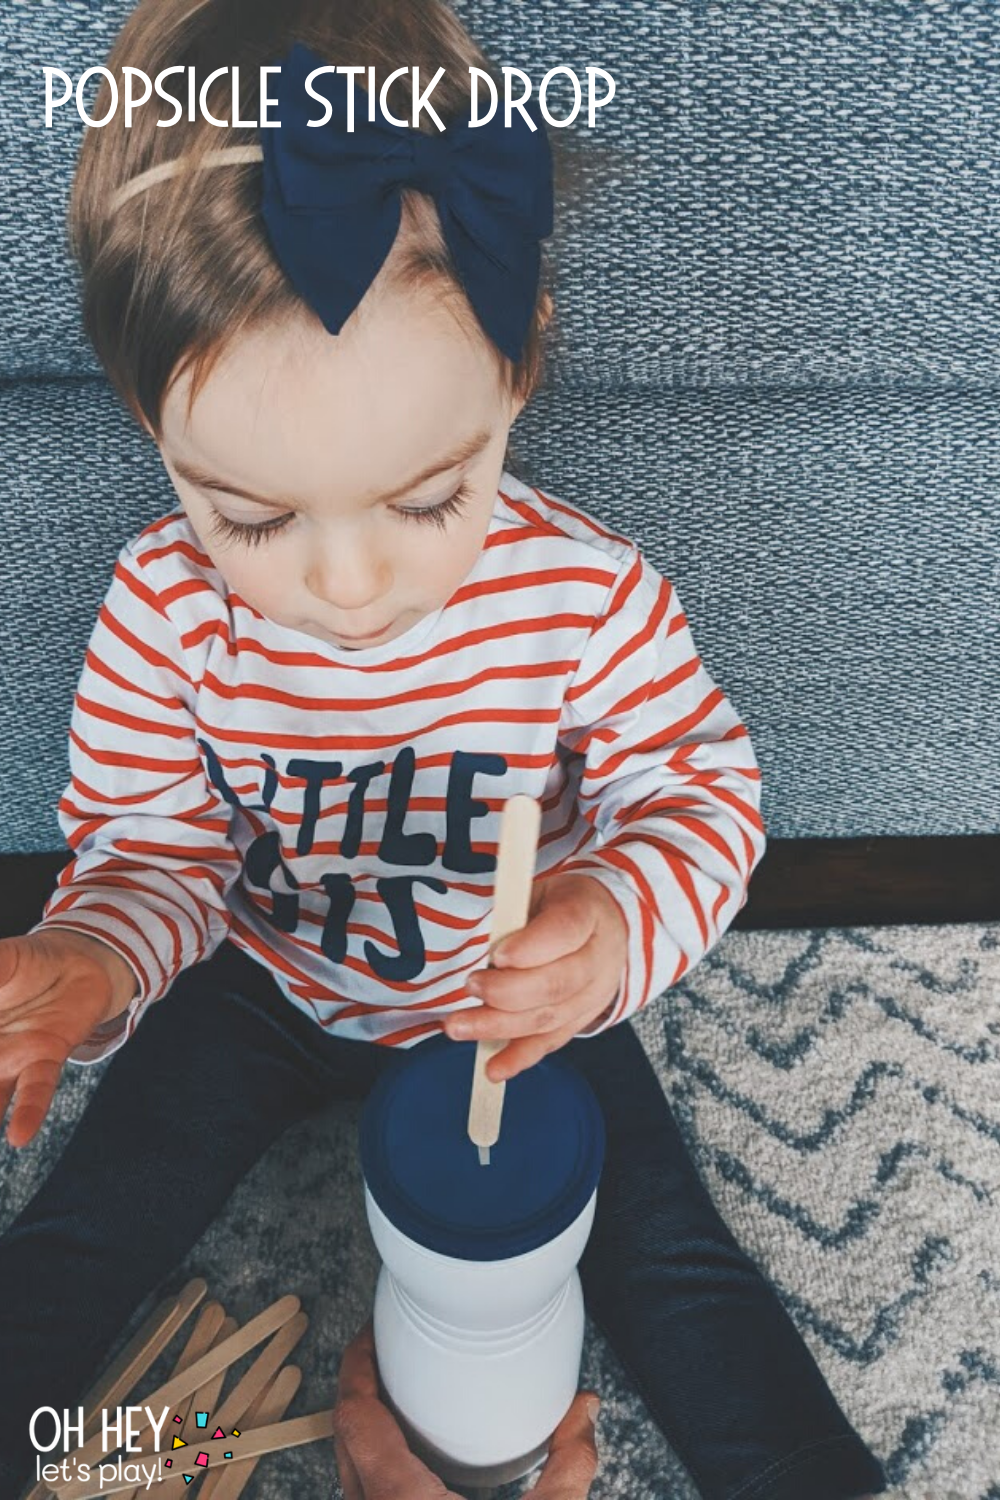
I always try to save containers like this just in case I come across an activity idea like this one. This specific container worked well because the lid was thin and flimsy enough that I could fold it in half to make the slit the size I wanted. I peeled the wrapper off the container to avoid any confusion ;) and grabbed a handful of craft sticks. We keep this one out quite a bit and Tatum always goes back to it. Another great fine motor activity!
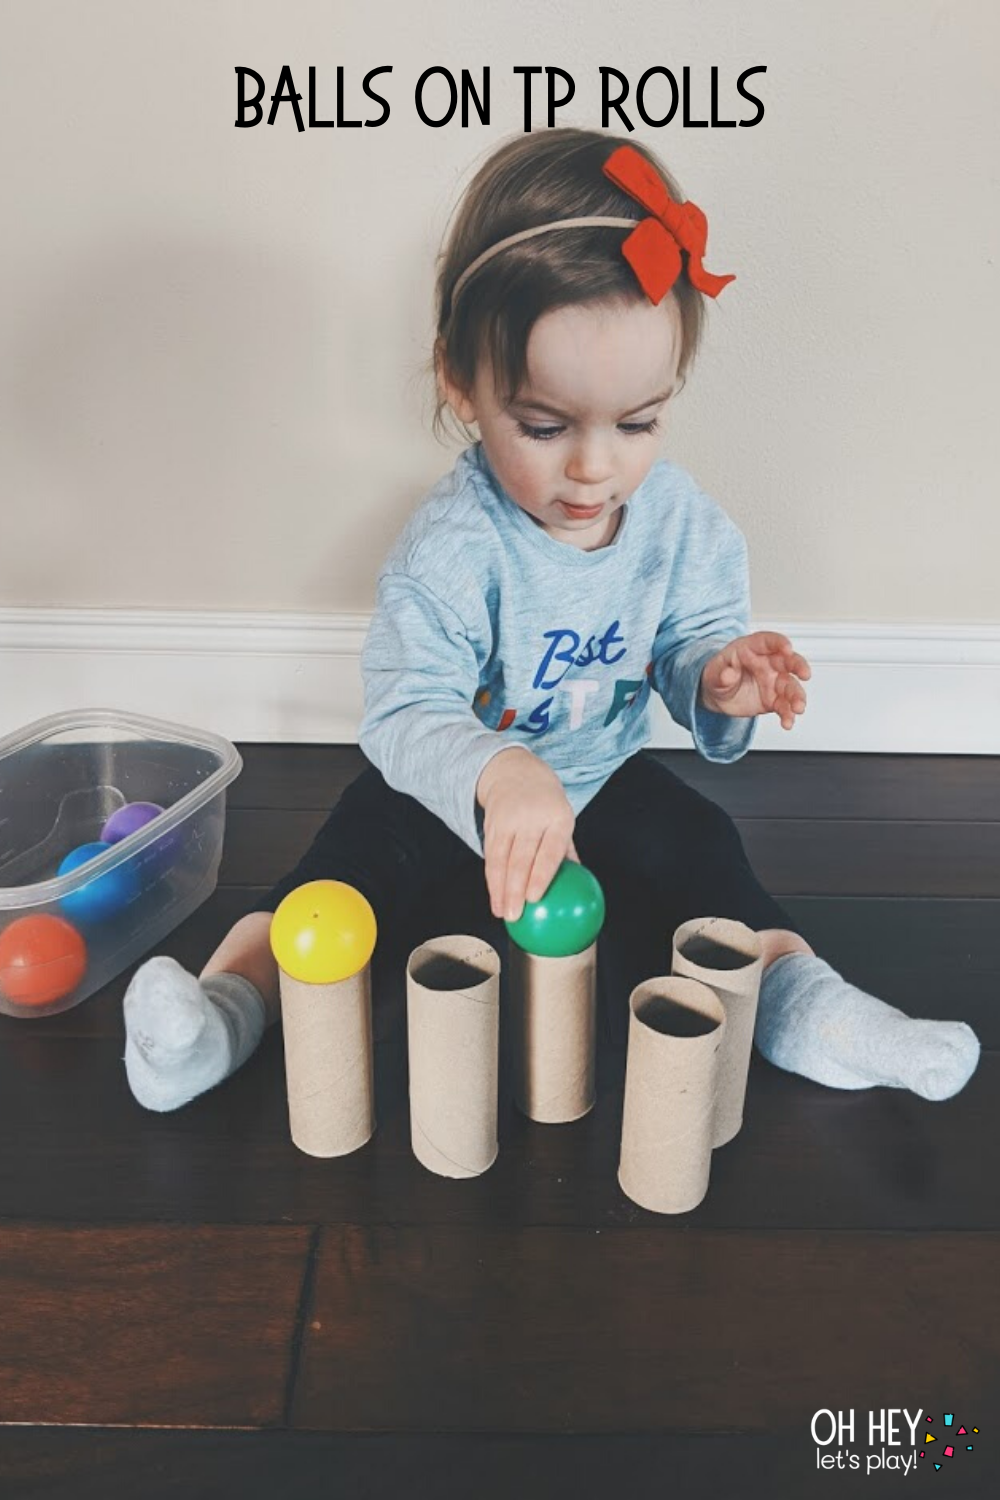
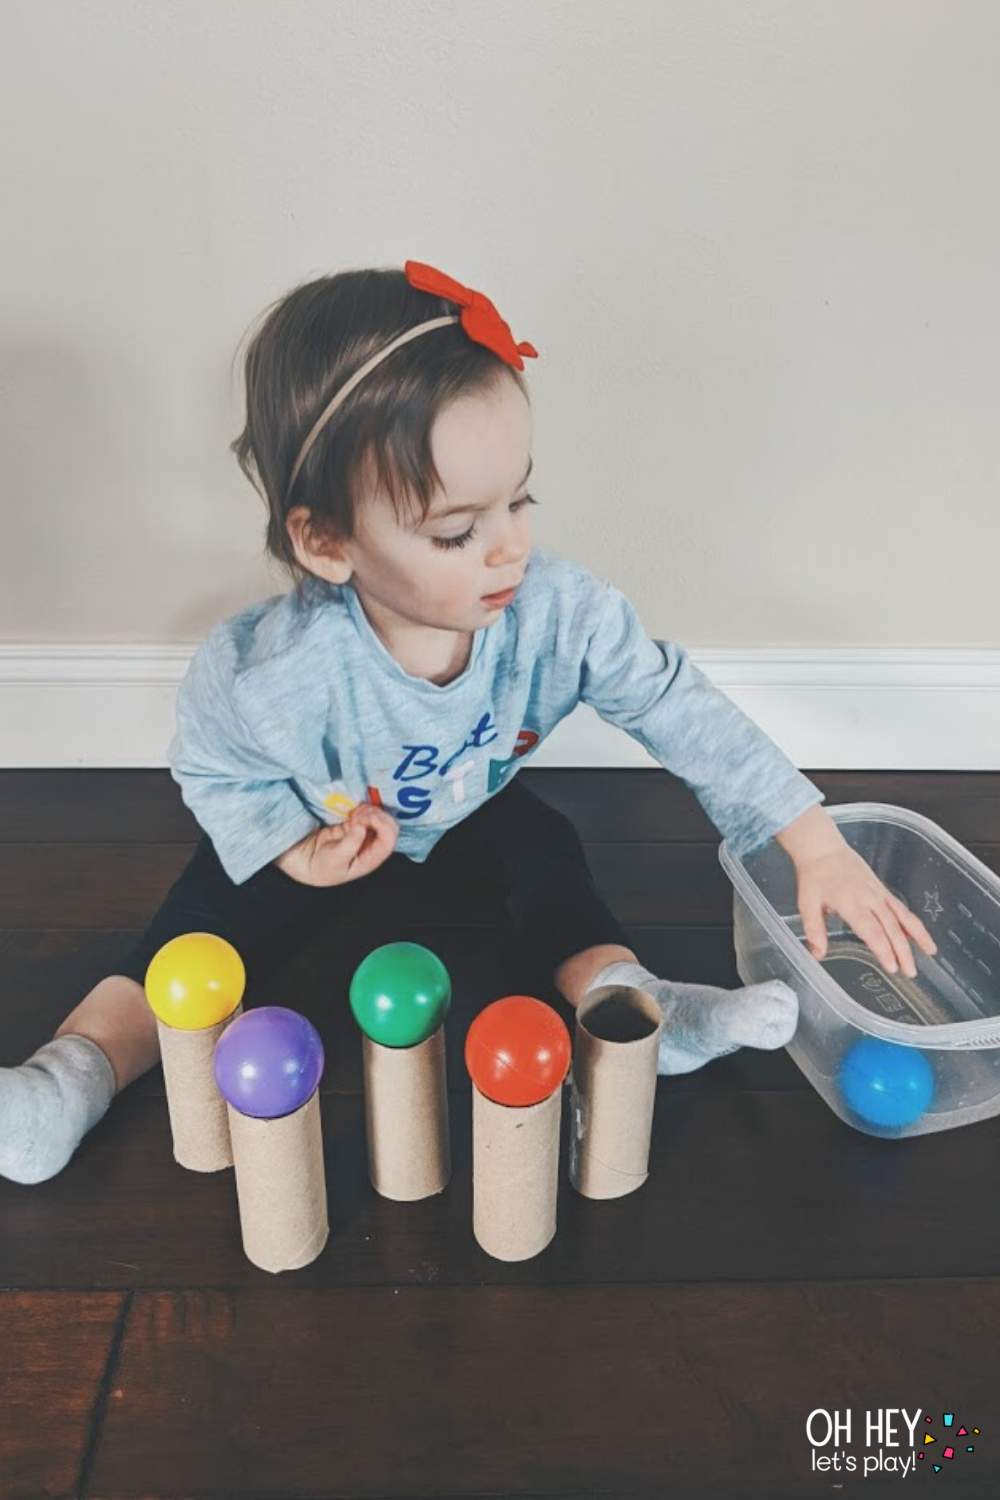
Balls on TP Rolls
Materials:
- TP rolls
- small plastic balls
Like I said, I’m always saving things that other people would likely consider to be “garbage.” Toilet paper rolls are one of those things. This was a super simple activity that took 5 seconds to set up. I used balls from one of our ball popper toys (we have two for some reason?) which worked great but any small-ish balls would be fine! This works on hand-eye coordination, balance, and fine motor skills. We also talked a lot about the color of each ball as she stacked them on the TP roll.
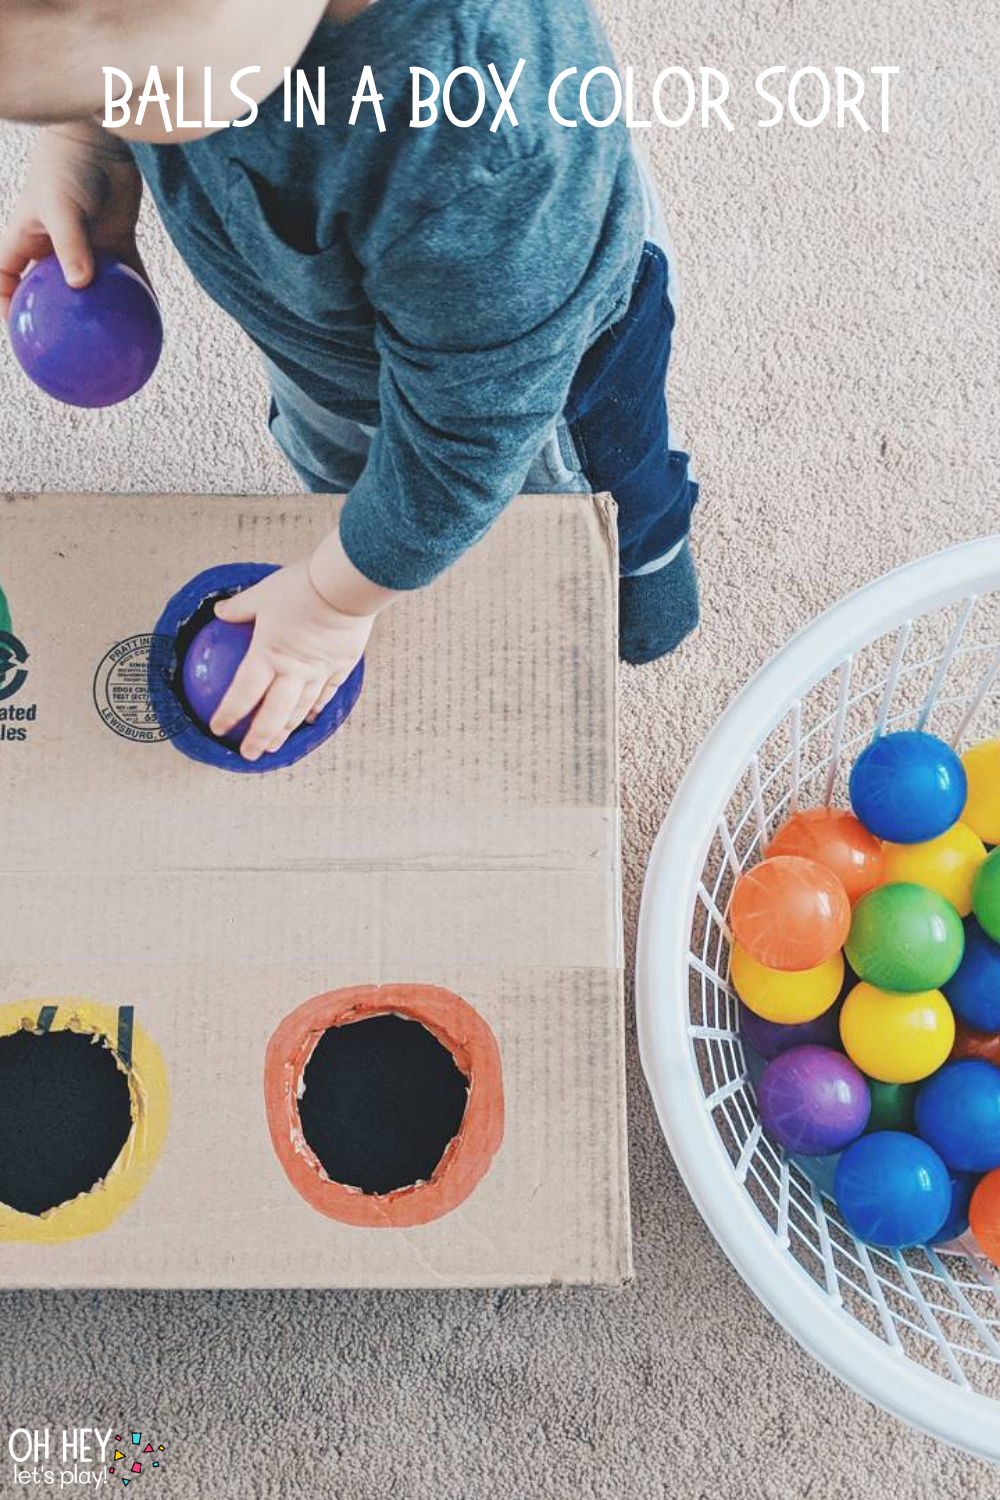
Balls in a Box Color Sort
Materials:
- cardboard box
- ball pit balls
- colored markers (these are my all-time favorite markers)
- box cutter
Another reason to save a cardboard box! Use a box cutter (not a steak knife like I did- can’t believe I still have all my fingers) to make holes in the top of a box, and then outline them each with a different colored marker. Put some ball pit balls in a basket and start sorting! Kade eventually used this box to sort many of his toys, not just the balls. He would sort his trucks/cars based on their color, his Daniel Tiger figures based on their clothing, his play food, etc.
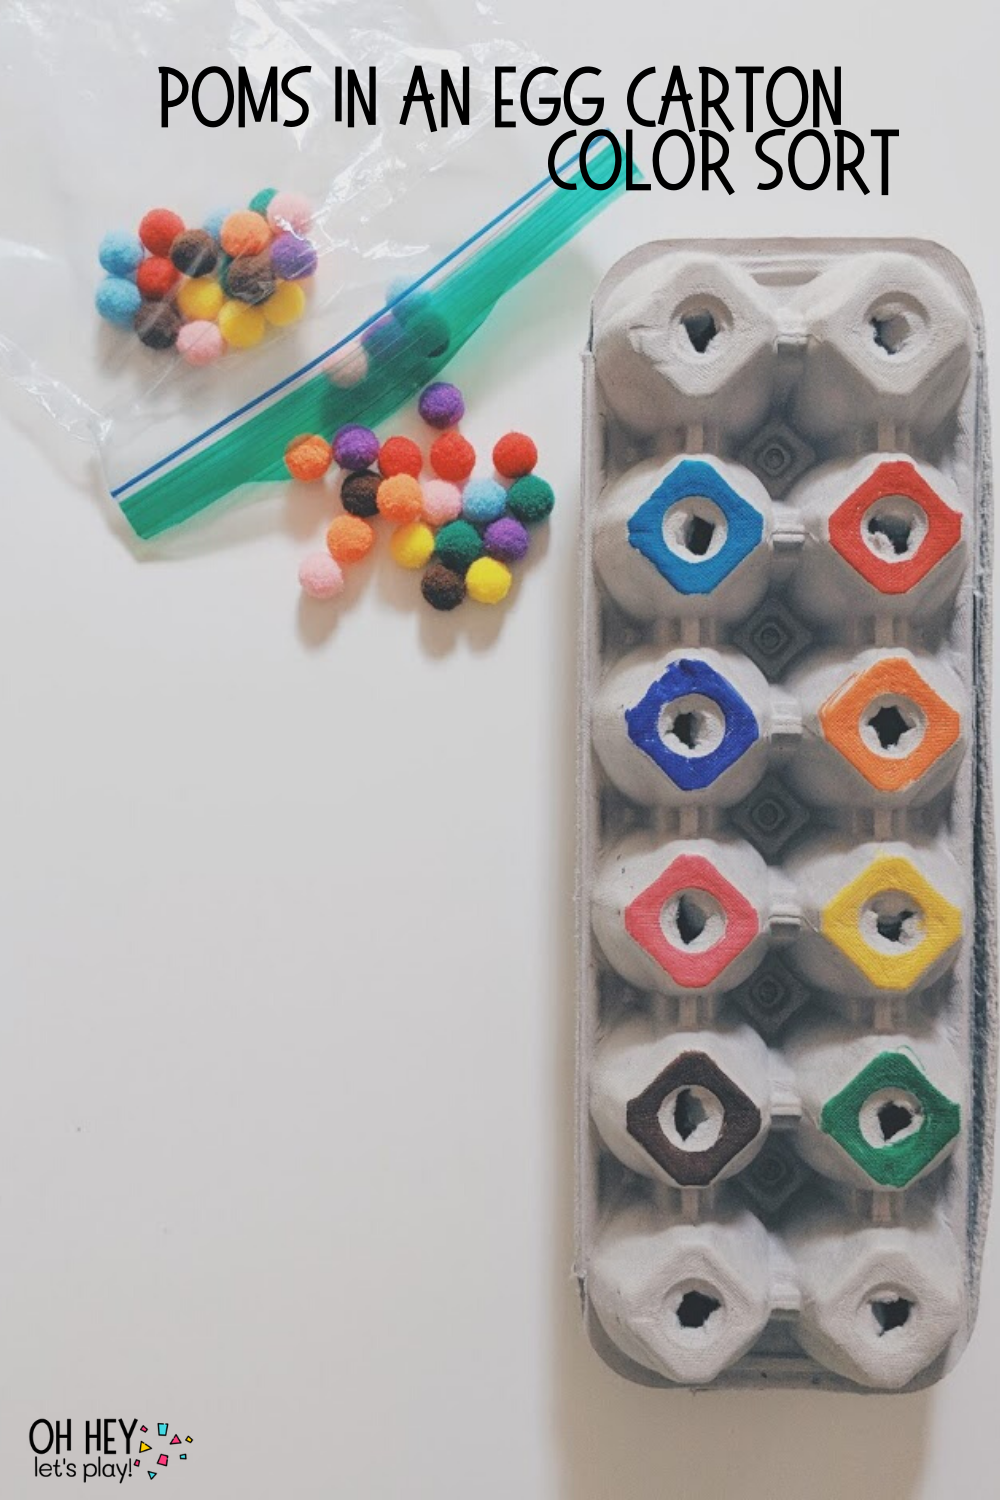
Poms in an Egg Carton Color Sort
Materials:
- egg carton
- small pom poms
- markers
- something to poke holes (pen or pencil would work fine)
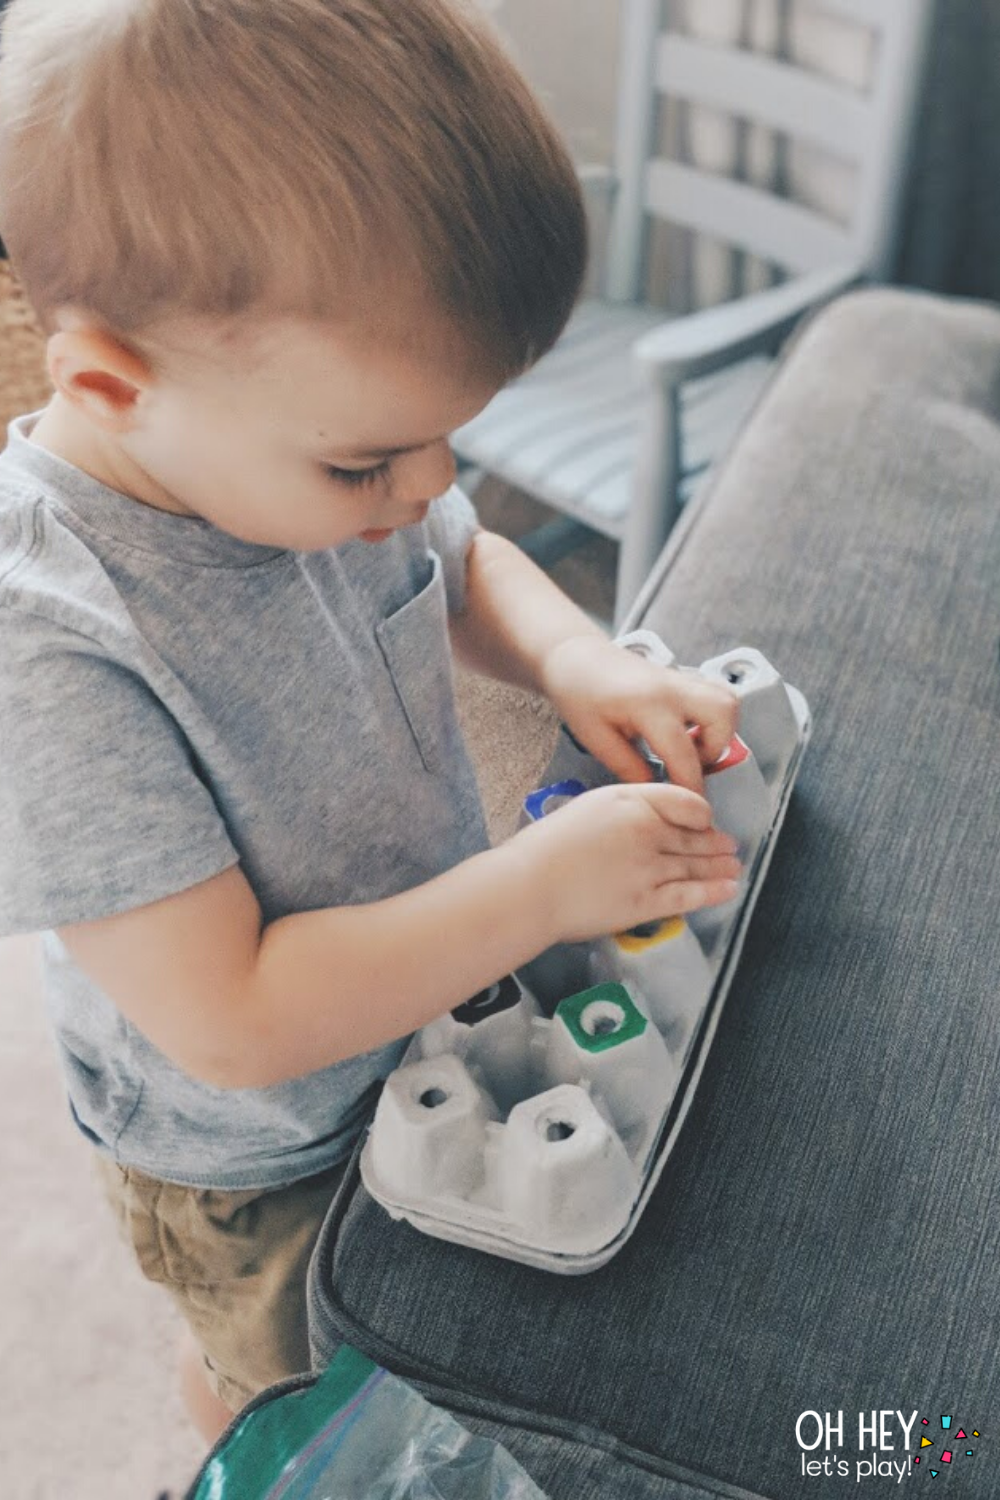
Another reason to save some garbage. ;) Empty egg cartons can come in handy for many activities and here’s one of them! Gather up some small pom poms and use markers to color code the bottom of the egg carton based on the colored poms you have. Poke holes in the bottom of the egg carton using a pen or a pencil or whatever you have handy. Sort the colored poms into the correct hole, open it up, dump them out and repeat! Works on the obvious color sorting, and also fine motor skills.
Poms on Squigz
Materials:
- squigz (another highly recommended open-ended toy)
- pom poms
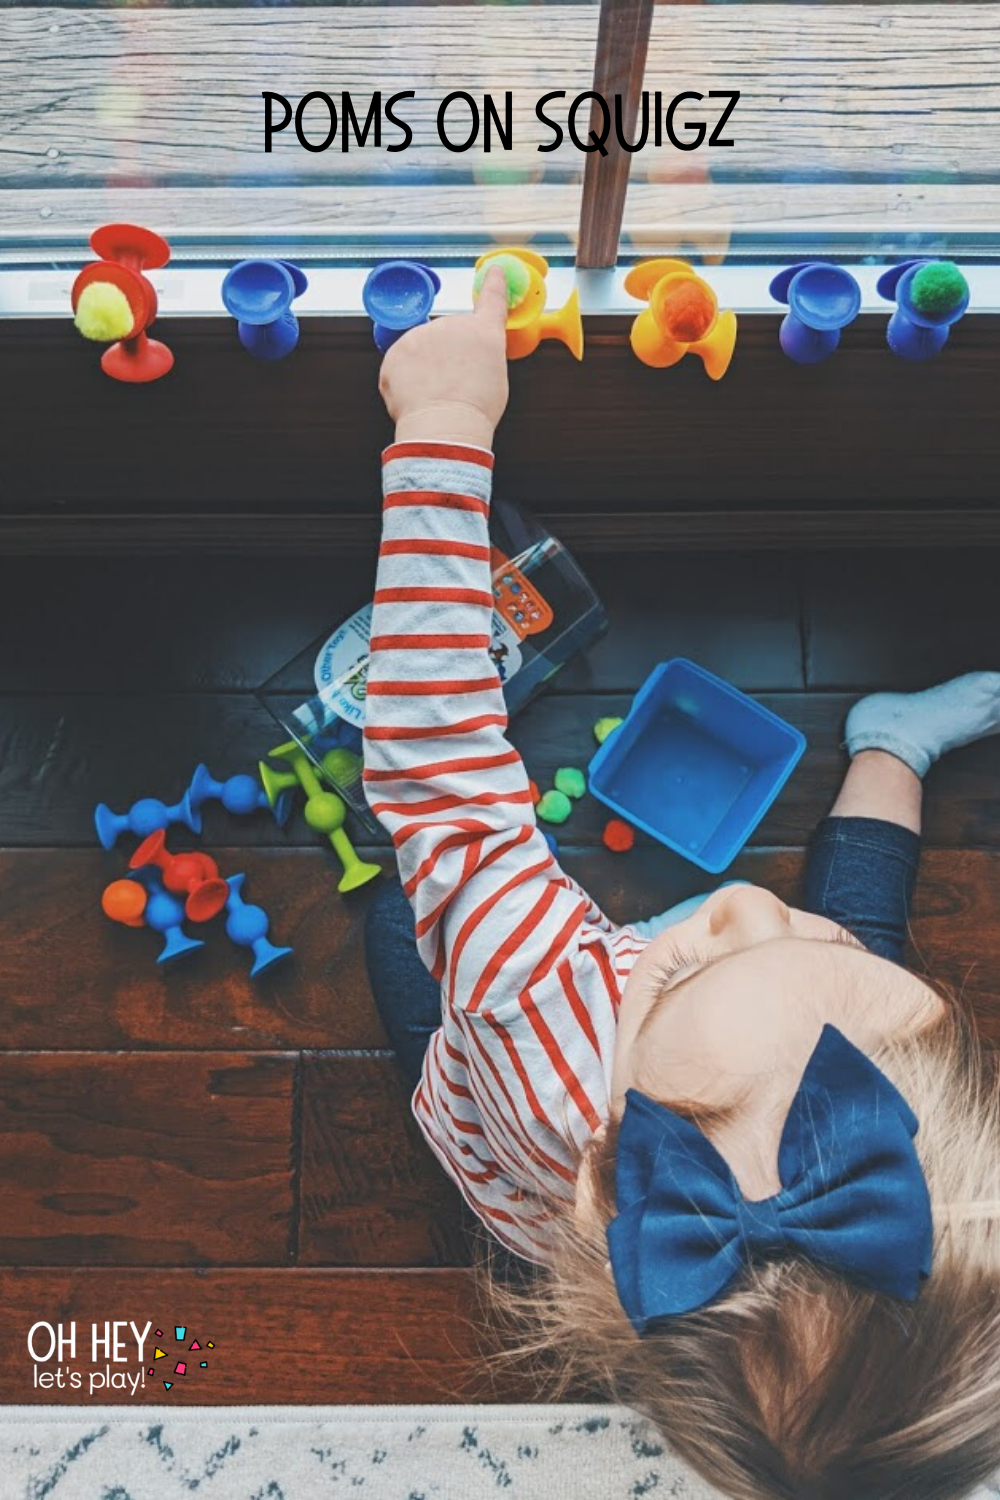
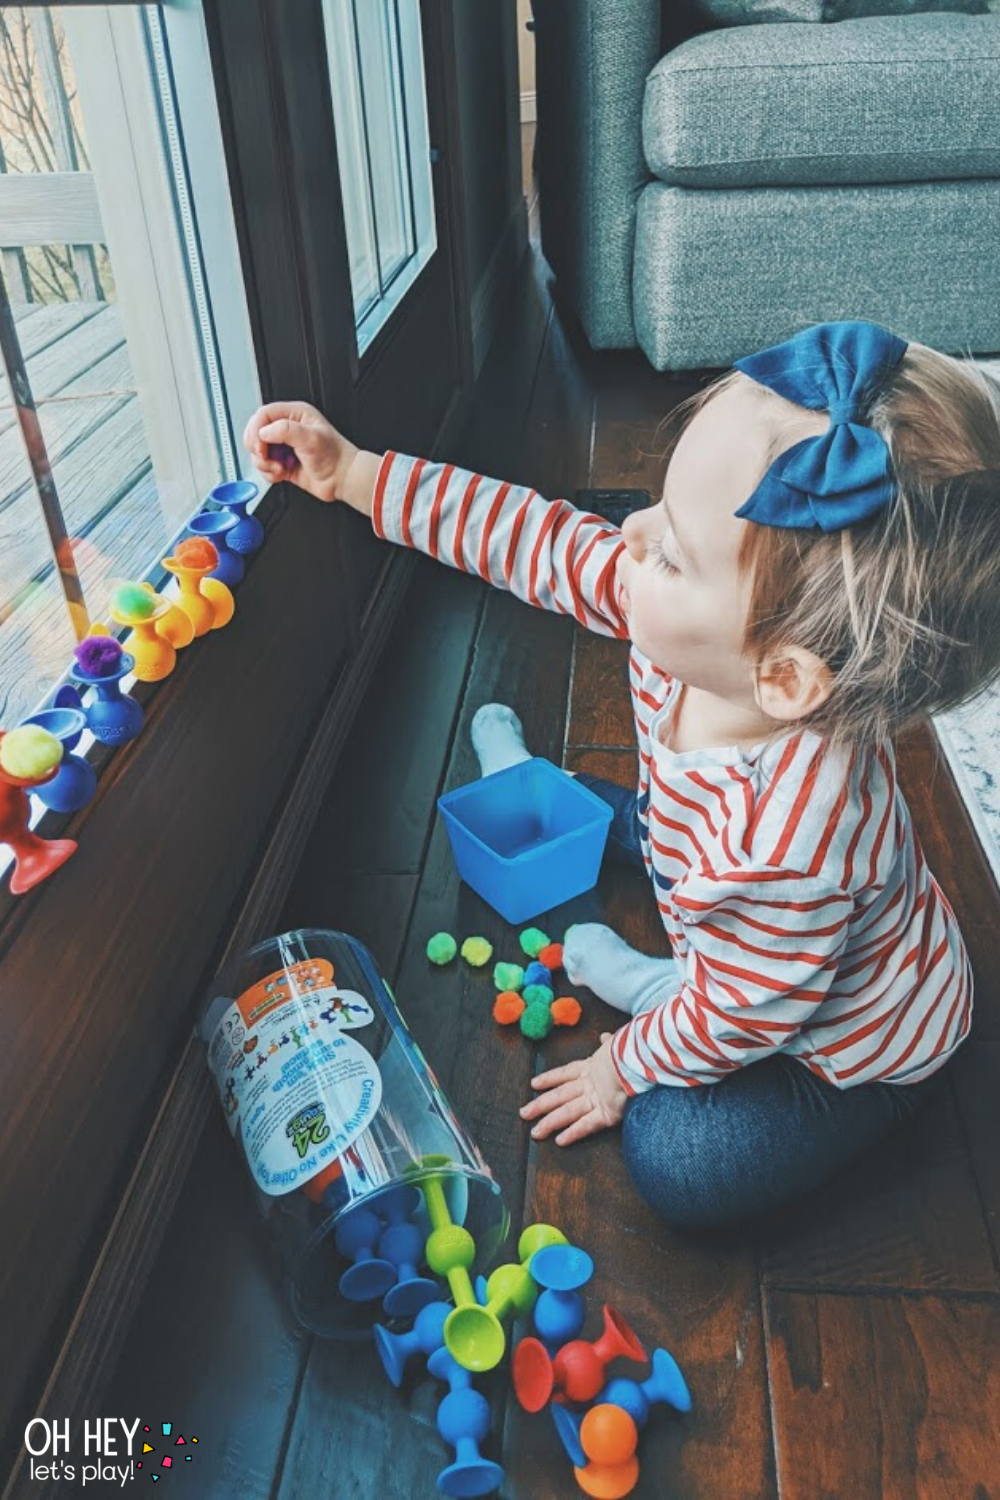
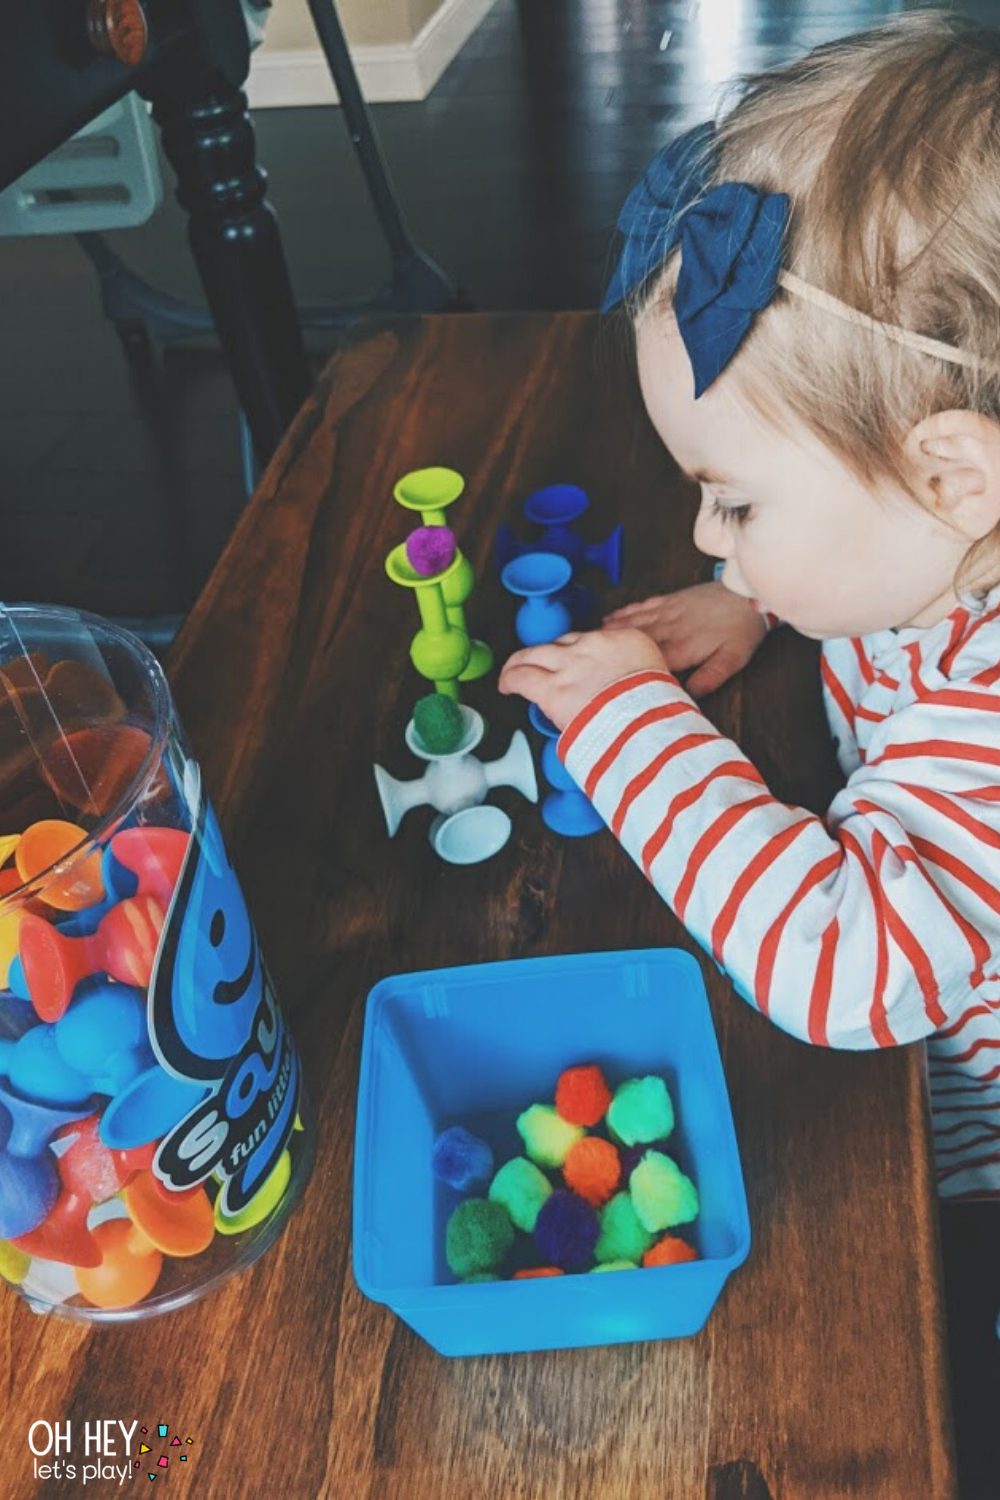
If you haven’t heard of these things you have to check them out. We LOVE them in our house! They are so much fun to stick together and build with, to stick on windows, tables, you name it. Highly recommend. Haven’t done this yet but have also heard they are a great restaurant toy! For this specific activity, I stuck some of them to our window and had Tatum balance pom poms on them. You could also have them start trying to match colors. This activity works on hand-eye coordination, balance, fine motor skills, and can also work on color identification/matching.
Also pictured- stuck the squigz to the bench for our kitchen table and played standing up.
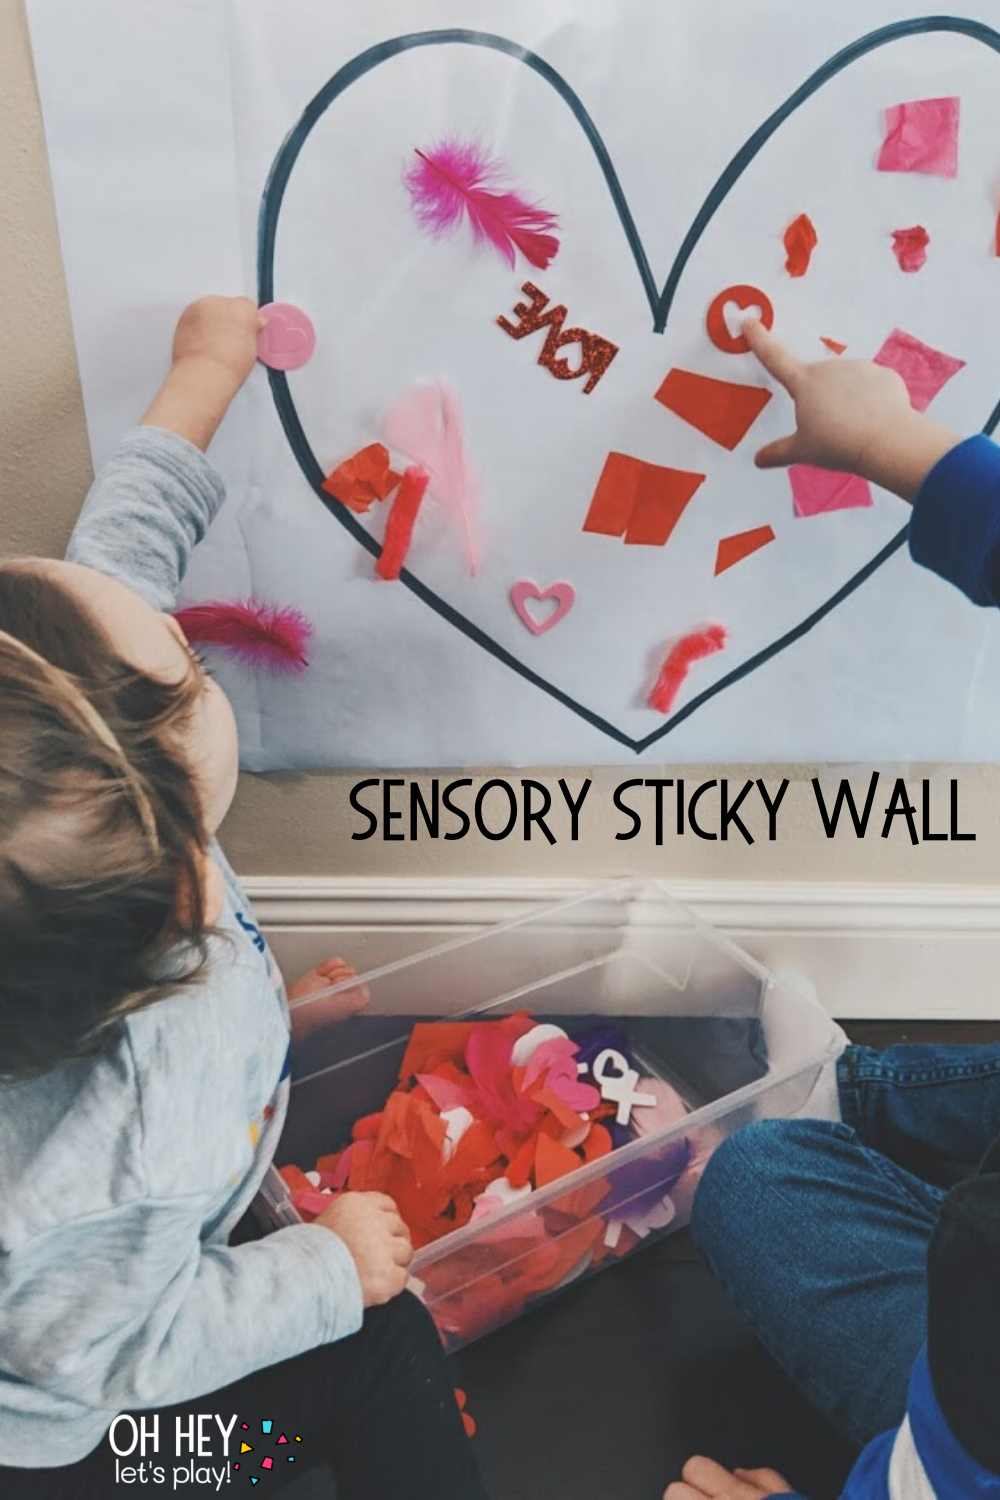
Sensory Sticky Wall
Materials:
- contact paper
- easel paper
- whatever you can find! but here’s some of the things we used:
- feathers
- tissue paper
- pipe cleaners (regular ones work great but I’m linking the giant, extra furry ones because they are different and so fun!)
- foam stickers
- foam shapes -we have these -they are a bath toy but would be great for this, too!
We did this around Valentine’s Day so it was a festive “decorate the heart” situation but it doesn’t have to be that at all. You don’t need to draw anything on the paper and could just make it a plain old sticky wall. Gather up whatever you can find that has any sort of texture to it that you think would stick to the contact paper and let your little one have at it. I linked the materials that we used but get creative!
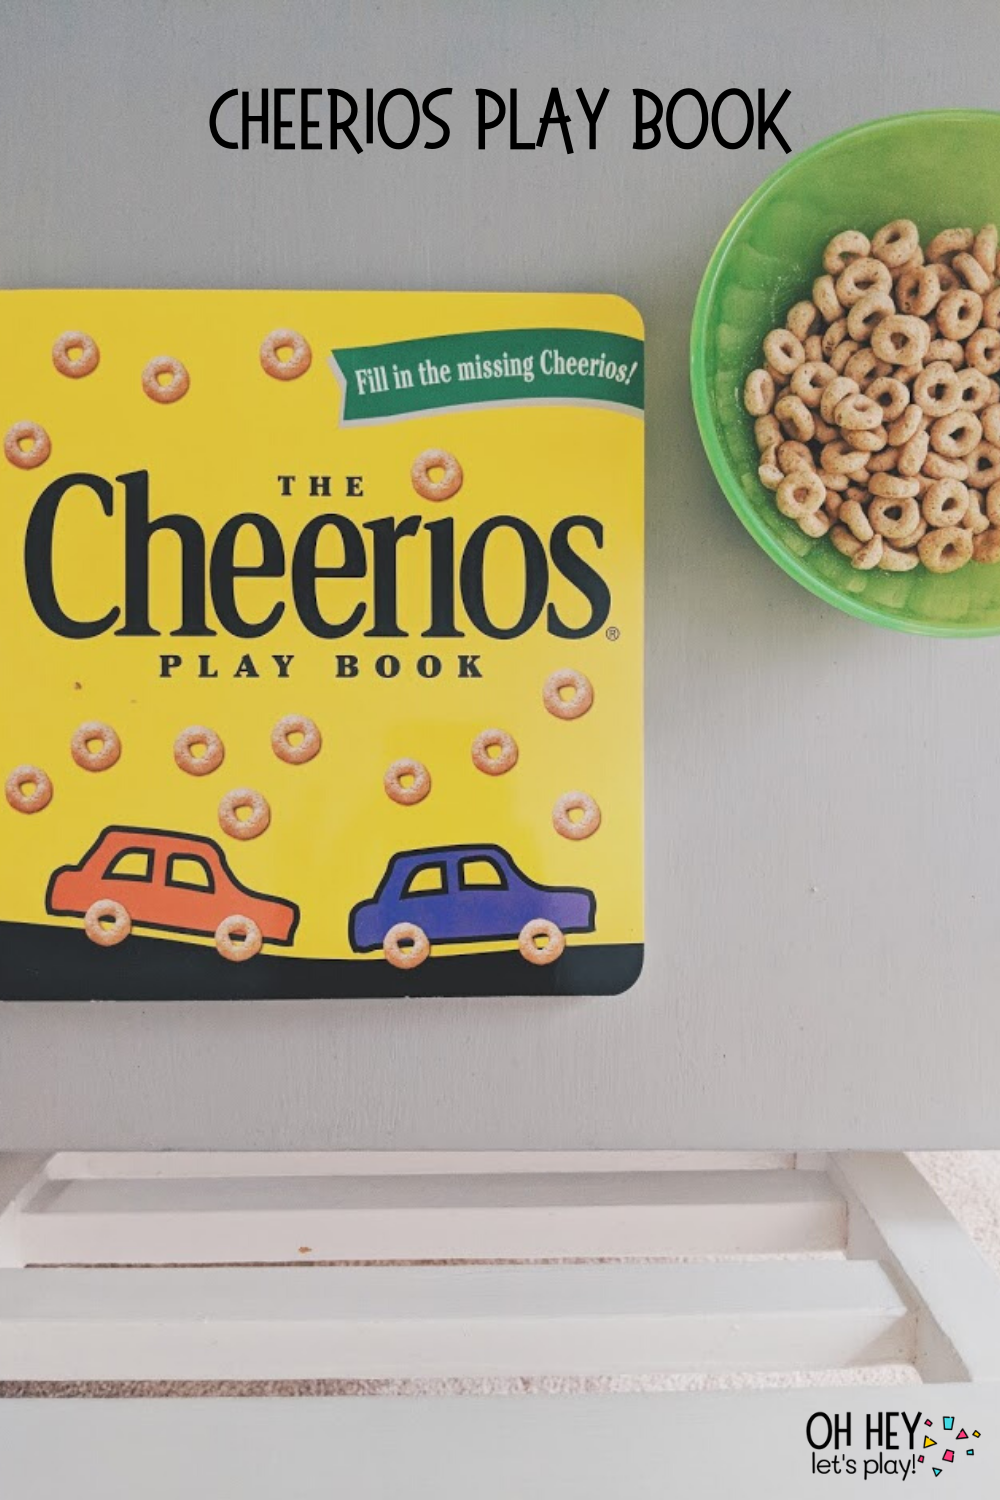
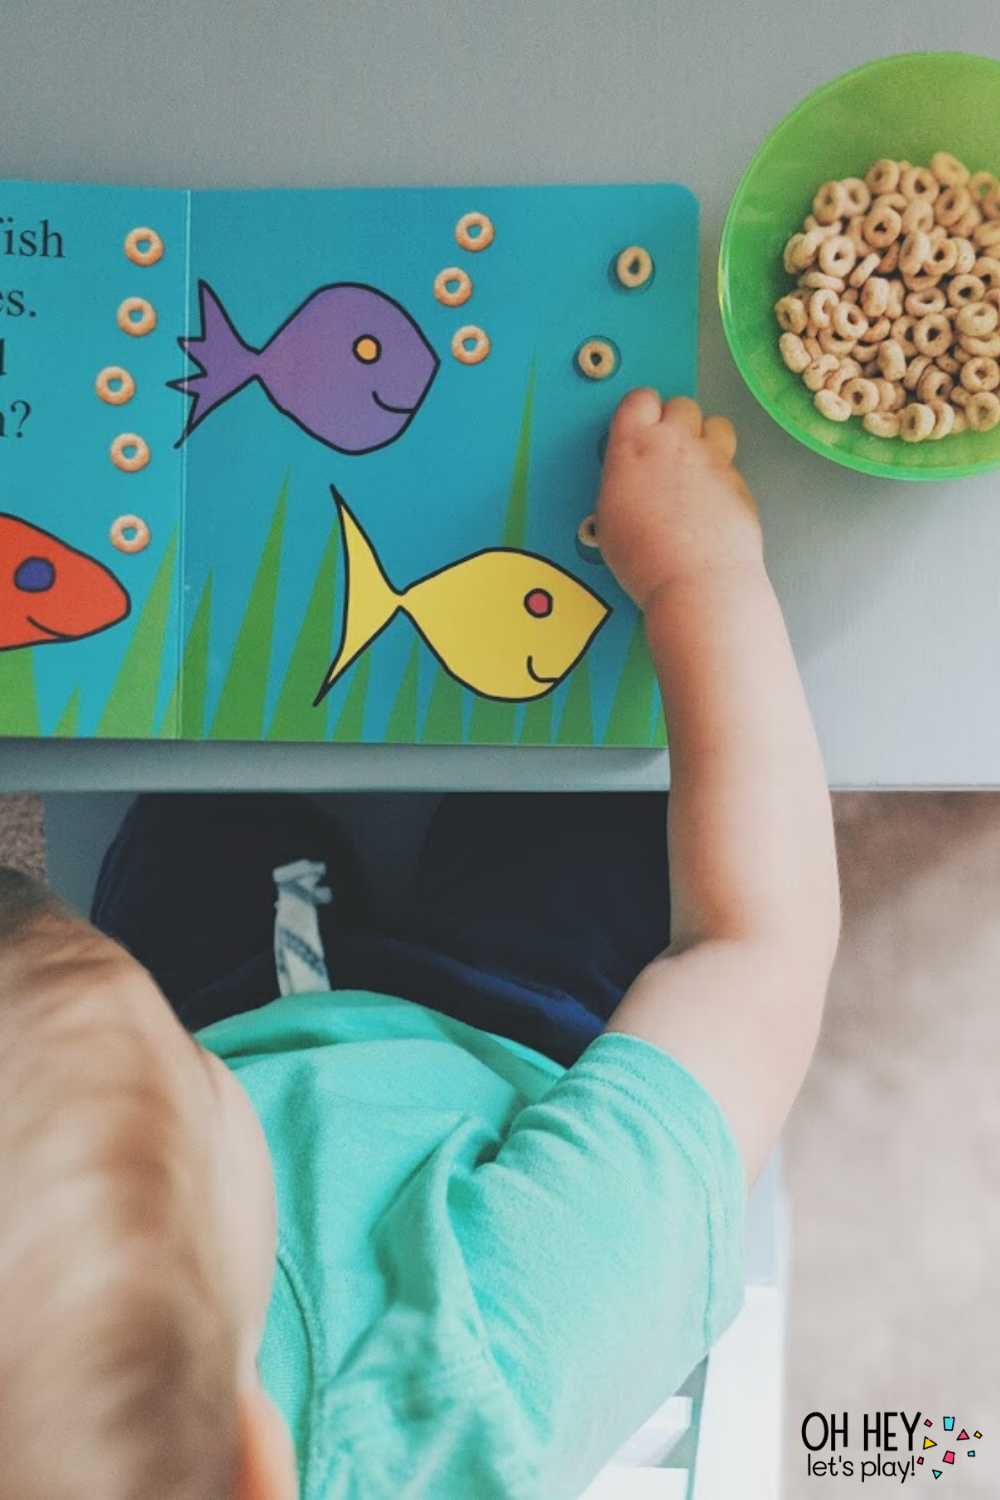
Cheerios Play Book
Materials:
- “The Cheerios Play Book”
- Cheerios
We LOVE this book! Such an easy way to turn snack time into a hands-on learning activity. Just like the cover of the book says, you just fill in the missing cheerios- seriously so brilliant. Great fine motor activity!
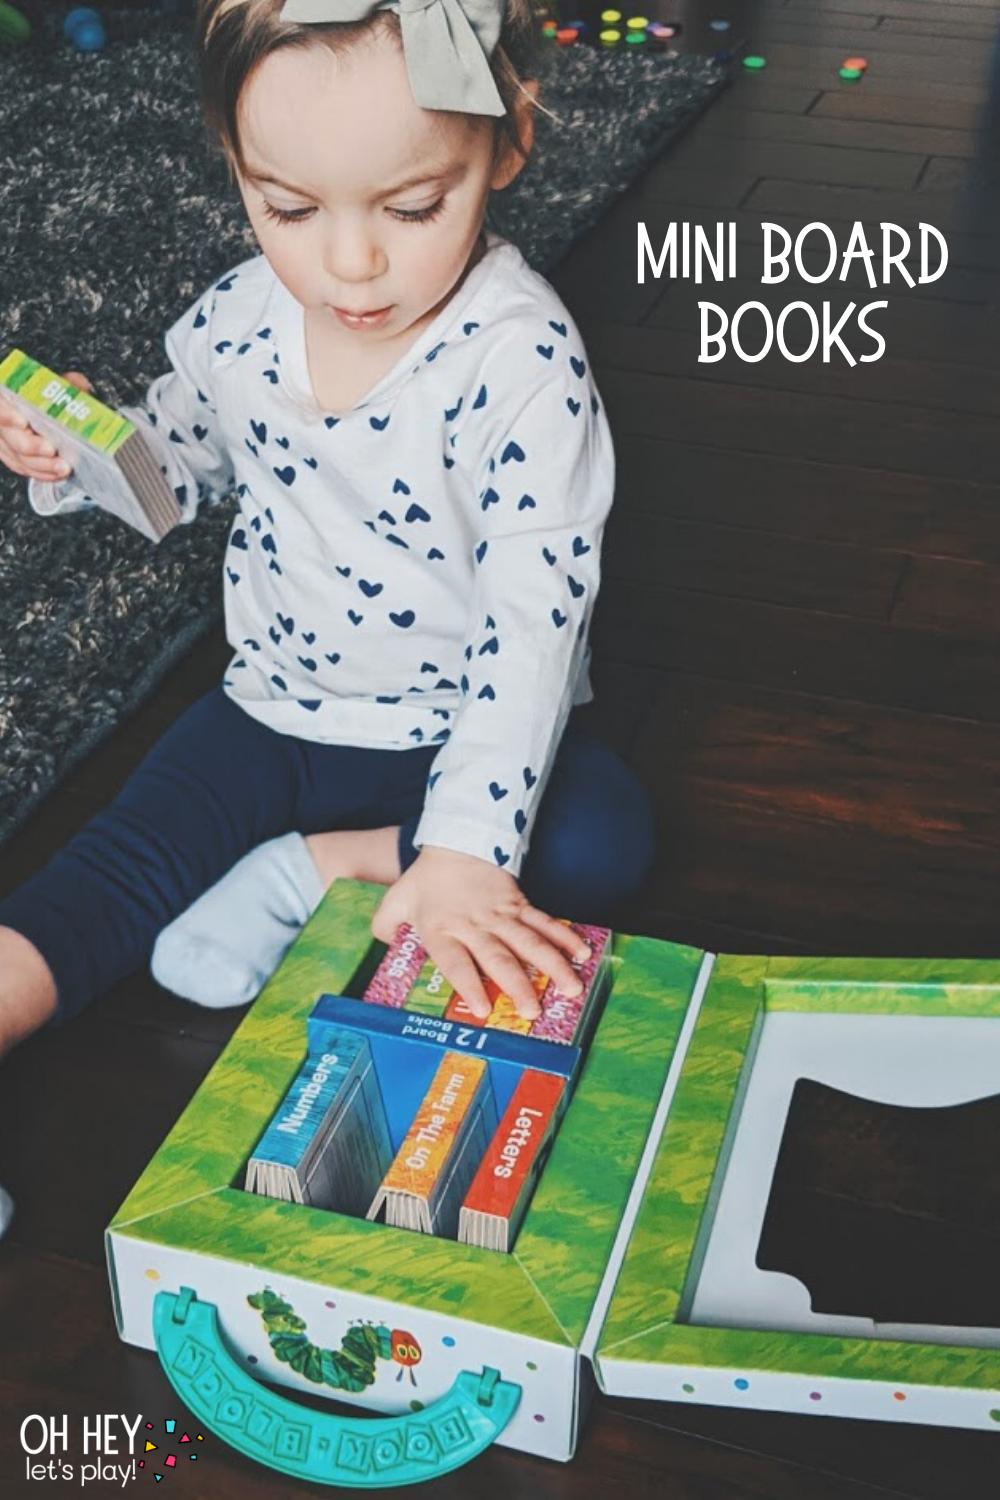
Mini Board Books
Materials:
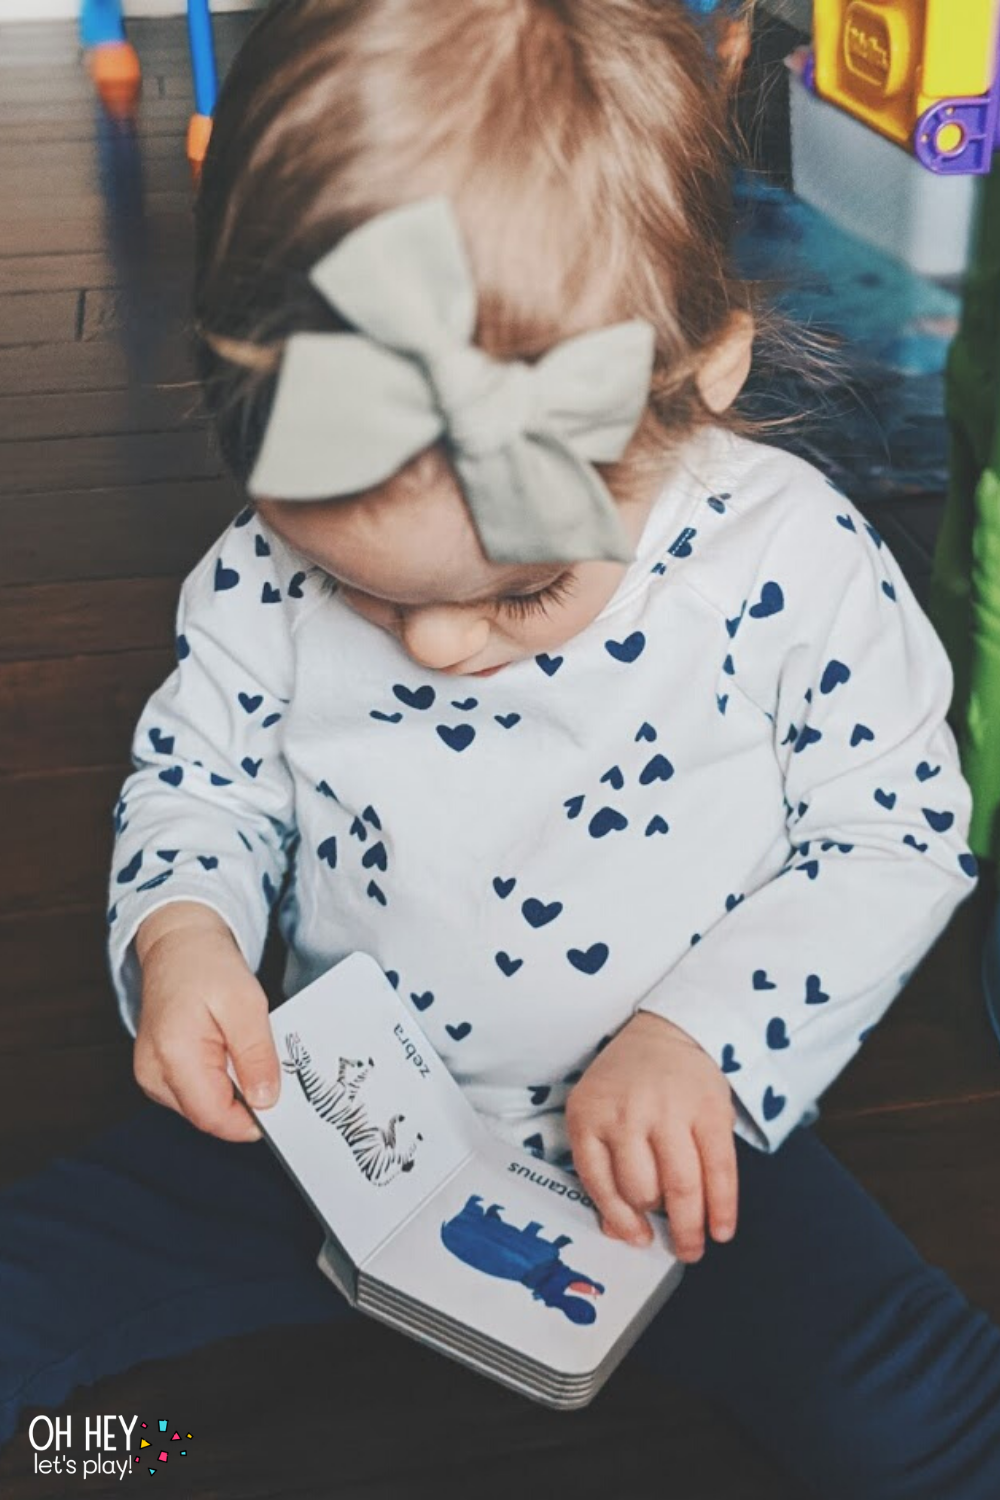
- mini board books: we have these mother goose books and these eric carl books
I talked about these in my activities for 12-18 month olds post and I’m bringing them back for this post as well. They are just so perfect for little hands and the carrying case is fun for them too. Both kids have loved opening and closing, taking books out and putting back in, and of course looking at/reading all the little books! There are several different versions of these but I linked the two that we have.
Puzzles in Rice
Materials:
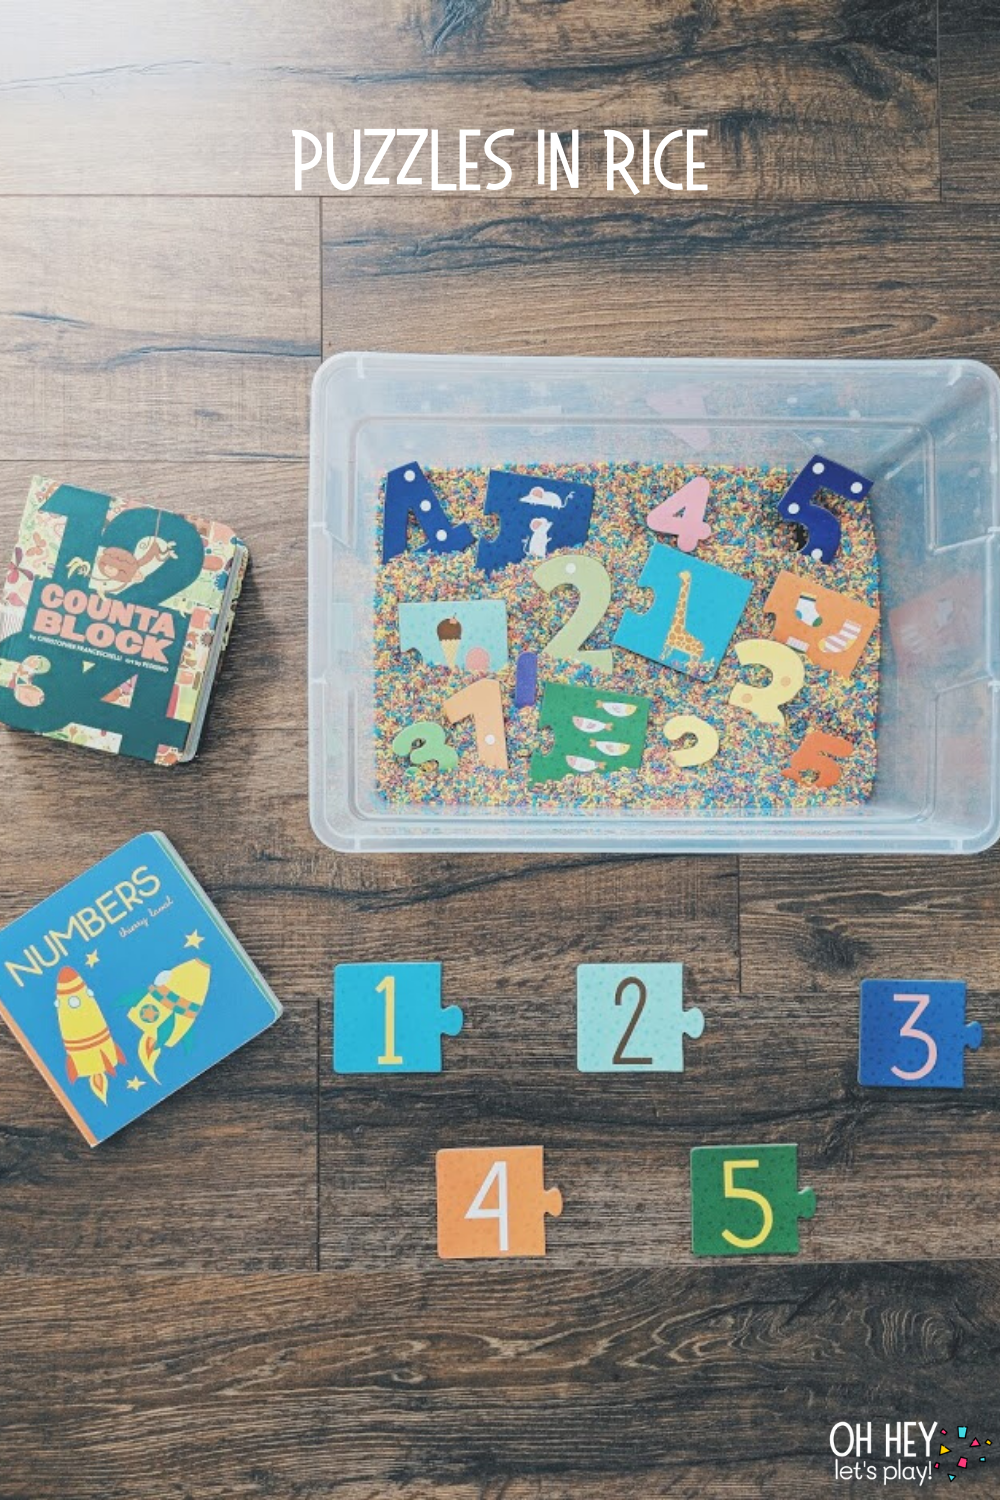
- dried sensory material (rice, beans, dried pasta, etc.)
- small storage container
- puzzle (pictured)
- “Numbers” (pictured)
- “Count a Block” (pictured)
Puzzles in rice (or any dried sensory material) is another go-to for us. We used this mudpuppy number puzzle here but you could use any puzzle you have! We especially love the Melissa & Doug chunky puzzles. We were focused on numbers for this specific activity so I incorporated two board books books we have and enjoy that are focused on numbers and counting. Hide the puzzle pieces in the sensory bin and have your kiddo dig through to find the pieces and complete the puzzle. :)
I made this rainbow rice by putting a cup or two of rice in a ziploc bag with 2-3 tablespoons of distilled white vinegar and adding a generous amount of food coloring. I then seal the bag shut and mix up the rice until the dye covers the rice, and lay it out to dry on a cookie sheet for a few hours before playing. I repeat these steps each time for each different color and then mix them all together (the best part)!
Like this idea? Check out this similar Magnetic Shapes In Rainbow Rice activity!
Play Doh: Tools & Textures
Materials:
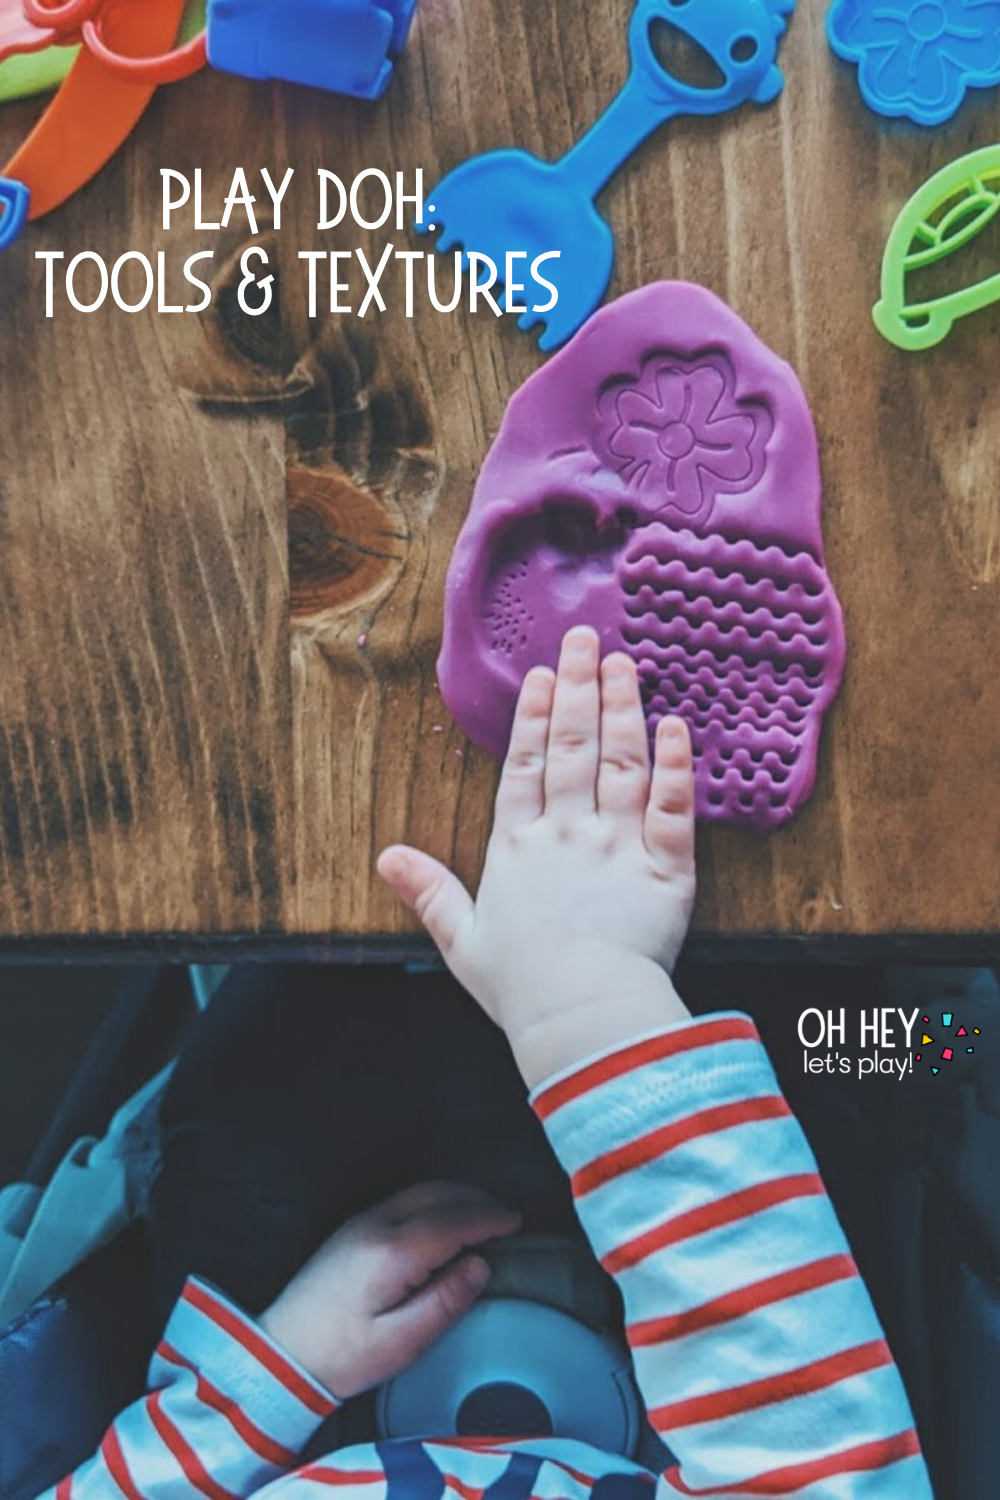
- play doh
- play doh tools
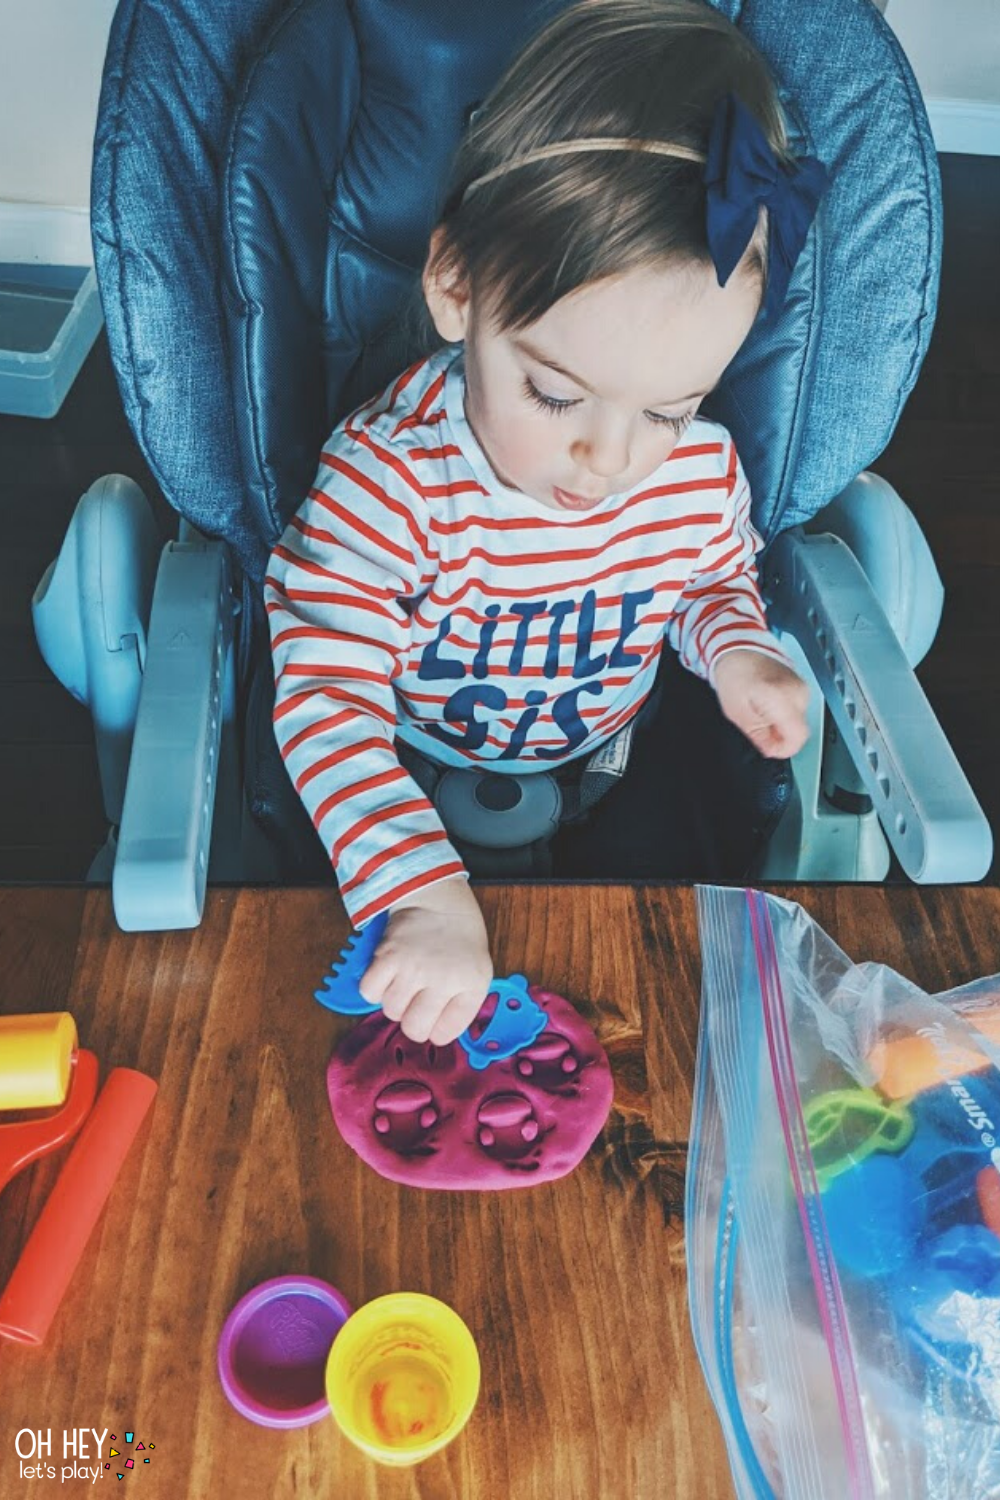
I know, I know, it’s not rocket science but I’m just throwing all our go-to activities/ideas in one place. We bust out the play doh a LOT in our house and both my kids love it. There are tons of fun ways to play with play doh but for now, in this post, we’re keeping it totally simple. We have a big ziploc full of fun play doh “tools” and we love making different textures/patterns to feel and explore.
Click here for FREE PRINTABLE Play Doh Shape Mats!
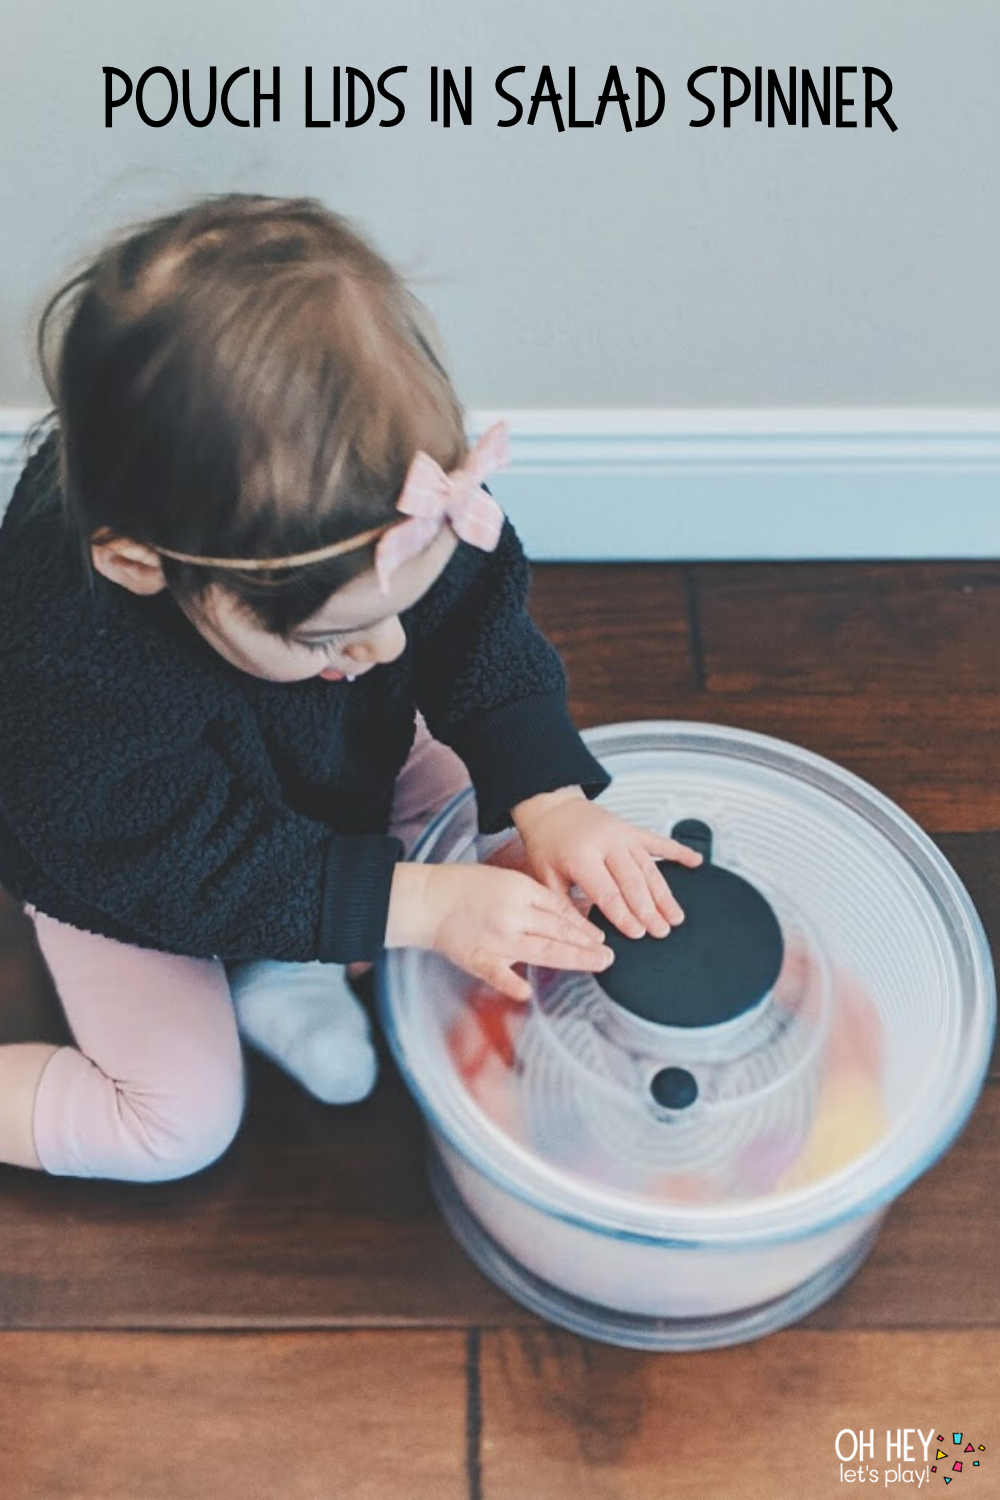
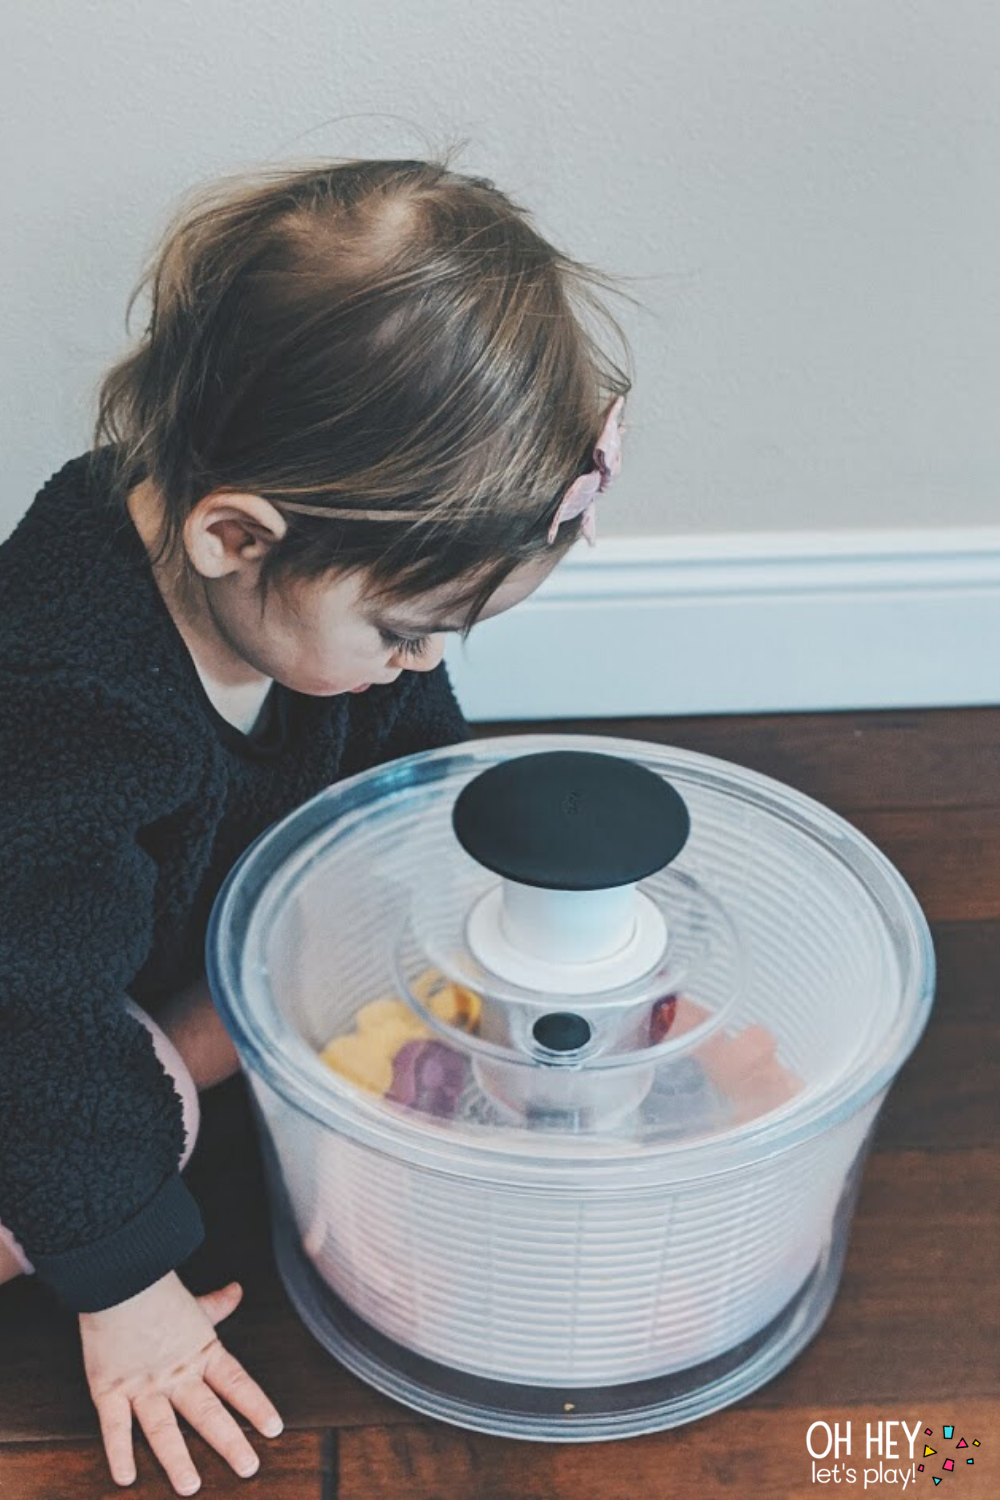
Pouch Lids in a Salad Spinner
Materials:
- salad spinner
- pouch lids
Salad spinners make a great toy for toddlers- even without putting anything in them. Kade used to love playing with our salad spinner when he was this age and just thought it was so fun to push on it and watch it spin. I have a decent sized collection of pouch lids saved up to use for different activities and they were perfect for this. You could throw pom poms in there, or colorful plastic balls, or probably even feathers. I thought the caps would make more noise when spinning but it ended up being more about watching the colors spin around. Tatum was super into it and loved watching them come to a stop.
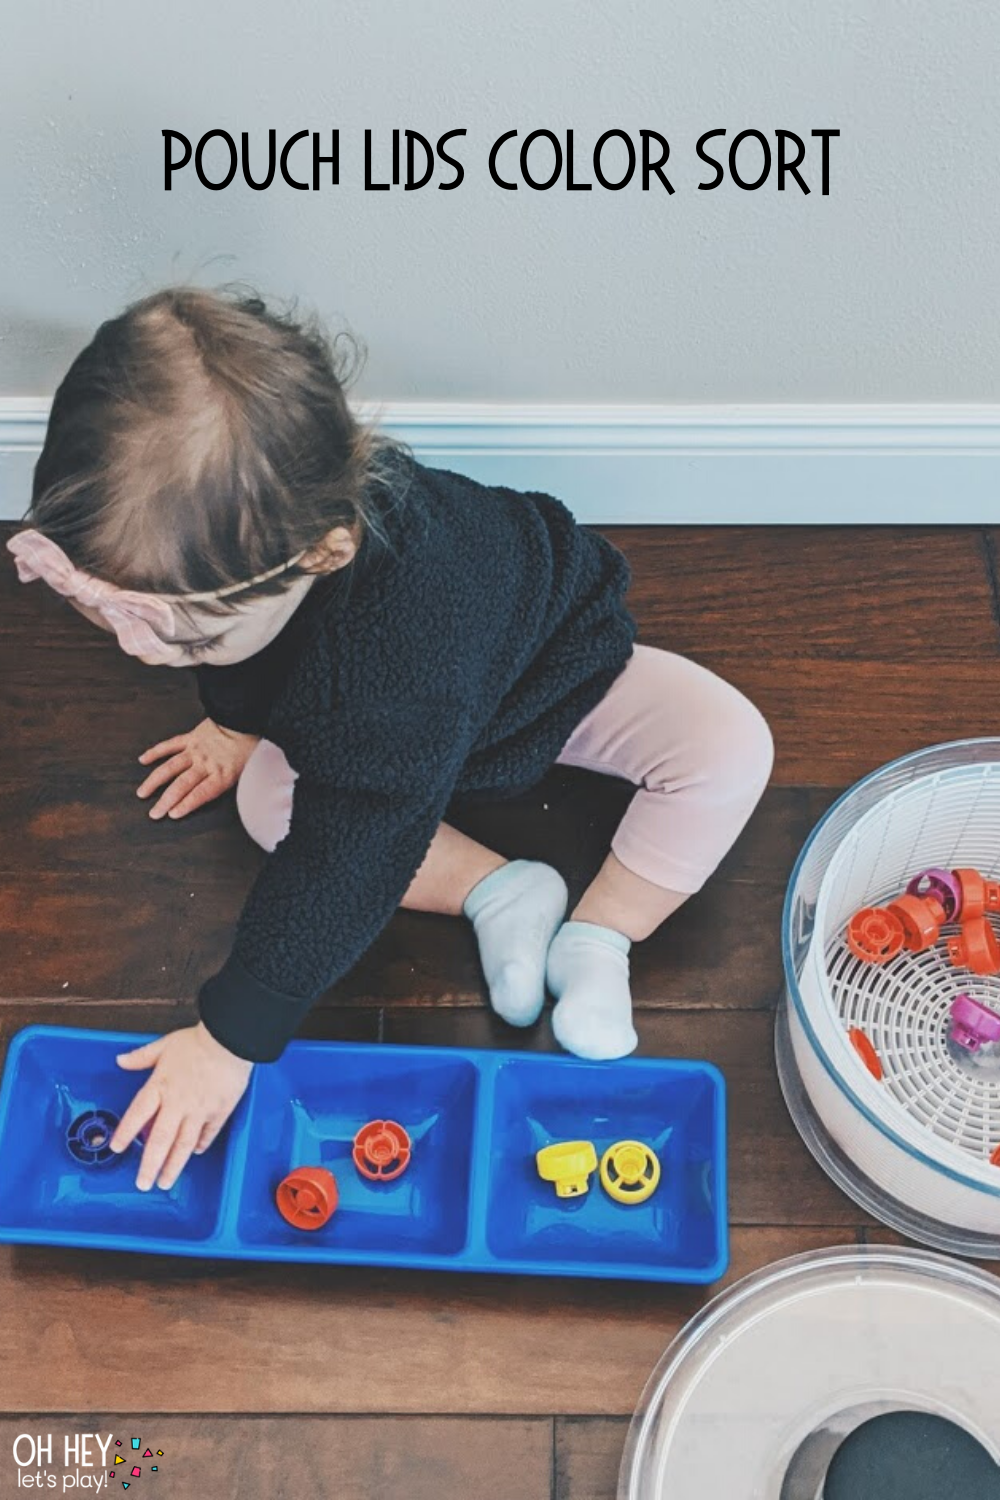
Pouch Lid Color Sort
Materials:
- 3 section sorting tray (I think I found our blue one in a Targe dollar section once but these are the same idea!)
To extend the last activity, I added this little sorting tray (don’t think it’s technically called that and is likely used for serving food but this is what we use it for) and assisted in some color sorting!
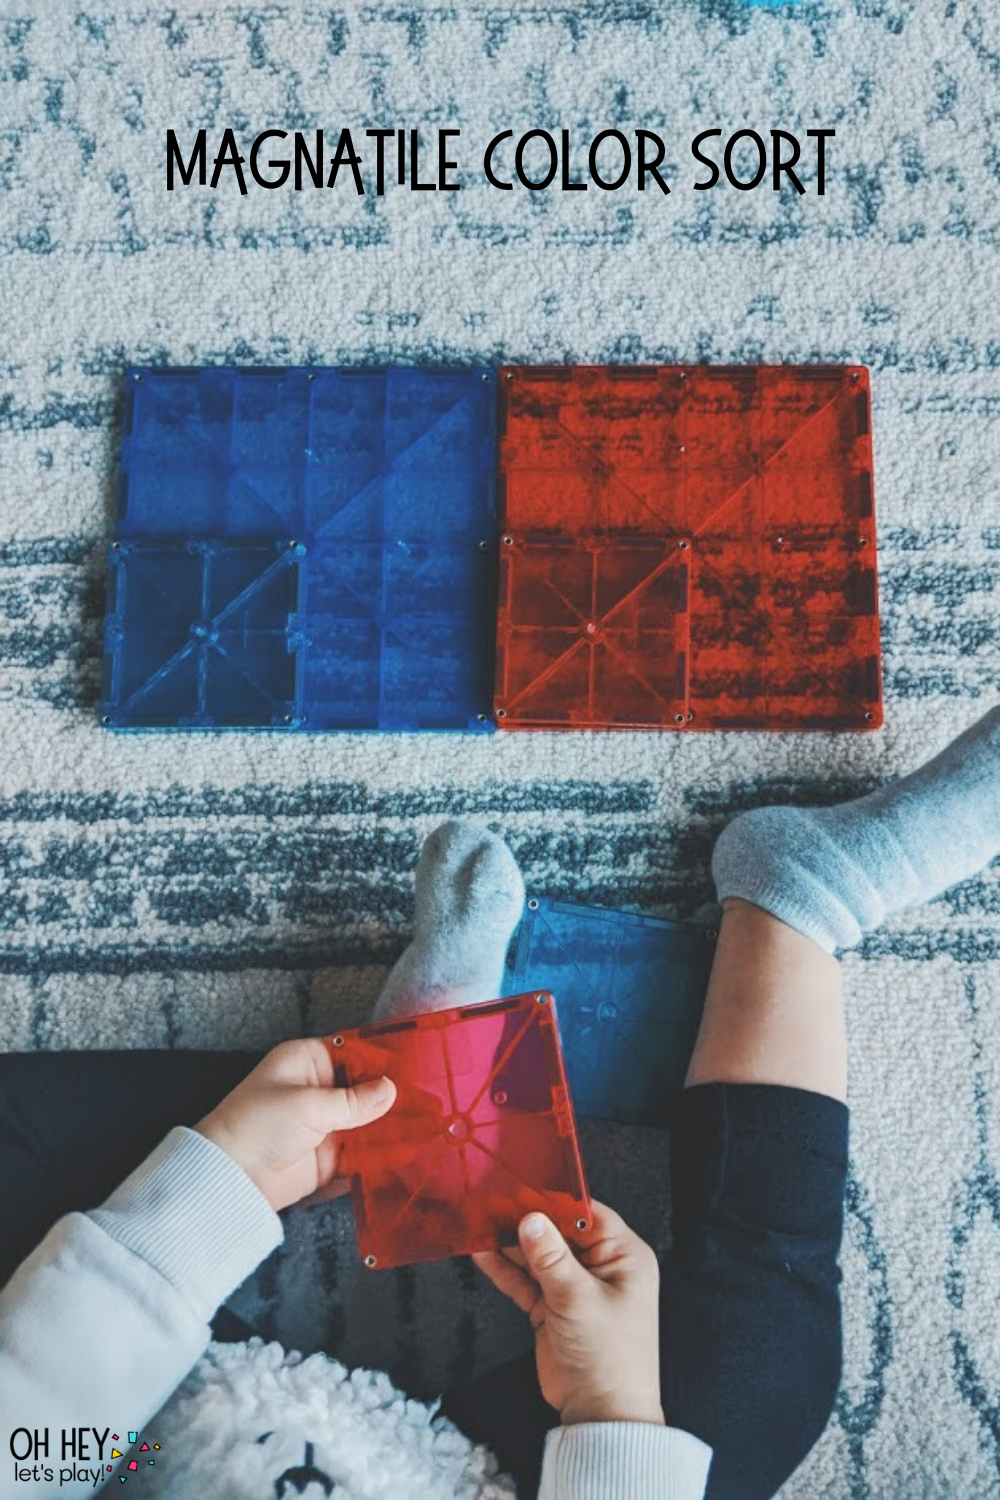
Magnatile Color Sort
Materials:
- magnatiles (we have magnatile brand but I linked these because they are half the price and I’ve heard they are just as good!)
Another highly, highly, HIGHLY recommended open-ended toy for literally every age (I even enjoy playing with them). We absolutely love these and they can be used for so many different learning activities, too! To keep things nice and simple at this age, I set out two of the bigger squares in two different colors, and then gave Tatum a stack of the smaller squares in those two colors. We worked together to stack the small squares onto the bigger square that matched their color.
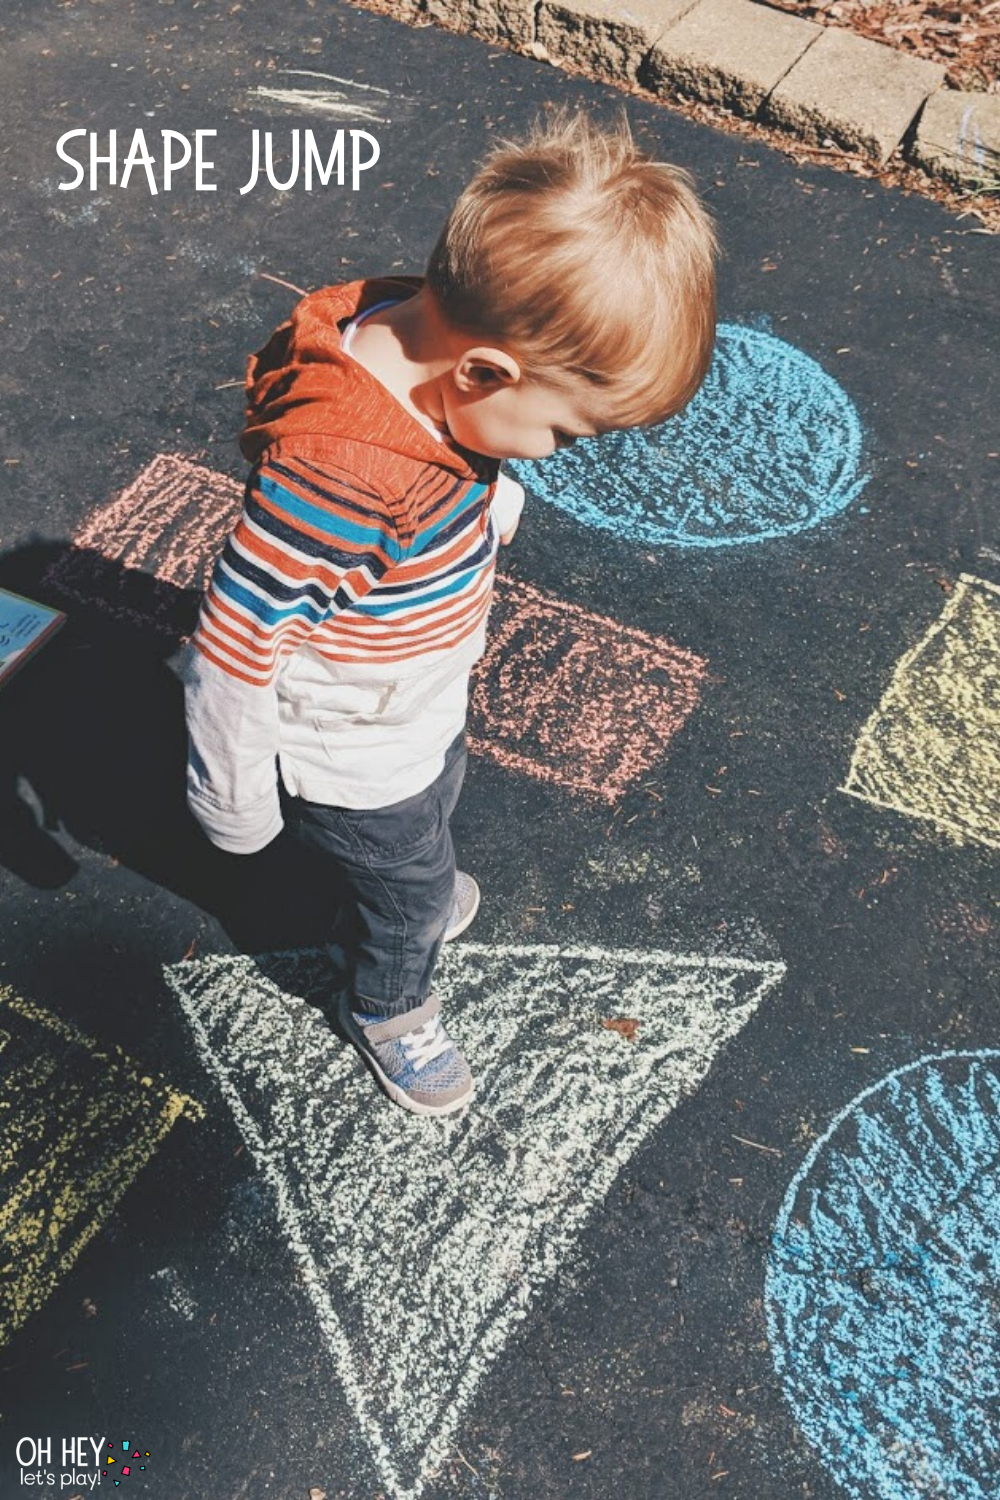
Gross Motor Shape Jump
Materials:
- sidewalk chalk
- “Friendshape”
We did this activity outdoors with sidewalk chalk, but you could cut shapes out of construction paper (or just draw them) and do it indoors, too! You could also just do it with colors (colored circles if using sidewalk chalk and just different colored paper if indoors). The idea was that I would call out a shape, and Kade would have to find it and jump on it. When kiddos are up and moving around, their brains are more active and they’re more likely to retain what they’re learning! We had checked out the book, “Friendshape” from the library that week so we read that one before doing this activity.
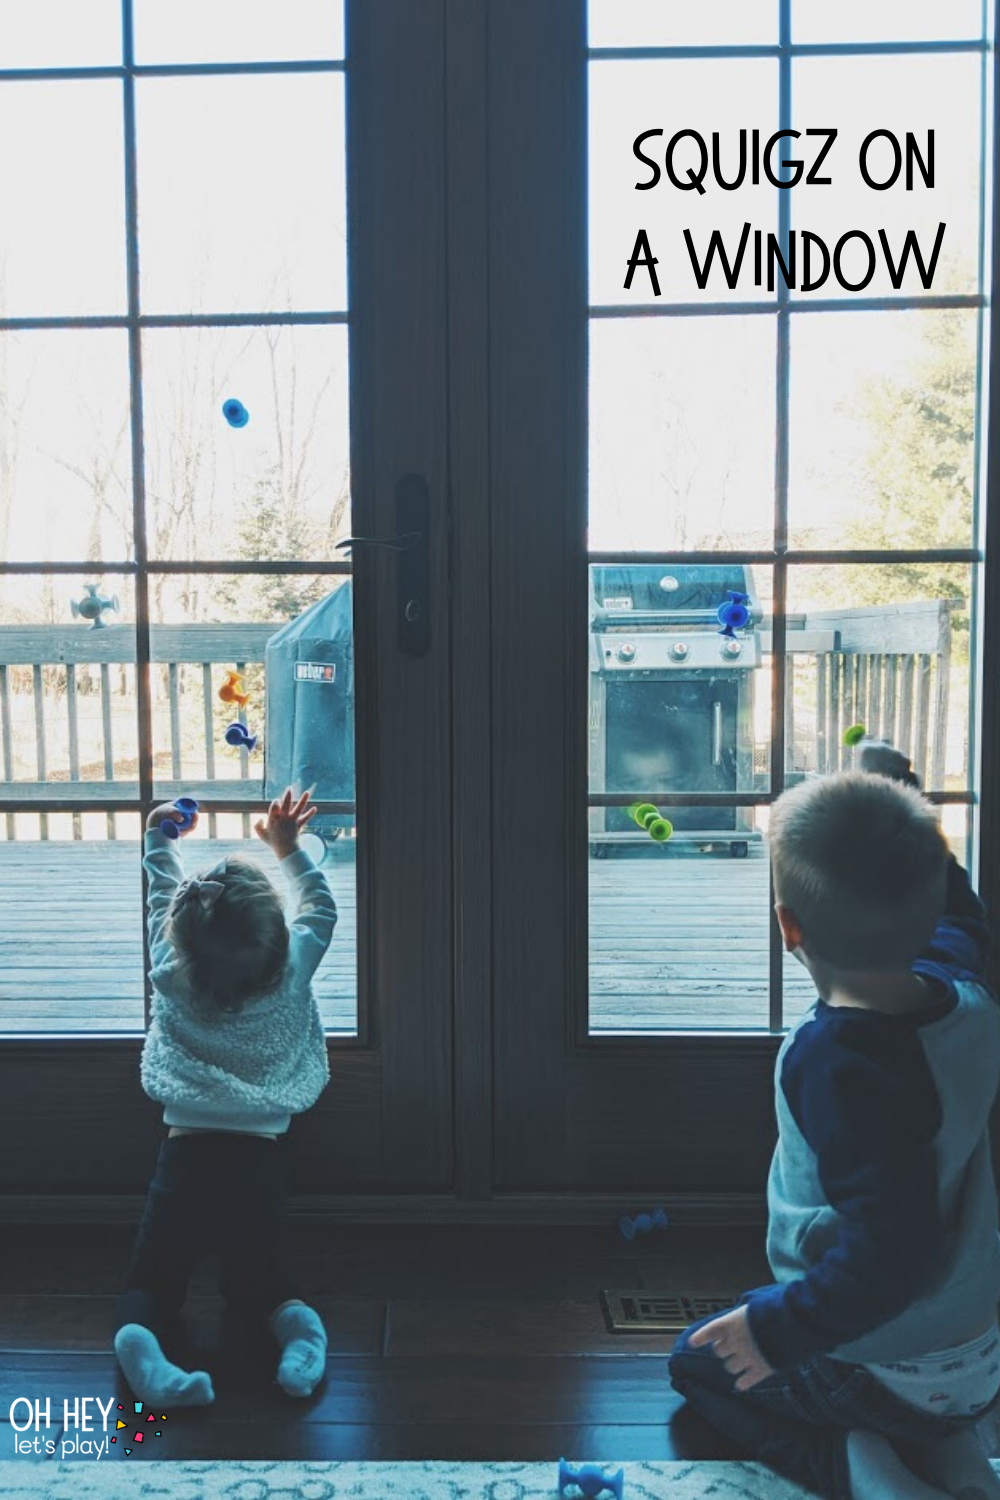
Squigz on a Window
Materials:
- squigz
- window
More squigz! I told you we love these things. My husband actually discovered this… you can throw the squigz at a window and get them to stick. I didn’t believe him at first because it is definitely not easy but if you keep at it, he’s right, they definitely will stick. Kade at 3.5 can even throw them and get them to stick. While we all throw them at the window, Tatum, at 19 months has the job of pulling them off. She also enjoys just sticking them to the window herself and pulling them off again. This is great for building fine motor skills because you sometimes have to pull pretty hard to get them to come off. Plus, they are working on the hand-eye coordination to get them to stick up there in the first place.
I hope you found some fun ideas and are leaving feeling inspired and excited to try some of them with your littles! Please feel free to comment with your favorites, or if you have any questions on any activity that I shared. Also please feel free to share, share, share with anyone else you know who has little ones that may enjoy these activities. Sharing an additional pinterest image down here, too, in case you want to pin and come back later. ;) Thanks for visiting and I hope to see you back again soon!
If you liked this post, be sure to check out my similar posts:
Activity Ideas for 12-18 Month Olds
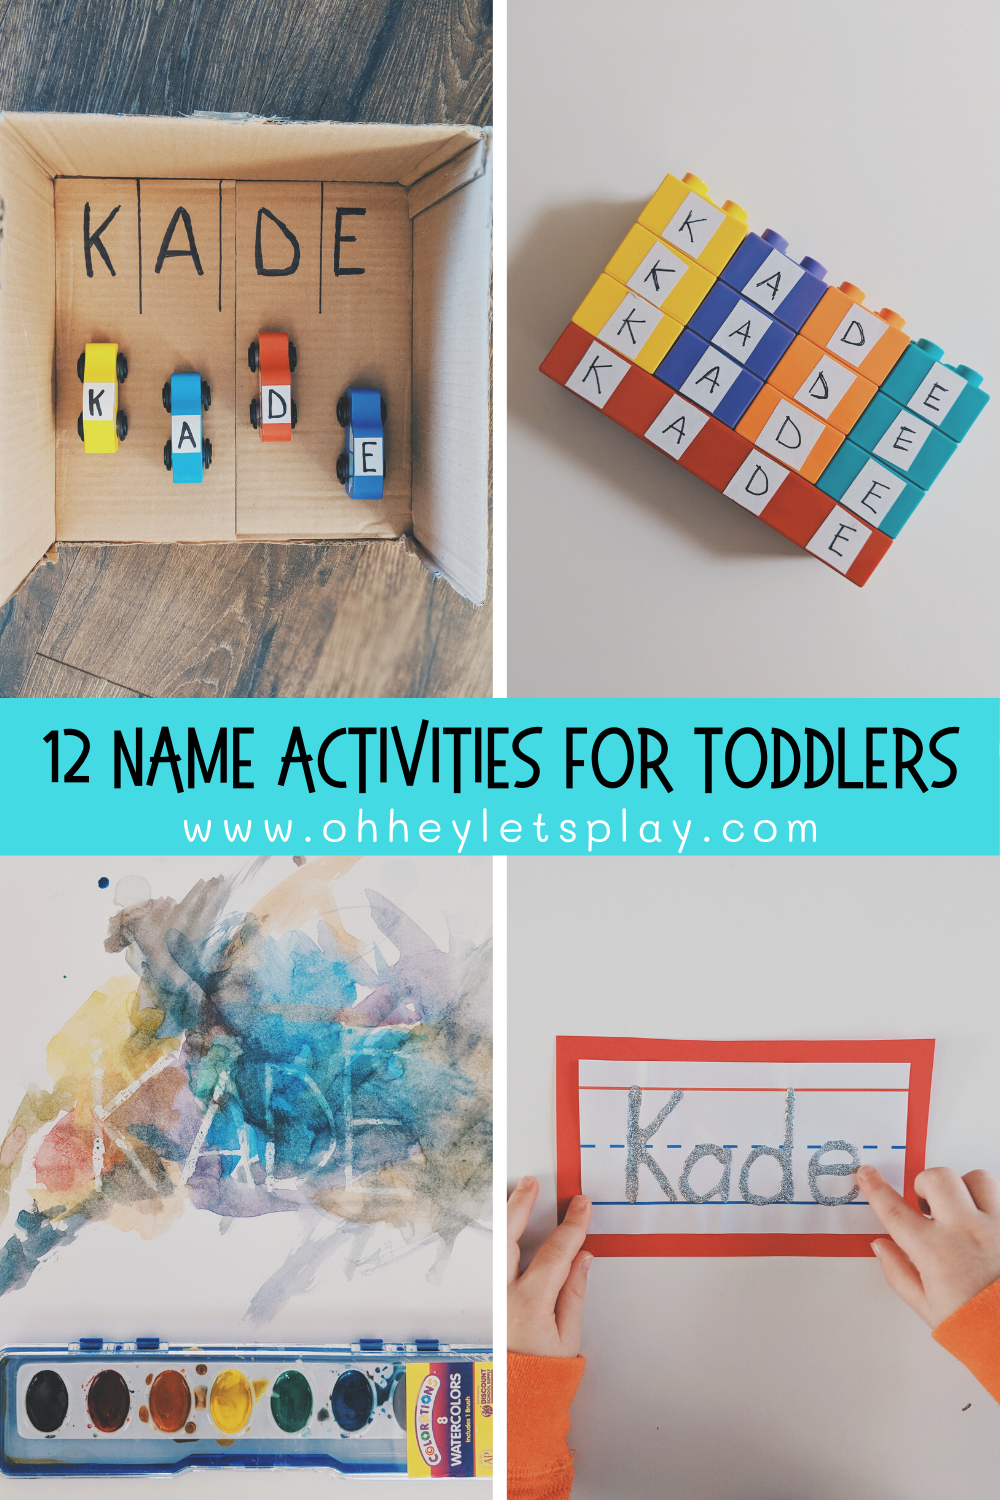
Name Activities for Toddlers


