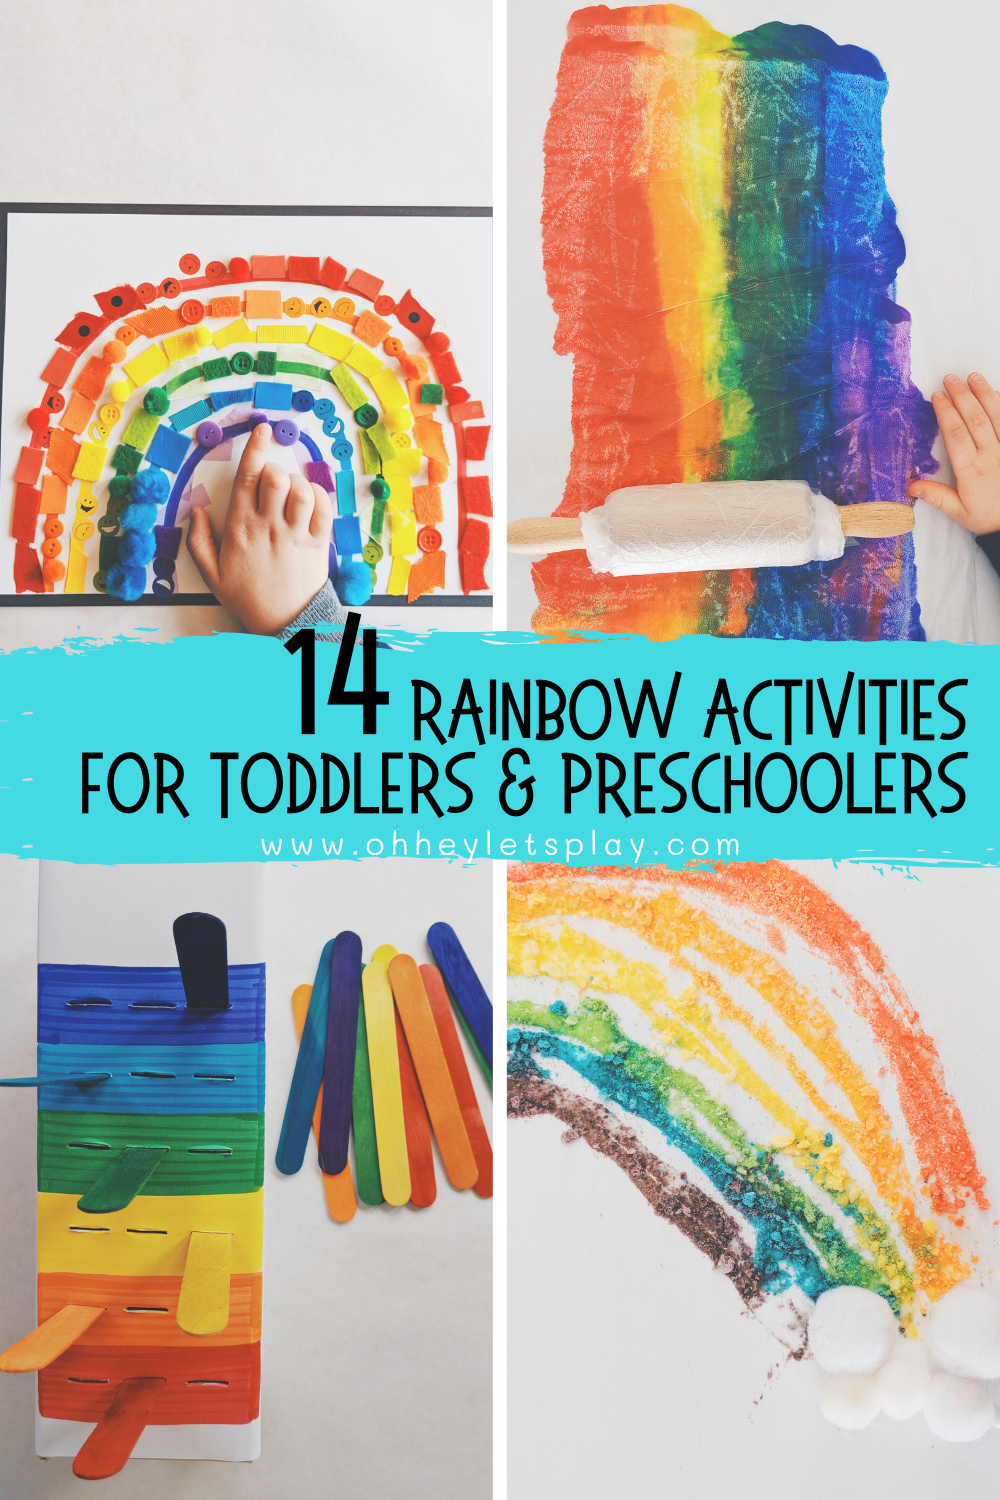
Rainbow Activities for Toddlers & Preschoolers
Once Valentine’s Day is over sometimes I feel like a lost puppy. We go back to back with one theme after another from apples starting in September to pumpkins to Halloween to fall leaves then turkeys and gingerbread men then on to Christmas and snowmen and penguins then straight on to Valentine’s day and when that ends I find myself thinking “what in the world are we supposed to do now?!”
Well I’ve started to realize that this means we get to start thinking about all things SPRING! Rainbows go hand-in-hand with St. Patrick’s Day which comes up pretty quickly in March but colors are also just fun to learn and play with at any time of year! Many of these activities are ones we have done during the month of March either around the time of St. Pat’s, or just to help bridge that gap between winter and spring.
This is a collection of all the organized, rainbow-colored learning and playing I’ve done with my kiddos from the past 2-3 years. I hope this post gives you some colorful inspo and if nothing else, brightens your day!
What you’ll need:
- Froot Loops cereal
- 6 small bowls
- tools for crushing (I honestly can’t even remember what we used… I know- super helpful, right?)
- Elmer’s glue
- white pom poms
- white cardstock paper
What you’ll do:
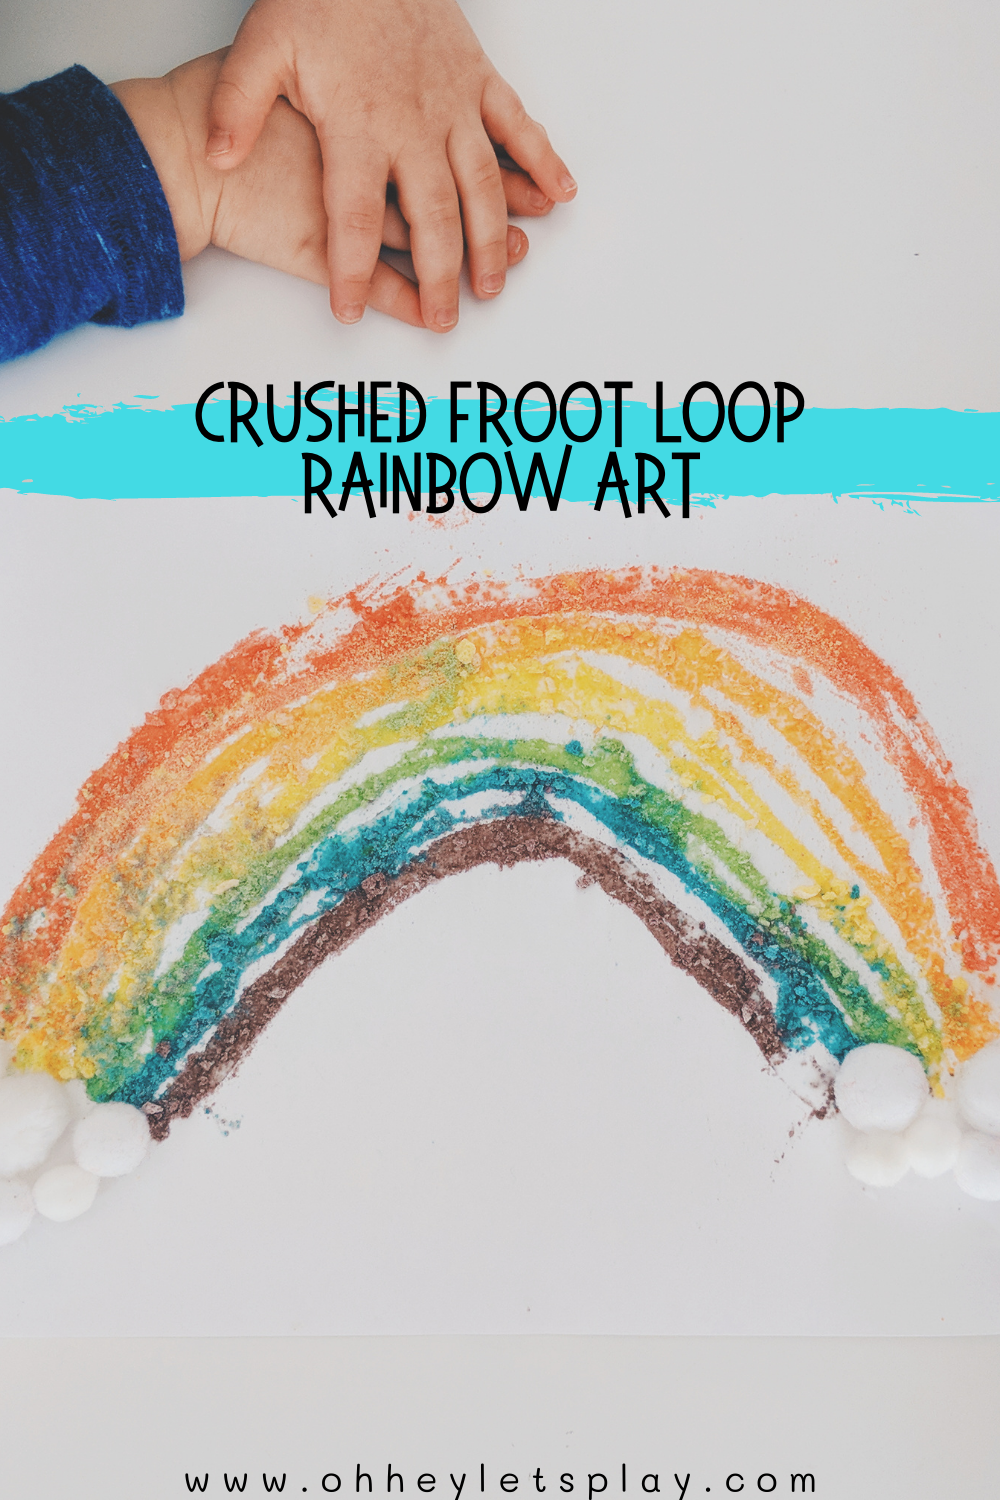
Have your little one help sort the Froot Loops by color into the 6 different bowls. Let your little one(s) help you crush them all up. This part of the activity alone is almost just as fun (if not more) than the art project itself, plus it’s a great way to work on motor skills. ;) Once the cereal is all crushed up, use glue to draw out the top line of a rainbow onto your piece of cardstock paper. Take small pinches of the crushed red cereal and sprinkle it all over the line of glue. Then, make the next line and do the same with the orange cereal. Repeat these steps with each color until you have a full rainbow. Squirt some glue at the ends of the rainbow and add white pom poms for fluffy clouds!
What you’ll need:
- Froot Loops cereal
- colored pipe cleaners
- small plastic bin
- muffin tin for sorting
- sensory play tools (or spoons, scoops, etc.)
What you’ll do:
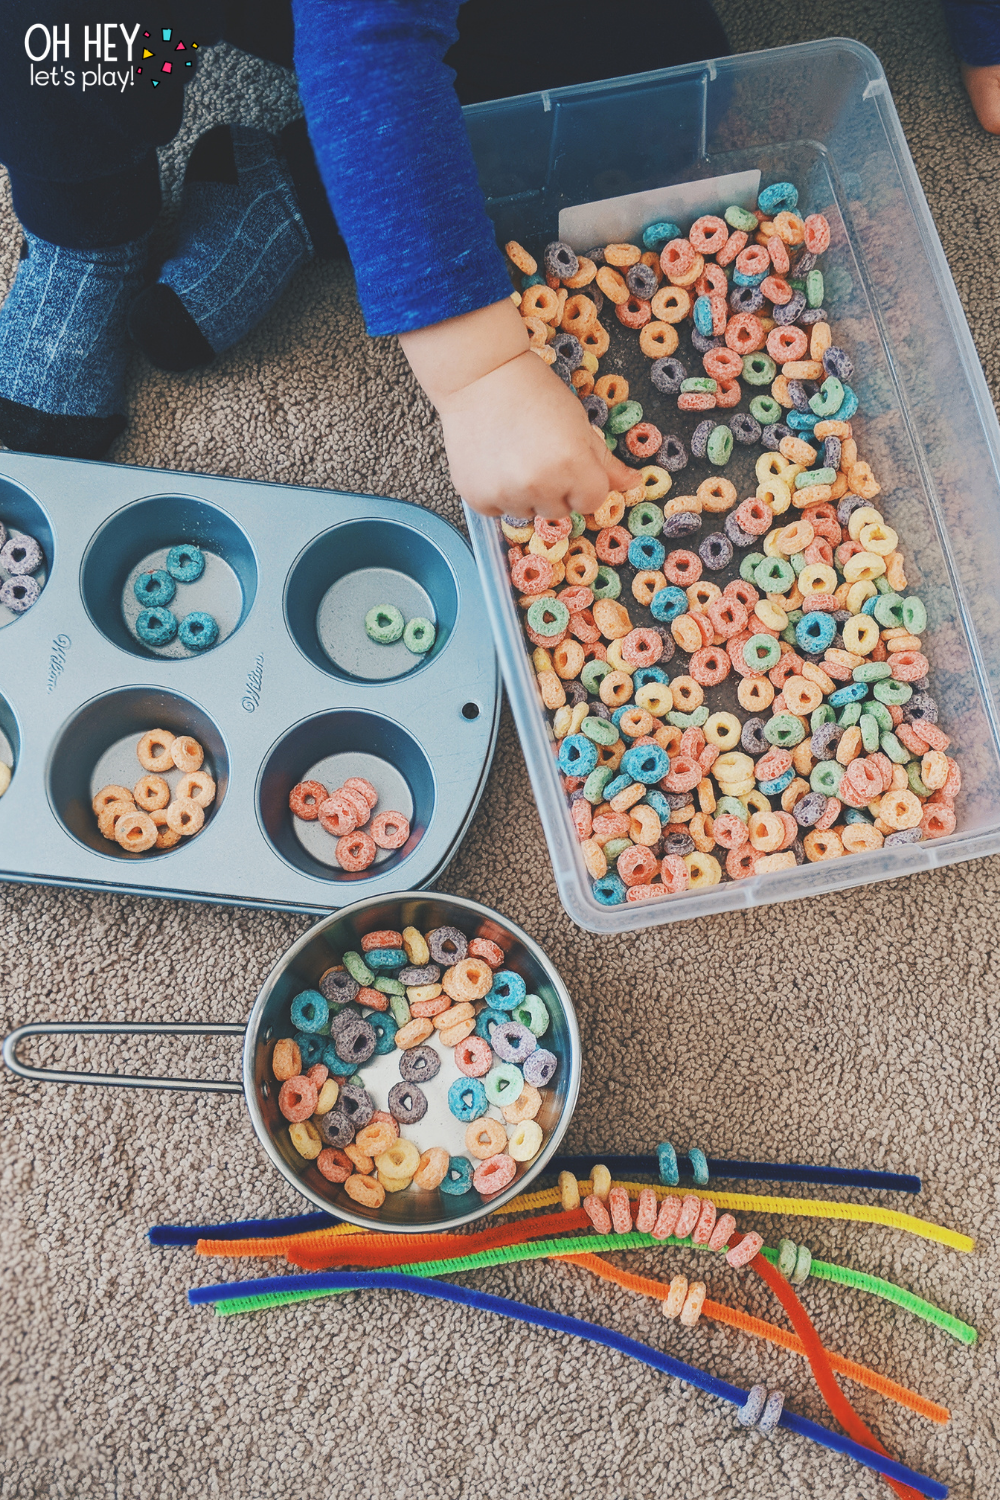
Dump a bunch of cereal into your small plastic bin and add a pipe cleaner for each color. Color sort and thread the cereal onto the different colored pipe cleaners, and/or use the sensory play tools to scoop and sort colors into the muffin tin.
What you’ll need:
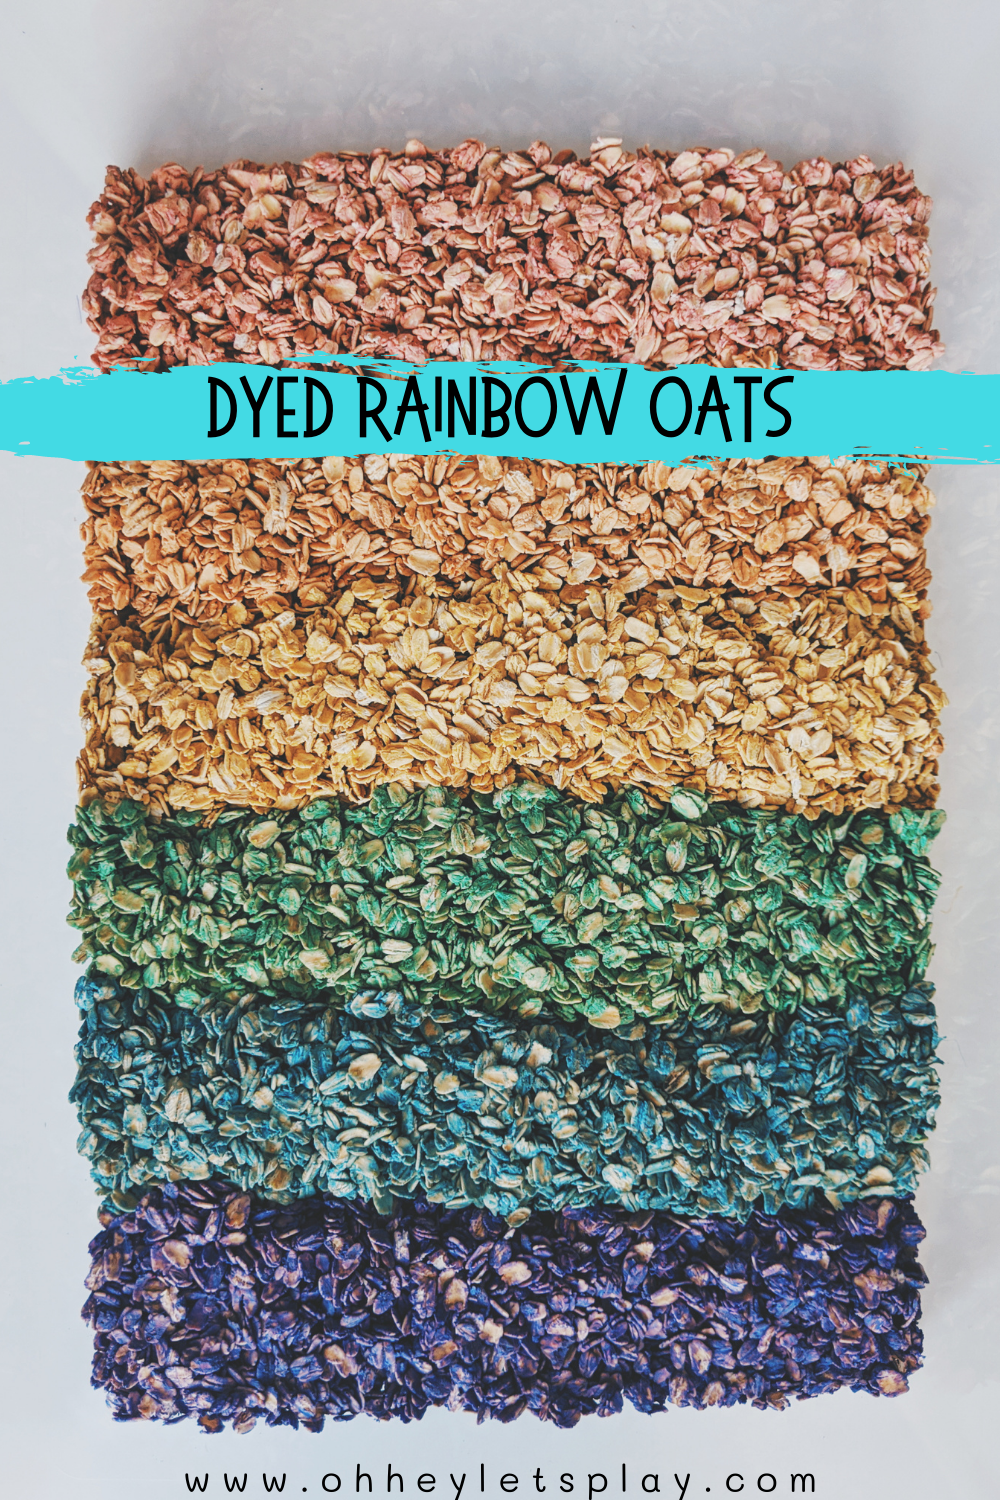
- dried oats
- liquid watercolors (or food coloring)
- large Ziploc bags
- water
- plastic storage bin
What you’ll do:
Mix about a tablespoon of water and several drops of liquid watercolor in a small bowl. Pour the mixture into a large Ziploc bag and dump in one cup of oats. Seal the bag and mix it all up until the oats are covered. A few times I had to add more coloring if the oats weren’t totally covered but it just took some trail and error to get the colors I wanted. Repeat these steps for each different color, and lay them out on a paper towel to dry. Once oats are dry, dump them into a plastic bin and add scoops/spoons/bowls/ etc. for a fun sensory play activity.
What you’ll need:
- ice cube tray(s)
- food coloring
- water
- small plastic bin
- tongs
- plastic bowls
- scoops/spoons for transferring
What you’ll do:
Fill your ice cube tray(s) with water and add a couple drops of food coloring in each section. I like to use a small spoon or something to stir them up a little once I drop the dye in. Freeze the trays over night (or you could prep them in the morning and use them later in the afternoon). Pop the cubes out into your plastic storage bin, add some tongs, scoops/spoons, and plastic bowls. Encourage your little one(s) to scoop, grab, transfer, etc.
What you’ll need:
- rainbow colored Play Doh (or make homemade using this recipe- our favorite!)
- rainbow colored buttons
What you’ll do:
Make a Play Doh “pancake” with each of the different colors, and encourage your little one(s) to sort the buttons by color squishing them into the different colored Play Doh.
What you need:
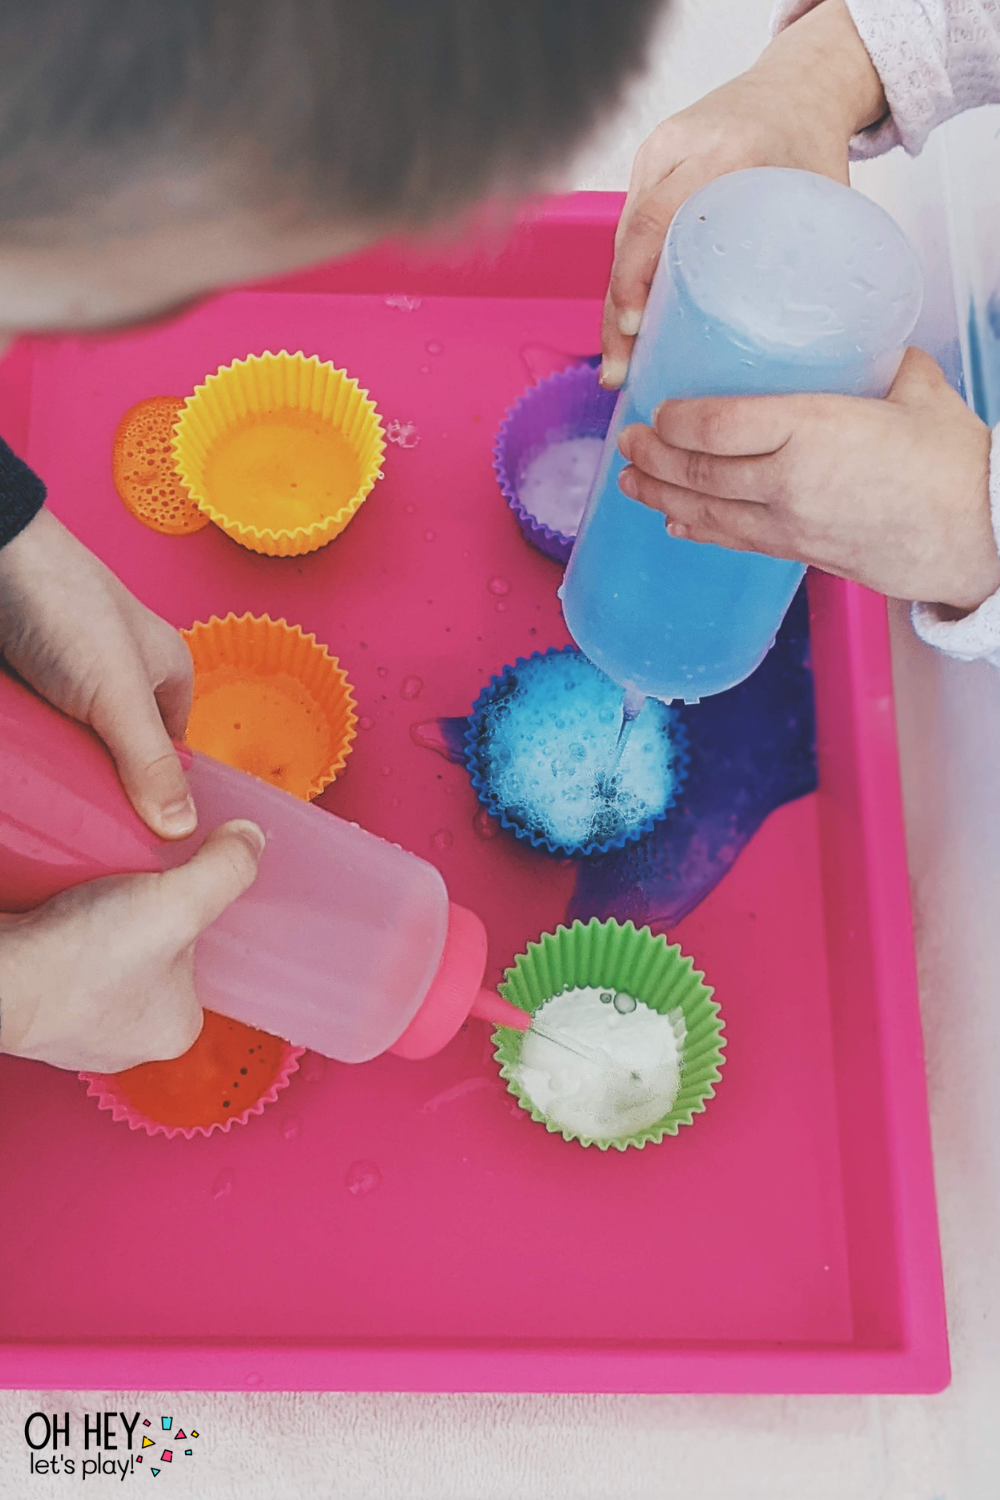
- silicone cupcake liners
- squeeze bottles
- baking soda
- vinegar
- food coloring
- tray or bin
What you’ll do:
Put a couple drops of food coloring in the bottom of each cupcake liner. Cover the drops of food coloring with baking soda. Fill the squeeze bottles with vinegar (dilute a bit with water to make it last). Place the materials on a tray or in a bin and squirt the diluted vinegar at the baking soda to watch it bubble up and explode with color!
What you’ll need:
- ice cube tray(s)
- pom poms
- muffin tin
- clear plastic bin
- scoops/shovels/spoons
What you’ll do:
Drop a pom pom in each section of the ice cube trays and then fill them with water. Freeze the trays either over night or in the morning to use that afternoon. Pop the frozen pom poms out into a plastic bin and add scoops, shovels, and/or spoons for transferring. Encourage color sorting in the muffin tin.
What you’ll need:
- rainbow colored paper
- clear plastic tray
- salt
- string of twinkle lights
- clear plastic bin
- paintbrush and/or small cars/trucks
What you’ll do:
Plug in your string of lights, and place the clear plastic bin upside down over the lights. Cut, layer, and tape the colored paper onto the clear plastic tray. Cover the tray with a thin layer of salt and place it on top of the clear bin. Turn out the lights and use the paintbrush to draw or make shapes/letters, and/or use the cars to drive around in the salt!
What you’ll need:
I will link some of the things we used that you see pictured here, but just use random craft supplies you already have in your home if possible!
- buttons
- stickers
- pom poms
- ribbon
- felt
- foam
- tape
- white cardstock
- black construction paper (optional)
- 6 cup muffin tin
- markers
- Elmer’s glue
What you’ll do:
To prep this activity, use your markers to draw out a rainbow on the white cardstock. I chose to then back the white cardstock onto a larger black piece of construction paper just to make it a little more sturdy. I used our 6 cup muffin tin to sort all the craft materials by color and then set them out with some glue. I left the project open-ended in terms of what got used and just encouraged Kade to use the matching colored supplies for each part of the rainbow. It turned out so cool and was a blast to create!
What you’ll need:
- washable tempera paint
- large white construction paper, or easel paper
- cling wrap
- tape
- rolling pin
- “What Make a Rainbow?” by Betty Ann Schwartz
What you’ll do:
Squirt a bit of each colored paint in a row on your white paper. Tear off a large piece of cling wrap to gently place over the different colors. Tape the cling wrap down so it doesn’t move when you go to use the roller. You’re going to also want to cover the roller in cling wrap too, just in case any of your paint sneaks out from the other cling wrap. Read “What Makes a Rainbow?” which is such a fun book, then have your little one use the rolling pin to roll the paint out making a rainbow!
What you’ll need:
- rainbow colored tissue paper
- contact paper
- painters’ tape
- black sharpie
What you’ll do:
To prep, cut up little pieces of the rainbow-colored tissue, and tape a piece of contact paper to a (reachable) window, or wall in your home. Make sure that the contact paper has the sticky side facing out, and then slowly and carefully peel off the back of the paper. Use a black sharpie to draw the shape of a rainbow on to the contact paper. Set the tissue paper out in a bowl or small container, and let your kiddo(s) decorate the rainbow! Both of my kids worked on this together (they were about 4 and 20 months at the time).
What you’ll need:
- baking tray
- kid-safe scissors
- rainbow colored plastic straws
What you’ll do:
No real prep needed here for this one! Simply set out a bunch of rainbow colored straws with a pair of scissors all on a tray and let your little one work on those scissor skills!
What you’ll need:
- shoe box
- white paper
- double-sided tape
- scissors
- markers
- box cutter
- colored craft sticks
What you’ll do:
To make this box, I cut white paper to the size I needed in order to cover my shoe box and used double-sided tape to stick it to the box. I used my markers to draw rainbow-colored stripes/sections on the top and then used the box cutter to make slits in each colored section. Stick the colored craft sticks into the slits in the matching colored stripe and then pull them out and start again! This activity is great for the obvious color matching but also for building fine motor skills.
What you’ll need:
- magnetic tiles
- rainbow colored cars (we used hot wheels and just so happened to have one of each color- just try to find one in each color no matter what type of car it is!)
What you’ll do:
Nothing too complex here- simply build a road with each color magnetic tiles and then line the cars up on their matching colored road and drive/race them!
I hope you found some inspiration here today and will give one of these activities a try! Be sure to pin the ideas you love for later or feel free to share this post with a friend. :) Find and tag us on social media if you try them out! Leaving you here with some links to a few of our favorite books on COLORS!
- The Color Monster
- What Makes a Rainbow?
- Little Green Peas
- Bear Sees Colors
- Cat’s Colors
- How the Crayons Saved the Rainbow
- Mix it Up
- Mixed
- Pete the Cat: I Love My White Shoes
