Dinosaur Activities for Toddlers and Preschoolers
We are on the final theme from my friend Alison’s summer reading program! We have had the BEST time the over the last couple of months reading and discovering new (and old) favorite books, and engaging in fun, hands-on, playful learning activities to go with each theme. You can find a few other posts from themes we did this summer here:
4th of July Activities
Zoo Activities
Ocean Activities
Watermelon Activities
We also did ice cream and camping themes which I hope to write blog posts for eventually, too! Because these themes were based on books, I like to first share all of our dinosaur book recommendations. Always, always check your local library first if you’re looking for themed books, but if you can’t find what you’re looking for there, hopefully some of these recommendations/links can be helpful for you- these are all books that we own and love!
Disclaimer: This post contains affiliate links which means I would earn a small commission if you were to purchase through those links. All opinions are my own, and I only link to products that I truly recommend.
- Clever Creatures and Boundless Beasts (this book comes with dinosaur figures that we used for several of our themed activities!)
- Dinosaurs (this is a non-fiction book we found in the Target dollar section!)
- Dinosaurumpus
- How Do Dinosaurs Say Goodnight?
- How Do Dinosaurs Say I’m Mad?
- Never Touch a Dinosaur
- No, No Dinos!
- The Littlest Dinosaur’s Big Adventure
- Rawr!
- Duck, Duck, Dinosaur
- My Big Dinosaur Book
Keep scrolling to see and read about the themed activities we enjoyed along with these books!
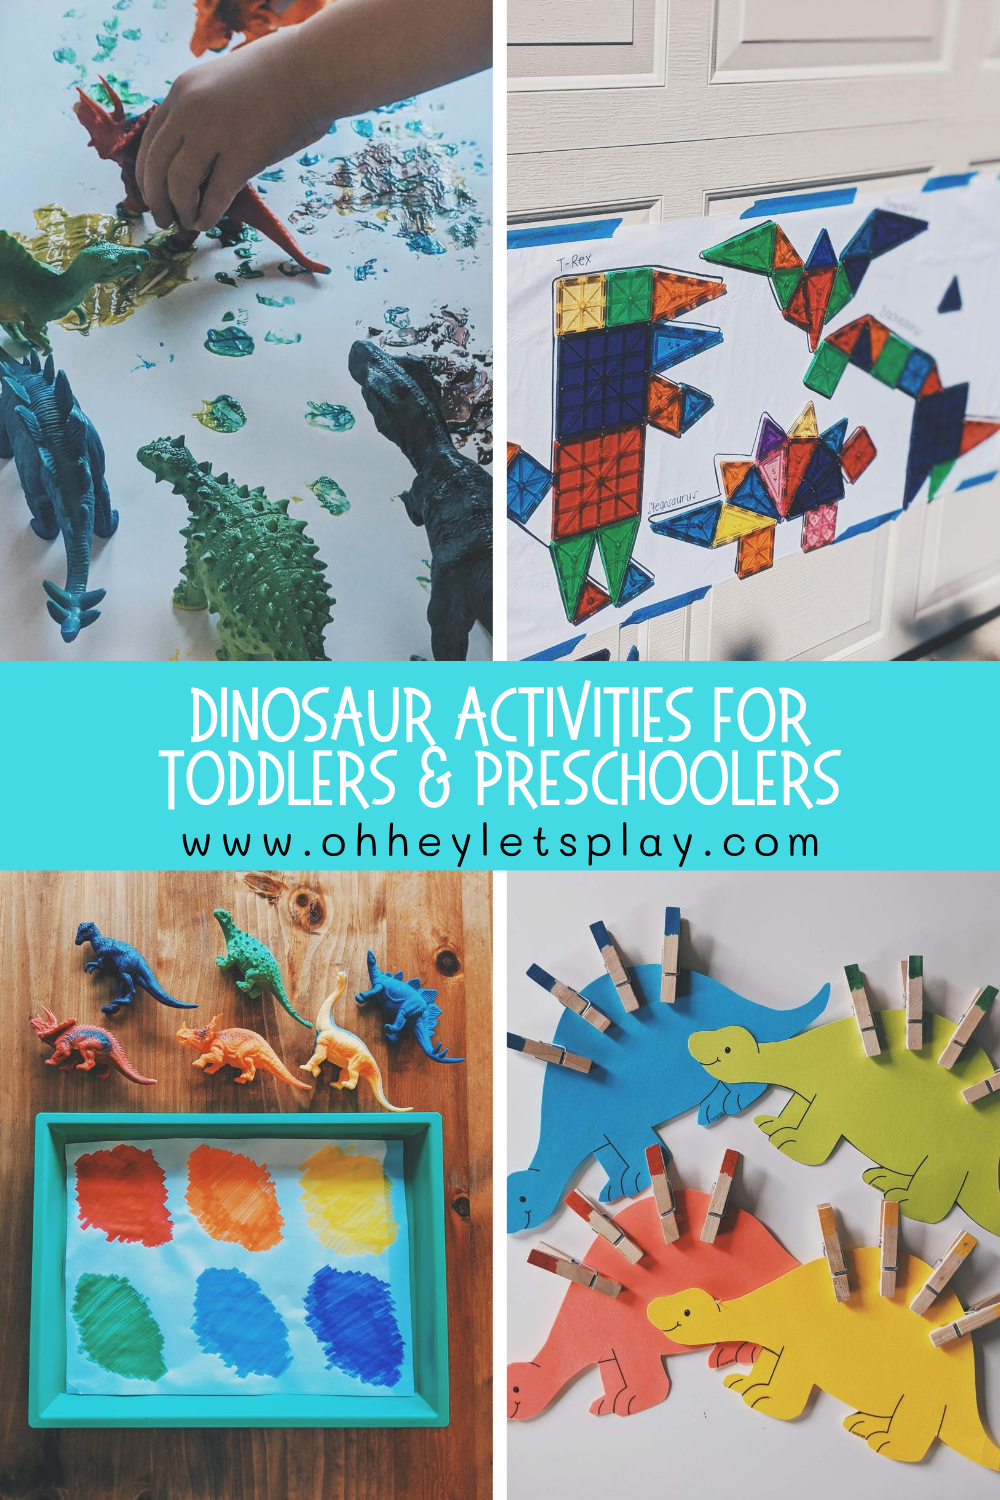
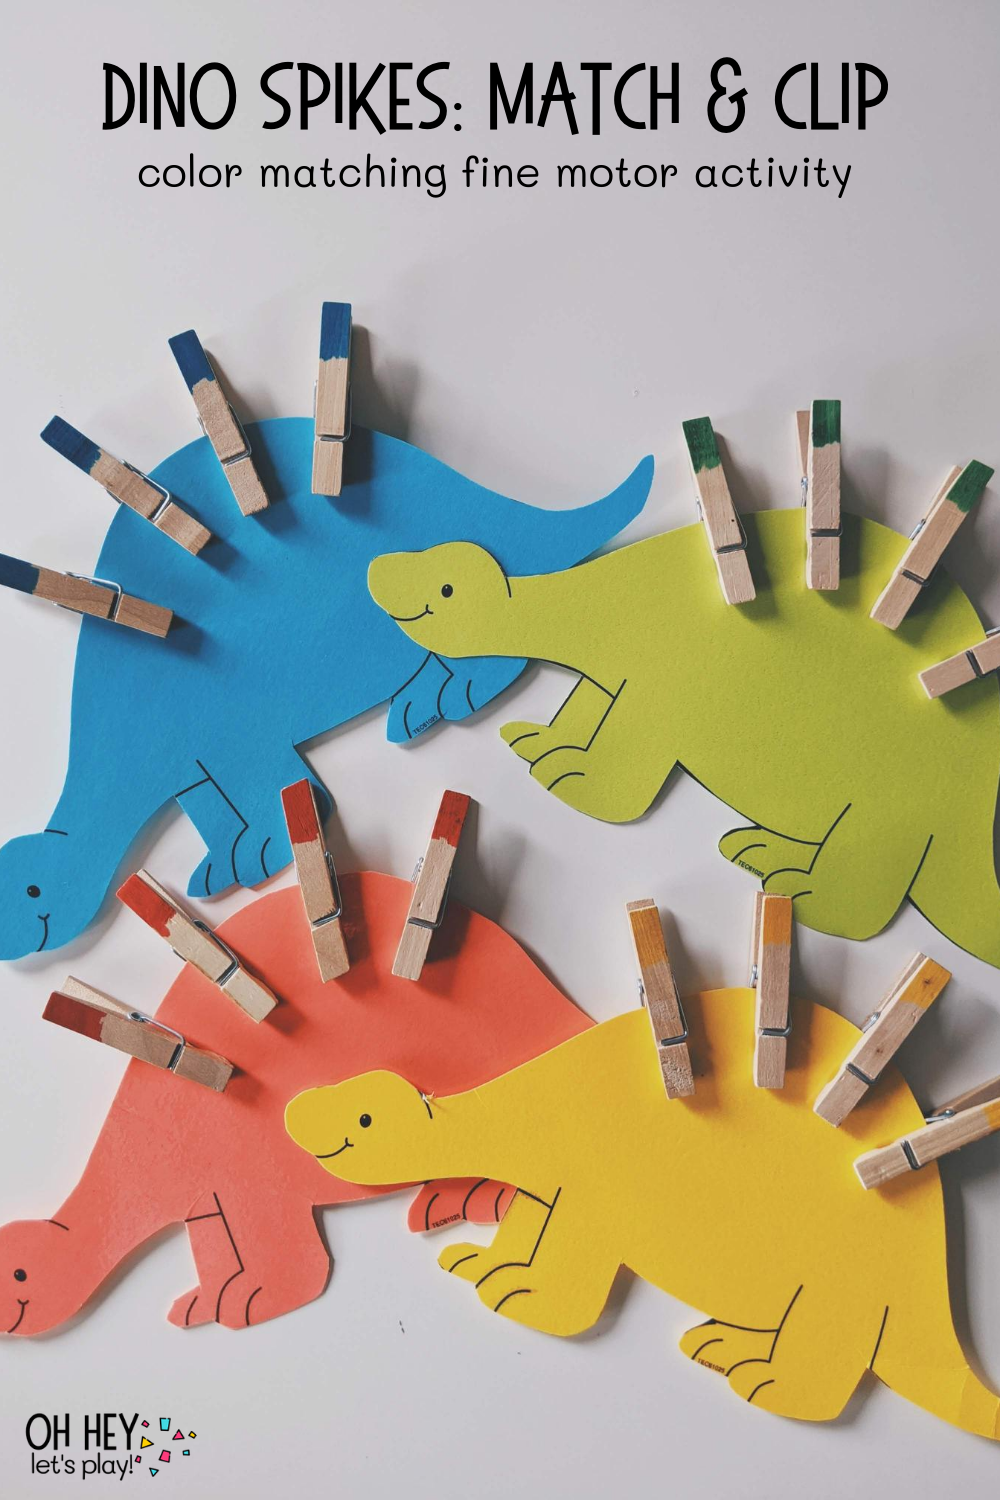
I printed and laminated these sweet little dinos back in the day when teaching preschool and found them just in time for our dinosaur theme. I wish I could remember where I got them or printed them from but you could totally just google how to draw a simple dinosaur yourself and then cut them out! I chose to laminate them so they would last longer but I bet if you used colored card stock they would be okay for awhile.
I had four different colored dinosaurs and colored the tips of some clothespins with marker to coordinate with the colors. You could also save yourself some time and just use colored clothespins! The main goal for this activity was the fine motor piece- squeezing little clothespins is such a great way to strengthen those super important little muscles in fingers and hands. The color matching was just an added bonus. Tatum (2) focused on the colors, while I provided quite a bit of assistance with the clipping. Kade (4) matched the colors with no problem, but was then able to focus on the clothespin clipping.
You could also choose to forget the color matching all together and just write numbers on each dinosaur. Kiddos would then clip the correct number of “spikes” (clothespins) to each dino’s back.
If you have been to the Target dollar section recently, you’ll know that they have been stocked up with an awesome variety of flash cards! I snagged these dinosaur cards (same ones are also on Amazon!) that have some super fun facts on the back of each card, along with the name and picture of each dinosaur on the front. We have this set of dinosaurs that came with one of our favorite dinosaur books. The book also names and talks about each of the different dinosaurs so Kade and I worked together to talk through our background knowledge of each dinosaur, tried to remember their names and matched them up based on all of that plus the pictures.
We ended up getting out the book and comparing those pictures as well to determine which dinosaur was which. There were way more flash cards than dinosaurs that we have so I only pulled out the cards of the dinos I knew we had, and also only set out the dinosaurs that I knew we had cards for. Some of the facts on the flashcards were different than what we learned originally in the book so it was fun to get to learn more about some of the dinosaurs we like to play with.
I can’t take full credit for this one! I was inspired by this post on Instagram and knew we had to give it a try. I chose to move the activity outdoors and try it out on our garage door. Did you know that magnatiles stick to garage doors? I’d seen people doing it but we had yet to try it out. The kiddos were so excited to have one of their regular “inside toys” brought outside. It was like they were brand new!
I had created each dinosaur with the magnatiles myself the night before and traced around them. I set aside the tiles used to make each dino and labeled them so I could provide the kiddos with exactly what they’d need to build each magnatile dinosaur. Tatum (2) kind of just put tiles wherever she wanted and I was fine with that- Kade (4) was mainly the one completing the “puzzles” and even he needed a few tips/hints along the way. It was so fun though and working on a vertical surface is always a great way to switch up your play. I talk a little more about the benefits of working at a vertical surface in this blog post.
I set this activity up for Tatum who turned 2 less than a month ago. We’ve been working on mastering naming/identifying colors and of course along with that, color matching and sorting. These are those same dinosaurs that came with the book I mentioned earlier. I pulled out one of each color, and used markers to color a spot for each one. I taped the paper down onto one of these little activity trays (thanks again Target dollar section- linked ones that are similar) just for simple set-up.
She did great with this! I told her to find a certain colored dinosaur and then find its spot on the tray. I also had her pick a dinosaur on her own, tell me the color, and then find its matching spot. We played this a couple of times and it was great practice! If you wanted to try something similar with older kiddos, you could put a piece of masking tape on each dinosaur and write a letter of their name on each one. You would spell their name out on a piece of paper and have them match the letters. You could also do uppercase/lowercase matching, numbers, shapes, or sight words.
This activity was set up for my 4-year-old. He did this while Tatum and I worked on the color matching tray. I actually made these also back when I was teaching preschool. It’s just colored construction paper cut into egg-shapes and then cut in half in different ways. I put numbers 1-10 (I actually have them up to 12 but didn’t have room on the tray- ha!) on the top, and drew dots on the bottom halves to match. I taped down the top half to the tray just so that they stayed in place for him. He counted the dots, and then matched them up with the correct numbers to complete each dinosaur egg.
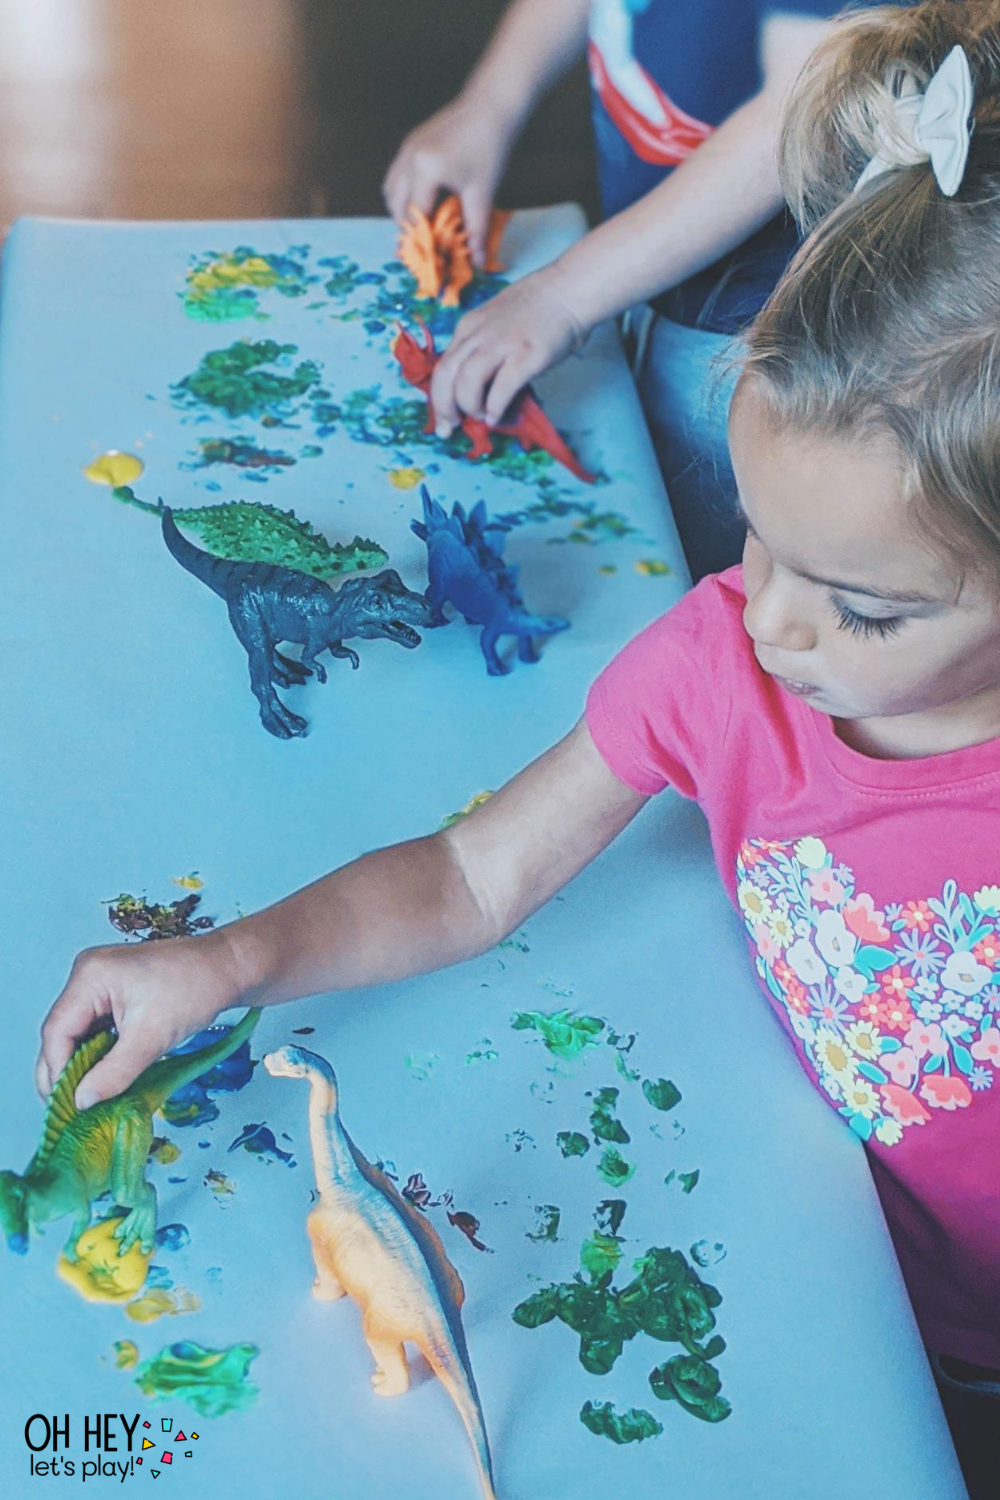
This activity was so simple, and easy to set-up but kept the kiddos entertained, using their imaginations, and being creative for a solid 30 minutes. I chose to set this up on the bench that goes with our table. I used a long piece of white easel paper and actually taped it to the bottom of the bench on each side so that it stayed put. I put a bunch of paint blobs in different colors along the piece of paper and set out some dinosaurs for them to paint with.
I told them to make dinosaur footprints but emphasized that it wasn’t about the actual footprints (because I have one kiddo who could potentially get frustrated if they didn’t turn out perfectly) and how they looked, but more about just having fun with them and using them as paintbrushes. After that, I kept everything very open-ended and let them paint however they wanted. Tatum was even using the tail at one point- they had a lot of fun!
Of course whenever we use something non-traditional to paint, we almost always end up then giving it a “bath.” This was perfect because it happened to be a beautiful day and we were wanting to get outside. I filled a clear storage bin with dish soap and water, and threw in a sponge and a washcloth with all the painted dinosaurs. We brought out the bin and a towel for drying and the kids had so much fun getting them all cleaned up.
You could do this activity inside too and just lay out a towel underneath the bin. Tatum was loving all the bubbles and Kade was determined to get all the paint off each dino. Honestly, kids love playing in water, especially if it’s bubbly and soapy- this is a great way to get some well-loved toys washed in your house… throw them in a tub and have “bath time!” Of course as long as they are “water proof.” ;)
These next few activities use some printables from a numbers & shapes activity book that I am launching in the next couple of weeks (printable AND hard copy) and am super excited about! These activities are VERY simple and open-ended. They allow for lots of creativity with multiple different ways they can be used. We chose to use them mostly with our mini erasers but I also had Tatum use the mini dinosaur figures (similar) for this first one. I had her working on circles, and Kade focused on triangles, and then he also worked on ten frames.
We did these activities all in one morning and they were able to do them simultaneously with little assistance from me (aside from getting them started with each activity). For this first one pictured above, Tatum used dinosaur figures to build a circle. You could use pipe cleaners, wiki stix, little blocks, or if you threw this printable into a plastic sheet cover, you could use play doh on it, or a snack food item. Lots of options!
Here’s where we switched to the mini erasers. This page provides specific spots for an object to build a shape. I had Tatum placing a dinosaur in each little circle, to create one big circle. You could use any small objects to place in these circles such as pom poms, colored bingo chips, cheerios (or any small snack food), or you could use dot stickers (or any small stickers), or do-a-dot markers.
This is the same activity that Tatum did, except with a triangle shape.
For this activity, Kade used the mini erasers to find and cover all the triangles he could find on the page. We talked about how there are many different sizes and types of triangles but they all have the same attributes (3 points and 3 sides).
Kade did this activity for numbers 5-10 and worked on counting using ten frames which are a visual counting tool. Starting in the top left corner and moving from left to right, he filled each box with a mini eraser and counted up to the correct number for each frame. We talked about how the top row shows 5 and the bottom row shows 5 which all together makes 10! Use any small objects, stickers, fingerprints in ink or paint, or do-a-dot markers to complete these ten frames.
We love our learning journal! I shared a post earlier this week with 5 different dinosaur-themed journal activities that are geared toward preschool-aged kiddos typically 3 and up. I do journal pages with Tatum (2) from time to time, too, but these are typically more for Kade (4). Skills covered in these dinosaur-themed pages include letter recognition and letter sounds, pre-writing/fine motor skills, early numeracy/counting skills, and patterns (completing them, and labeling/naming them with letters).
Here are a few other themed journal activity posts I’ve shared:
4th of July-Themed Journal Activities
Zoo-Themed Journal Activities
Ocean-Themed Journal Activities
Watermelon-Themed Journal Activities
If you liked this post, feel free to share and PIN so you can come back to it later. :) Also please tag us if you try any of these activities so we can see- it makes our day!


