Bug Activities for Toddlers
The inspiration for this "Creepy Crawly Bug" theme came from these cheap little plastic bugs that I'd randomly ordered for Kade on Amazon, and an empty (cleaned out) peanut butter jar. For some reason, filling and dumping this jar with these bugs became one of his favorite past-times and led to him learning what a lot of the bugs were called. He now knows ant, spider, butterfly, scorpion (which he pronounces "coo-pee-oh"), lady bug (pronounced "ee-bug"), beetle, and centipede (a personal favorite pronunciation: "ha-mee-no" - Kyle and I joke that it sounds Spanish). His interest in these bugs inspired me to create some other fun, creepy crawly activities for him. Here is what we did with this theme:
Materials:
Play Doh
Plastic bugs
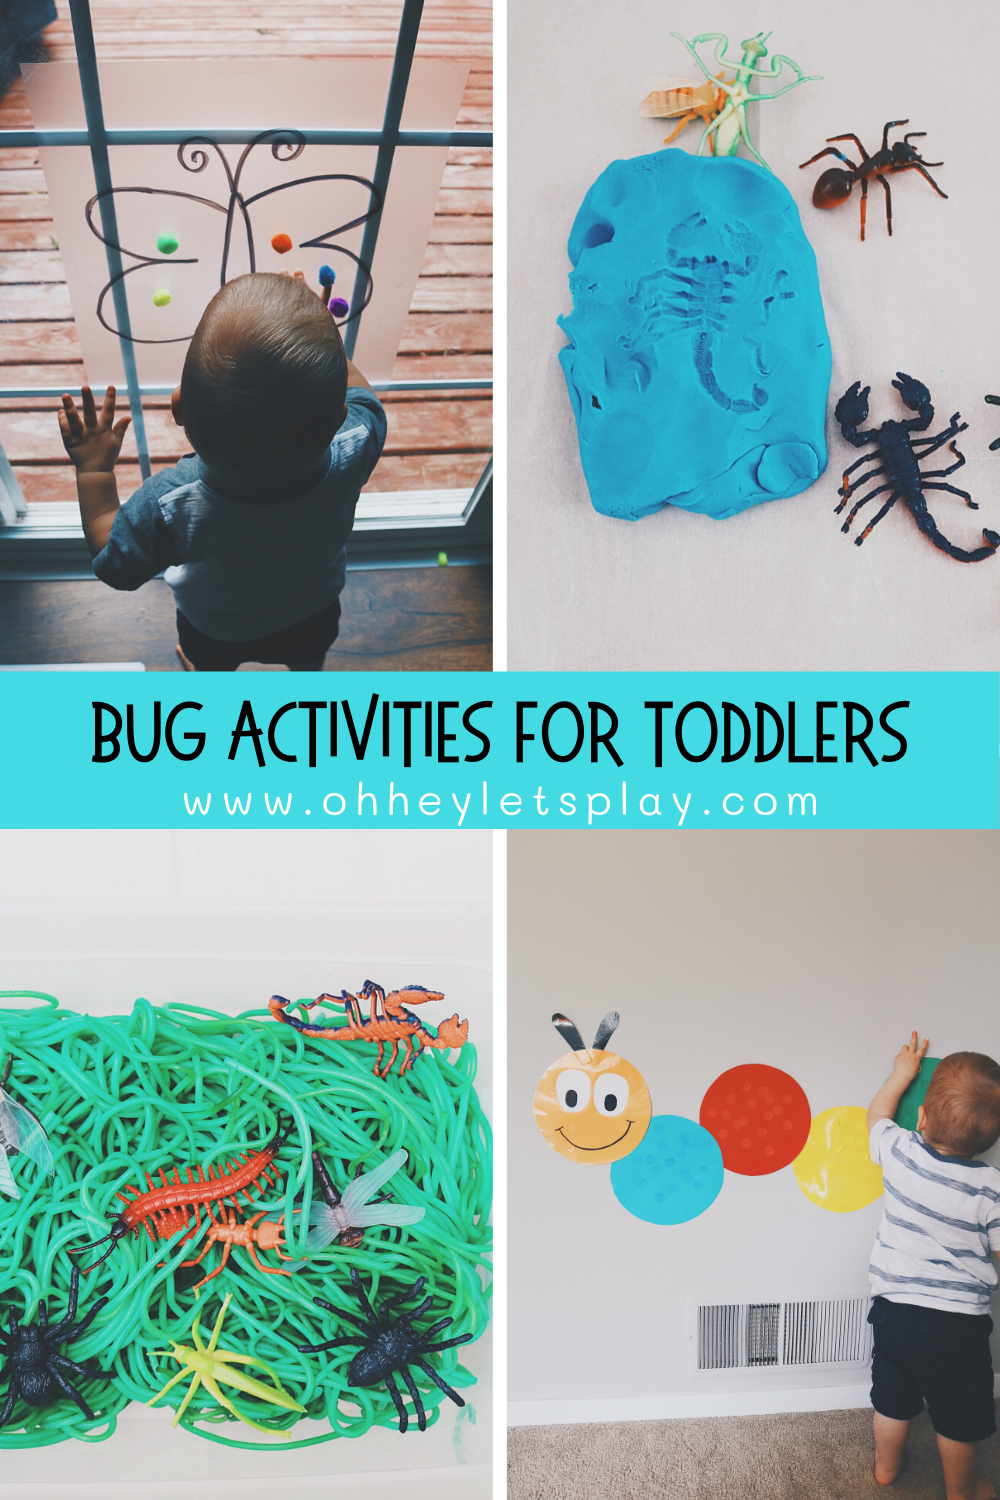
Yes, it's as simple as it looks! Set out the play doh and set out the bugs. I showed Kade how to push the bugs down into the play doh and he was thrilled to see the imprints they left when I pulled them up. I had to keep flattening the play doh back out for him and helped a little with getting the bugs in place but he loved smooshing them down to make the imprints!
We used parchment paper underneath our play doh to protect our kitchen table and because I know you're wondering, yes he did try to eat the play doh once or twice which I expected. I just watched him closely and quickly redirected him when he started bringing it to his mouth.
Materials:
Clear contact paper
Tape
Sharpie
Pom poms
I cut off a decent sized piece of contact paper, used a sharpie to draw a big butterfly, and taped it up to our sliding door. This would also work on a table or I've even seen people do activities with contact paper outside on their garage door. We used colored pom poms to decorate our butterfly. I really wanted to use small pieces of tissue for this activity but we didn't have enough of a variety in colors and I'm all about using what we already have. ;)
Kade only tried to eat one of these poms over the course of the few days we had this activity out. He spit it out and named the color correctly so it was hard to be mad. Pom poms aside, he really liked the feeling of the skin on his hands sticking to the contact paper!
Materials:
Cooked spaghetti
Green food coloring
Plastic bugs
Optional: bug jar/cup, tweezers/tongs
This was a super fun, ok-to-taste sensory play activity for Kade. I cooked the spaghetti, rinsed it in cold water, then mixed in drops of green food coloring until it was the desired color. I laid it out on a big cutting board to dry. It really only needs about an hour to dry (to avoid the food coloring coming off on sweaty little hands), but I just so happened to do this after dinner so I just left it out over night. Also note that it only lasts a few days before it will start to get moldy so be sure to take the bugs and everything out and dispose of it before it gets to that point. ;)
I just added the bugs, his bug jar, and some fine motor tweezers for him to play with. I was expecting him to dig in with both hands and enjoy squishing it between his fingers. This is one of my favorite things about planning activities like this for Kade- he never does what I expect him to. Instead, he enjoyed picking one single strand of spaghetti out at a time and gently placing it into his bug jar. Whatever works, right?
Materials:
Cardboard or a cut up box
Printed bug clip art
Scissors
Glue stick
Hot glue gun
Packaging tape
Box cutter
I accidentally got a little crafty with this one. I cut up a box that I had, printed out 2 copies of the bugs and cut out the ones I wanted to use. I taped one set onto one piece of cardboard (using packaging tape so that they were totally covered and protected), and then used a glue stick to glue the other set of bugs on to the other piece. The hardest part was trying to make sure they were lined up/glued onto the same area of cardboard so when I cut them out, the holes would be in the right place. I used a box cutter to cut out the "puzzle pieces" from the cardboard and then put packaging tape tightly all around them so they were more sturdy and protected. I then used my hot glue gun to glue the top piece of cardboard (which now had holes/openings from where I cut the puzzles pieces out of) down on to the bottom piece with the bugs peeking through the cut-outs. I now had 5 puzzle pieces to fit into the missing cut-outs.
Initially, Kade got his activities confused and wanted to stick the puzzle pieces onto our contact butterfly that we played with the day before. ;) He was excited to name the bugs he knew/recognized and find the matching bugs on the puzzle.
Materials:
Colored paper
Matching colored dot stickers or post-it notes
Sharpie
Laminator - optional
I cut some circles out of colored paper and laminated them partly so that the stickers could easily be moved around and I could save this and use it again, and partly because I miss the laminating part of being a teacher so much it hurts. I cut some eyes out of white paper and some antennae out of black and then used a sharpie to add the rest!
Since peeling the stickers off is still a bit of a challenge for Kade at this age, I would peel them off for him, hand them to him telling him the color and he would stick it to the matching color. I was so surprised with how well he did on this and how excited he got when he matched the colors correctly. He would applaud himself and say "did it!" Because I always excitedly said, "you did it!" Sticking the sticker to the circles was kind of tricky for him too so a lot of times I would hold it up and let him "push" the sticker on and he even enjoyed just doing that.
I feel like even if your kiddo didn't get a single color matched correctly, this would still be a win. It is giving your the opportunity to talk about the colors, expose them to the vocabulary, and they are working on fine motor getting those little stickers to stick where they want them!
Materials:
Washable poster/tempera paint
Plastic bugs
Paint smock- optional
We took this activity outdoors for obvious reasons. I grabbed a big piece of cardboard, squirted some paint on it and showed Kade how to dip the bugs in the paint and then put them on the paper. Everything is always a little more fun with a little bit of mess, right? ;)
Books we read and loved:
Backyard Bugs
BEEcause I Love You
The Very Hungry Caterpillar
If you liked this post and want to see more activities for this age group, check out these posts:
Activity Ideas for 12-18 Month-Olds
30+ Activities for 1-2 Year Old Toddlers
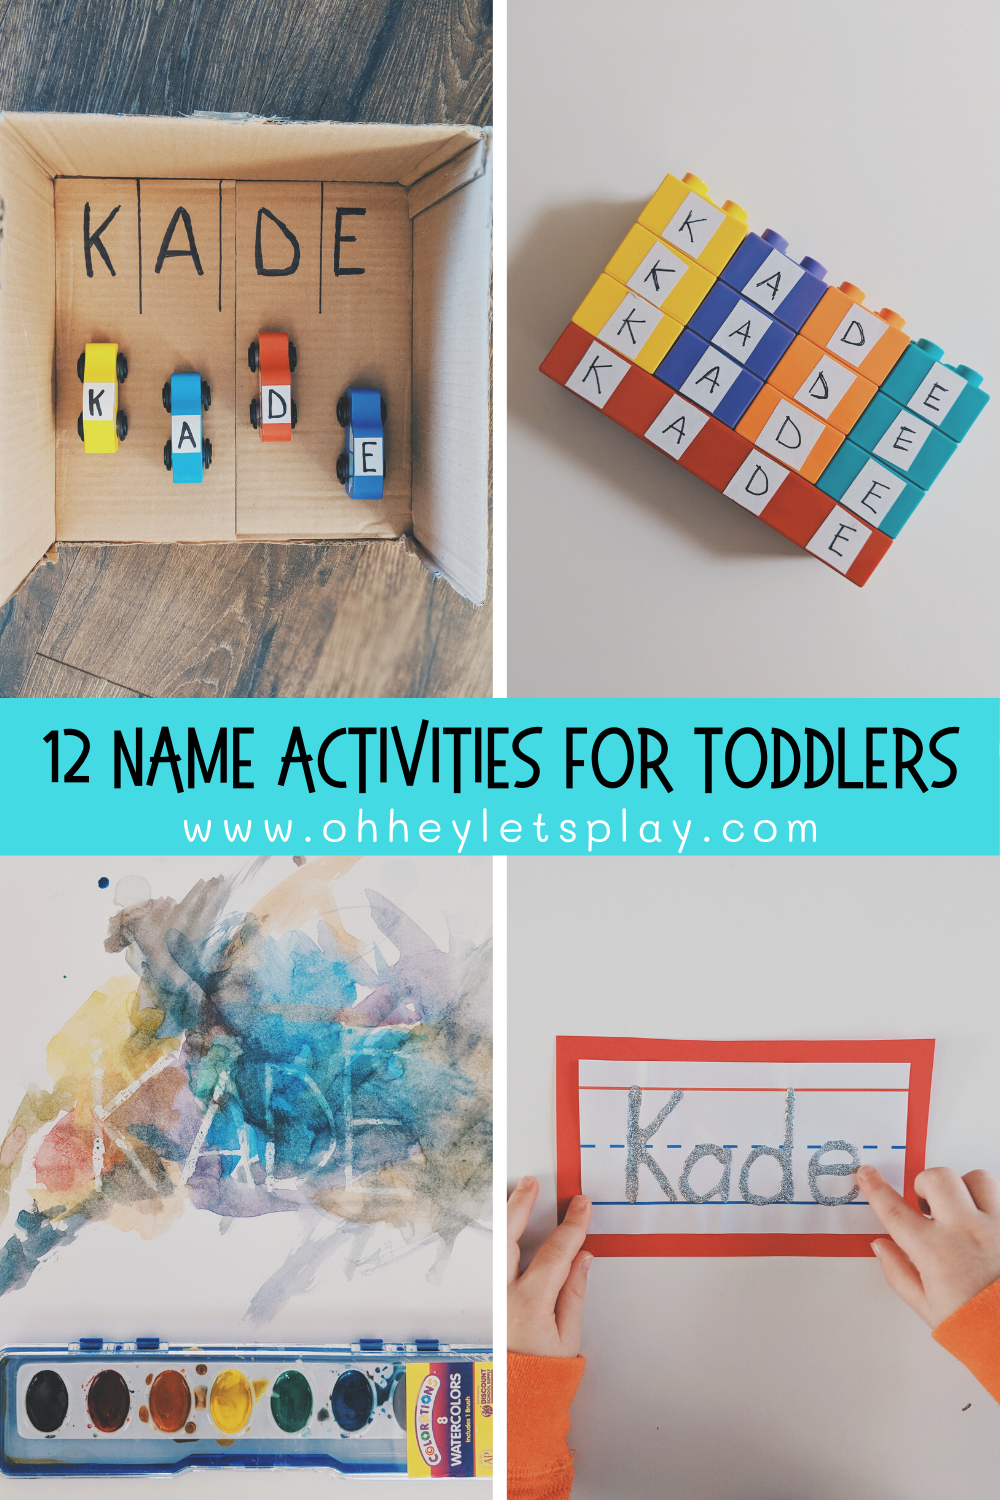
Name Activities for Toddlers
And if you like a good theme, here are some other themed-activity posts for you to check out:
Ocean Activities
Zoo Activities
Frog Activities
Apple Activities


