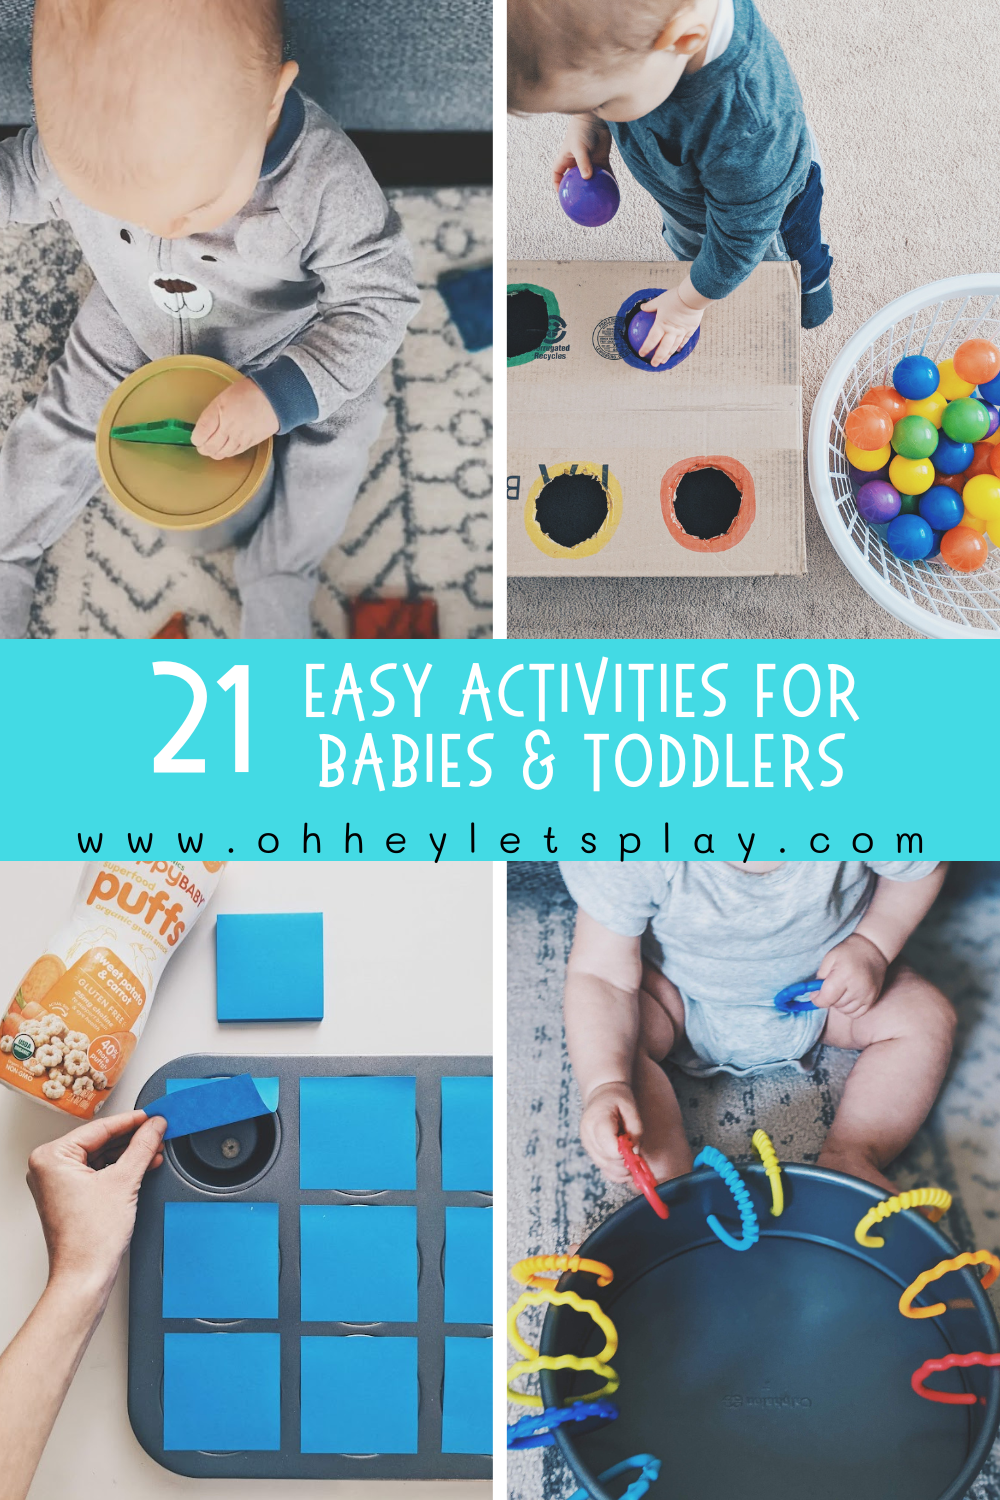


21 Easy Activities for Babies & Toddlers

Do you have a baby or toddler at home with you? I have some fun, and EASY activity ideas you can try! I specifically did not put an exact age range on the title of this post because I didn’t want to exclude any ages. These are all activities that I have set up for one or more of my three kiddos when they were in this baby/toddler stage.
Some of these activities were able to be done as early as 8 months, some were better closer to 12 months, and some even closer to 15 months. Every baby develops so differently and at their own unique pace. You know your child best and what you feel they are ready for so I will provide the ideas, and you get to decide which ones you want to try with your little one and when.
Babies and toddlers should always be supervised when doing any of these activities. :)

This activity is SO quick and easy to set up, and can be done as soon as your baby can hold their head up while doing tummy time! This is a great way to provide some fun sensory play for your little one. All I did to set this up was dump some fun shaped, colorful buttons in a large Ziploc baggie, filled it with some water (not too much - just enough for the buttons to all be covered/able to move around if it were laid flat), zipped it closed, and then reinforced with clear packing tape.
You could tape this right to your floor, or even a window if you have a baby that would prefer to sit and play, or if your little one is standing. I chose to tape ours to a cookie sheet so that I could easily move it around, and have it on the rug where he liked to play. I used the packing tape to secure it around all 4 sides so that he didn’t start yanking at the actual bag itself.
This button bag activity is a great way to switch up play time when you’re feeling like your baby is tired of all their usual toys. An added bonus was that my two older kiddos (3 and 5 at the time) played with this for a solid 20 minutes as well. ;)
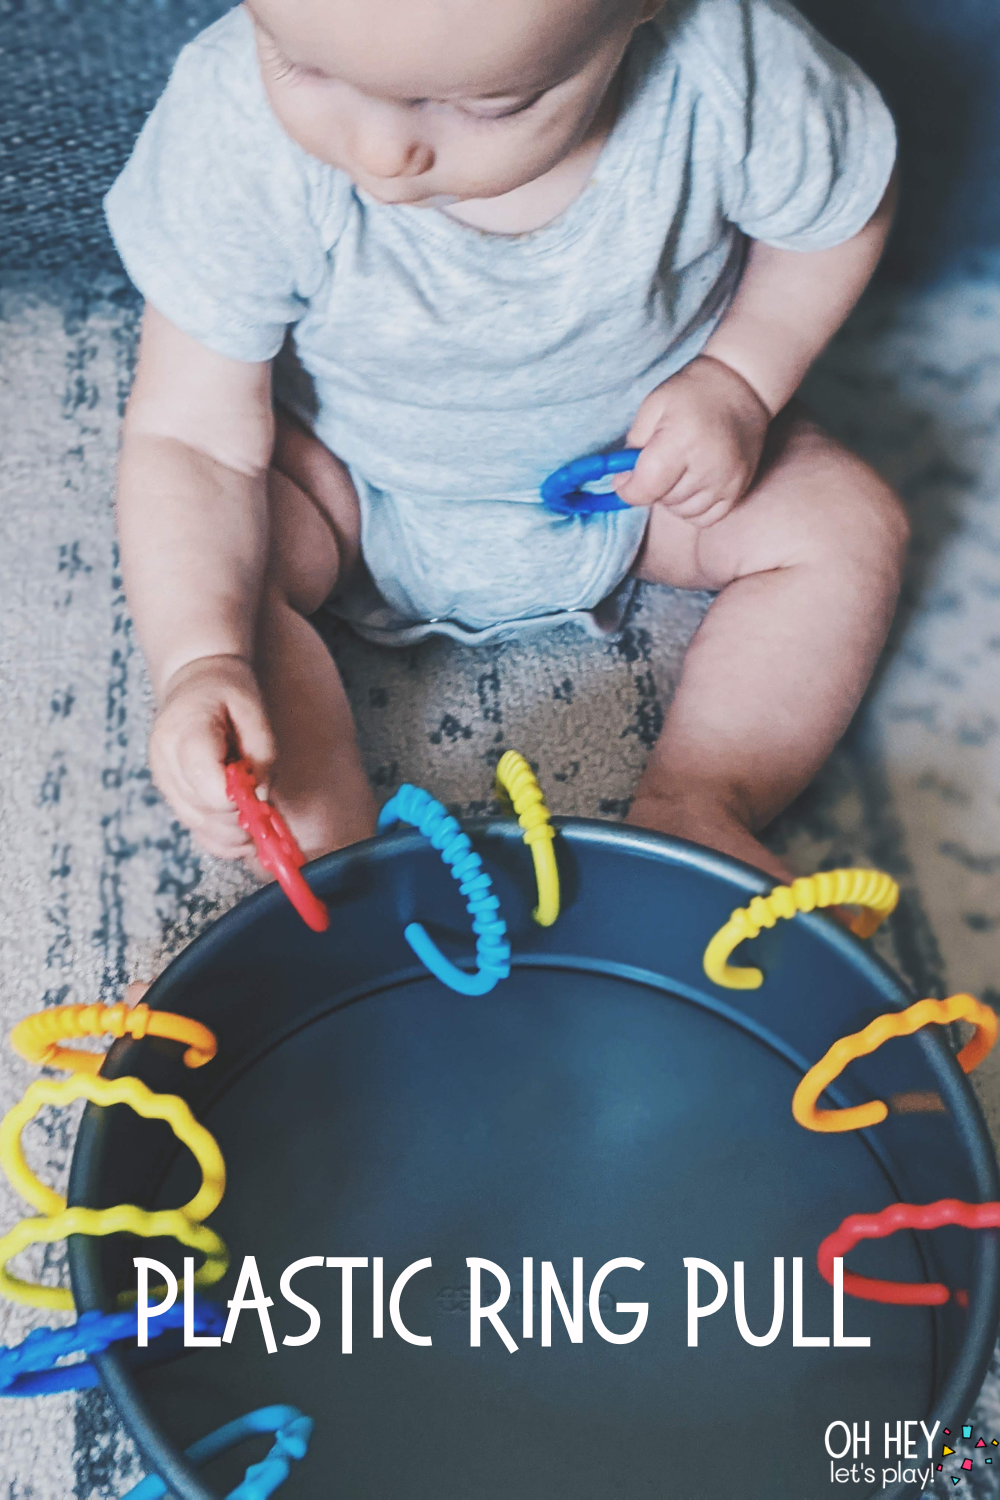
This activity will work great with babies who are able to sit up right. All you need to do for this activity is stick some plastic ring links around the edge of a pan. I used a round cake pan because it was heavy enough that there would be some resistance when the rings were pulled on. I have also seen this done with a glass baking dish for the same reason (obviously you’d need to use a bit more caution with glass).
The idea here is simply that the baby will pull the plastic rings off of the pan/dish. You may want to demonstrate the first couple to show them what to do. Encourage them to drop the rings into the middle of the pan as they come off (this also makes a fun sound that they will likely enjoy and want to hear again and again).
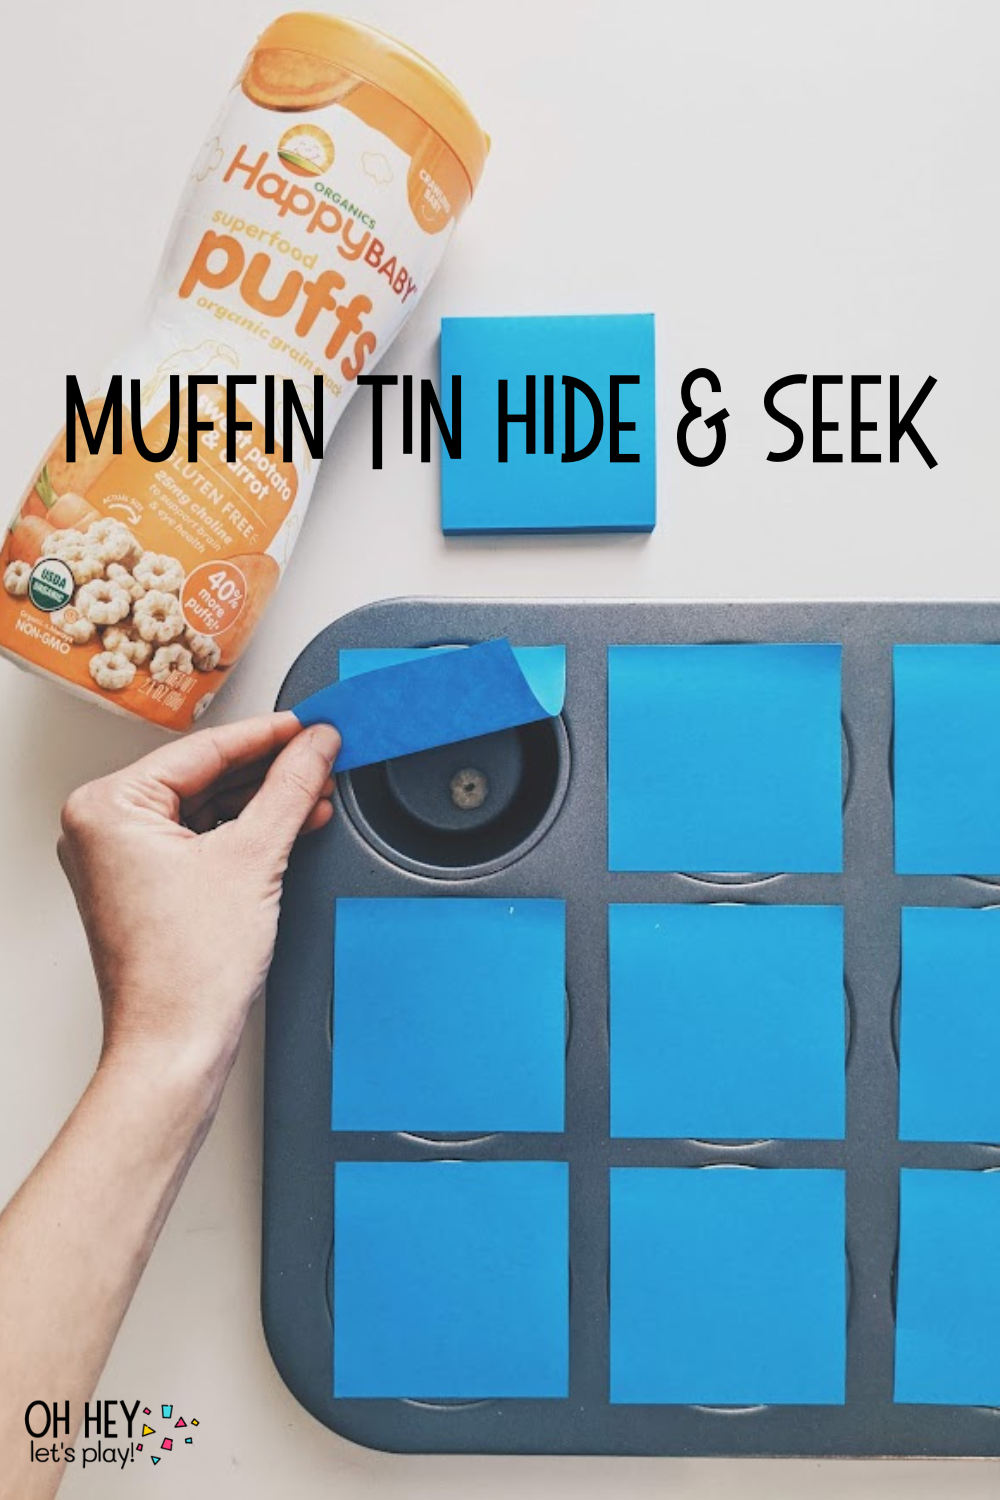
This activity is for babies who can sit up independently and are eating solids. All you need to do to set this activity up is put a single puff (Cheerios or yogurt melts would work, too) in each cup of a muffin tin and cover them each with a sticky note. Sticky notes are fun for babies to play with regardless of whether or not they’re hiding snacks. At this age, anything that’s not an actual toy is the most interesting thing they’ve ever seen. ;)
Aside from keeping your little one occupied for a few minutes and giving them the sensory experience of crinkling and exploring sticky notes, this activity will also help work on the pincer grasp as they practice picking up one single snack at a time.

This one seems so simple and that’s because IT IS. But that’s the thing about this age, “activities” don’t need to be complex. They are learning and exploring EVERY. THING. If you feel like they are getting bored with their regular basket of toys, this is a great easy way to switch up play time.
These shape magnets are from the Target dollar spot several years ago, but I thought these letter magnets and these wooden magnets both looked fun! Melissa & Doug also make some fun magnet sets.
If your baby is sitting independently, and you have large magnets and a baking sheet, give this activity a try! For a more permanent play hack, use command strips to attach your baking sheet to the wall in a playroom (low enough for little ones to reach of course). I also liked to keep magnets on the fridge or dishwasher for my babies to play with during meal prep time, and you can usually use them on the back of your front door!

I made this out of an old can of formula! All you need to do is cut a slit in the lid large enough to fit a square and a small triangular shaped magnetic tile! My little guy was around 14 months when this activity was a HUGE hit. He would play with this activity daily at that age and it would keep his attention and focus for longer than most other toys we had out.
The magnetic tiles make noise when dropped into a tin can which is an added bonus for little ones who like to make noise. ;) If you don’t have magnetic tiles yet (I say “yet” because if you don’t have them, you should - they are timeless and one of our all time favorite open-ended toys AND learning tools), you can do this same type of activity using playing cards, flash cards, or any other large, thin magnets you have!
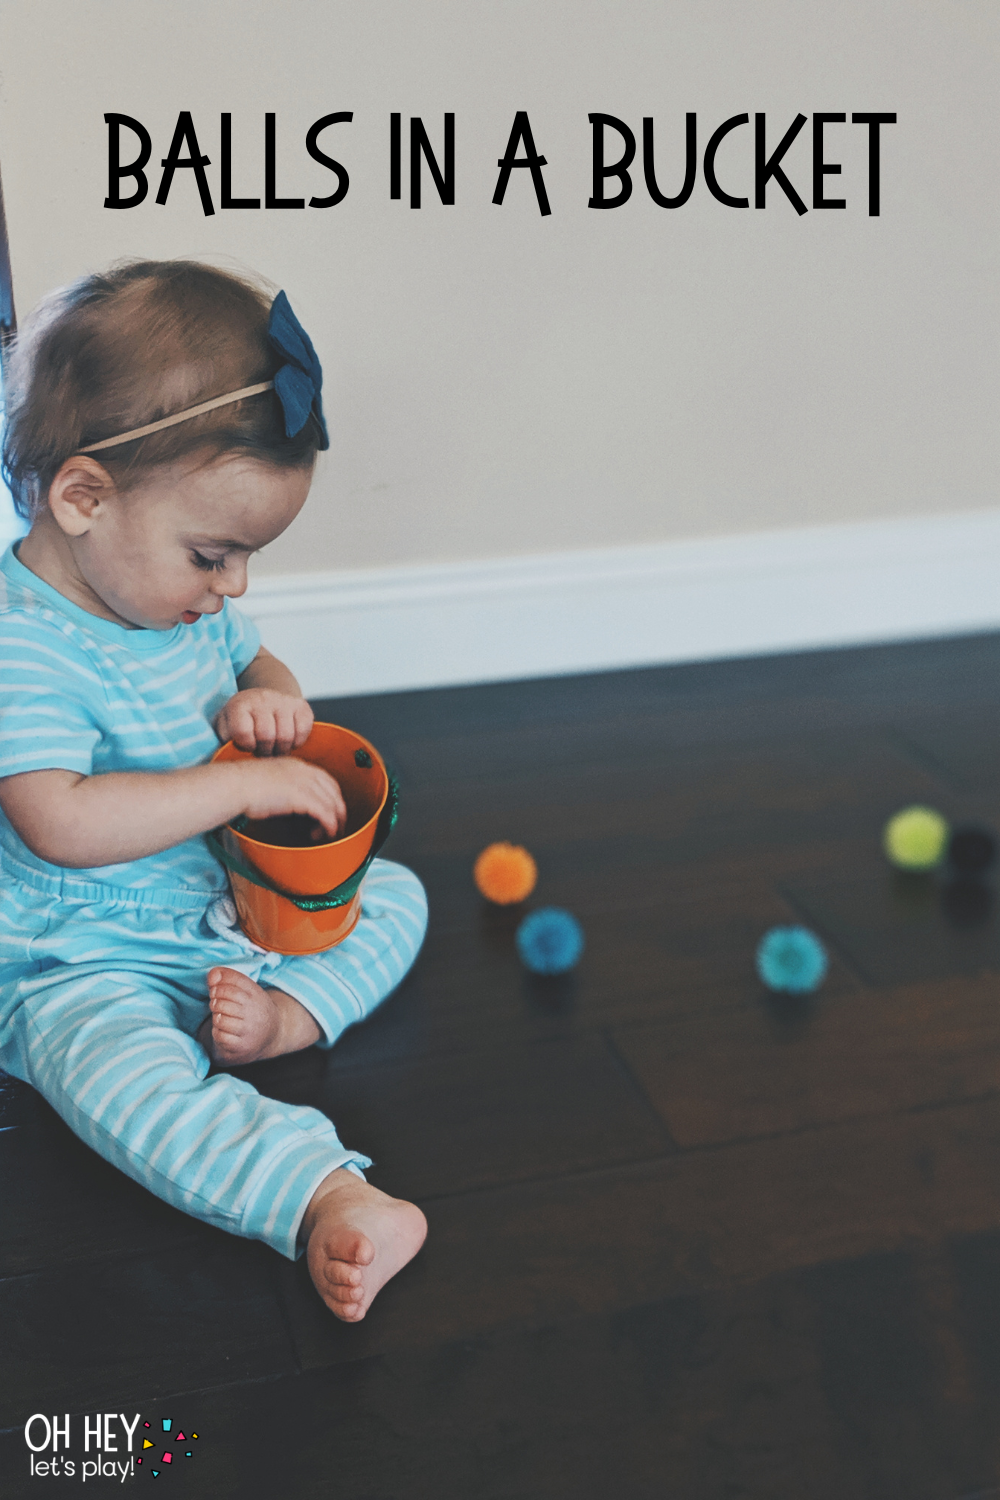
Babies and toddlers love putting things “in” and dumping them out over and over again - so why not give them a bucket of balls to do that with? If we don’t, they’re going to do it with their own basket of toys anyway right? We did this activity in the fall so we used a little pumpkin bucket to keep things festive and added these small, rubbery, spiky balls for a sensory component (do not leave babies or toddlers alone with these balls).
Dumping things out and putting them back in is a skill babies learn and master pretty early on but enjoy for awhile. Unfortunately by about age 3 they still enjoy the dumping but it seems the “putting back in” part starts to wear off a bit. ;)
This is such an easy way to switch up your baby/toddler play time - you can change the container and the materials to anything you can find around your house and they’ve got themselves a new toy!

I have done some version of this activity with all 3 of my babies and it’s always been a hit. It is even one of the activities included in one of my most popular blog posts which I wrote back when my oldest was about 15 months old! In this version, I used colored tape at the bottom of each cup in the muffin tin but it’s honestly fun for little ones even without the color matching!
Once your little one is starting to grow their vocabulary and they are showing interest in learning colors, you can add a small piece of tape to the bottom of each cup in a muffin tin, and grab some balls in the coordinating colors. The balls we used are from one of our beloved ball popper toys but I’ve also seen some replacement sets occasionally on Amazon!
Even if your little one is not able to identify the colors, or match the colors quite yet, the fact that they are getting an opportunity to watch YOU do it, and hear you talk about the different colors is great exposure and is how they will eventually learn to do it themselves.
Have your little one use some sort of a plastic scoop, or large serving/mixing spoon to work on scooping up one ball at a time, and transferring it into the muffin tin. Scooping and transferring is great for building hand-eye coordination, spatial awareness, fine motor skills, and gross motor skills!

These plastic ball pit balls are great to have on-hand for this age group. We have put them in small plastic pools (the ones you can find during the summer at Target or Walmart), indoors without water, and made our own ball pit. We’ve also put them in the same plastic pools WITH water, outdoors, in the heat of the summer. I love the size and weight of them, and of course all the colors!
We did this activity sometime in September so we used only red, green, and yellow balls to resemble apples. I used rolled up pieces of painter’s tape to stick them to a wall low enough that my little guy (who was 9 months old at the time) could reach them and had him pull them down. Set out a basket so there is a place for your little one to collect the balls as they pull them down.
* Be sure to supervise closely to ensure the pieces of tape don’t end up in your little one’s mouth! *

Here is another really great way to use those plastic ball pit balls! All you need are the balls, and a a big box. I have found it helpful to cut the flaps off the box so that they aren’t in the way, and then cut some holes in the top. Around the edges of each hole, use colored markers (that coordinate with the colored balls you have) to outline them.
We started this activity with the ball pit balls, but it can be used to sort any colored objects that would fit through the holes. When I made this for Kade (my oldest) around 15 months, he would use it to sort his play food from his kitchen, his toy cars, or even his Daniel Tiger characters based on the colors of their clothing. Highly recommend going through the extra effort to make yourself one of these boxes as it’s an excellent resources for helping your little one learn colors!
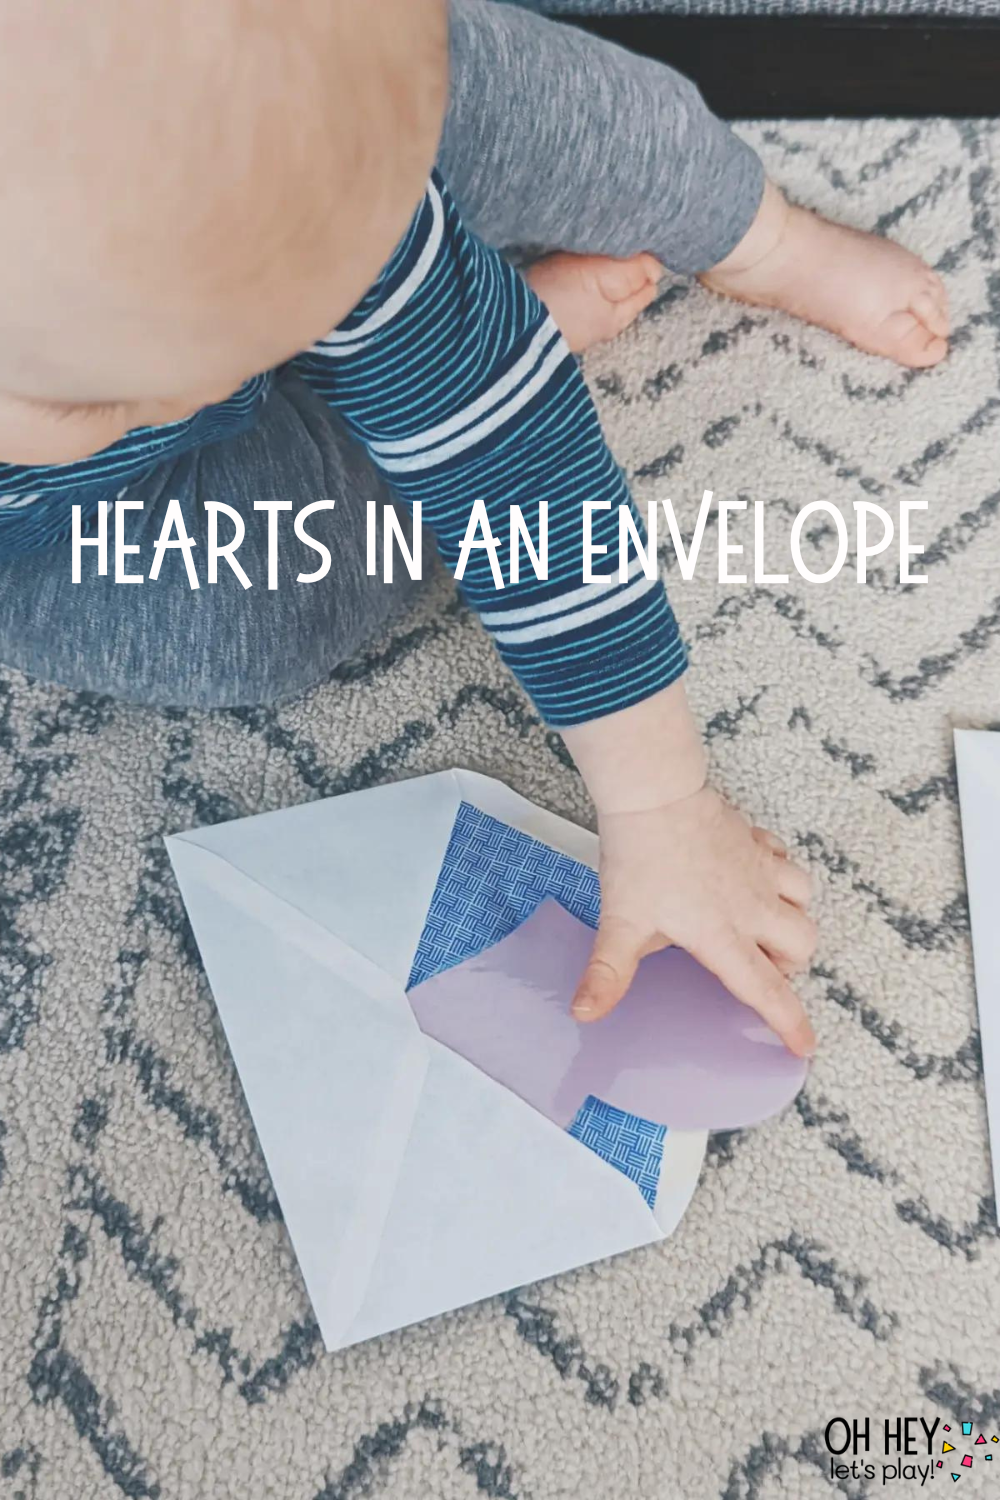

Since little ones love to play with anything that’s not an actual toy, let’s give them some envelopes. My babies have always had a special interest in paper which is why we’ve had success playing with sticky notes and envelopes. :)
This activity is as easy as it looks. I originally did this activity with my oldest around 15 months using flash cards. This was great because it helped develop his vocabulary by working on naming the different animals or objects on each card. Just fill a bunch of envelopes each with a single flashcard and show them how to open them and pull them out.
To put a festive spin on this activity around Valentine’s Day, we used some hearts that I had laminated from when I was teaching in a classroom. They don’t need to be laminated - you could use foam craft hearts or even just cut hearts out of construction paper or cardstock!
Know that if you just hand them a stack of envelopes, they will likely not know what to do with them. Be prepared to show them that there is something inside and demonstrate how to take things out. The hope is that after seeing you discover something inside some of the envelopes, they will be intrigued enough to go searching through the rest of them.

This is such a classic, go-to activity that I’m sure you’ve seen a million times with a million different variations but it is such a good one and it does not have to be fancy or complex! You can use a paper towel roll, toilet paper roll, or even one of the skinny rolls from tin foil and tape them to your wall using painter’s tape.
I usually set out large colored craft sticks, skinny colored craft sticks, and/or pom poms (depending on the age of your child and what you are comfortable with them using) with a bucket or container of some sort placed underneath each tube. This is great for hand-eye coordination and spatial awareness but working at a vertical surface also helps to strengthen core muscles, and develop large motor control.

Keep your little one busy this holiday season by grabbing some cheap gift bows from a dollar store or digging through your wrapping paper stash and taping some up to a wall for them to pull down!
If you have older kiddos, you can involve them in this activity by having them take the bows and stick them in different spots around the house (at your toddler’s eye level) for them to run around and find. If you don’t have older kiddos, you can still do this yourself but it’s a fun way to get everyone involved if you do.
Your older kiddo(s) can help guide your little one along on their “scavenger hunt” to find the bows. I always try to set out some sort of bin or container so that they have something to collect them in as they get pulled down. If your little one isn’t quite ready for a scavenger hunt and you want to keep the activity in one spot (like I did in this picture) you could tape contact paper to the wall and stick the bows to the wall that way. Either way works great, just depends on your preference!

We used Christmas cookie cutters here since it was around the holidays but any plastic cookie cutters would do.
I liked using plastic cookie cutters for this activity because they were easy for my little guy to grab and grip off the cookie sheet. Keeping things nice and simple is a great way to set your little one up for success, making them more likely to be engaged and wanting to keep playing. All they are doing here is just pulling the cookie cutters off the tray. They can either peel the tape, or just yank the cookie cutters off. Depending on the shapes of your cookie cutters, you can build vocabulary by talking about what they are (ex: “good work, you rescued the SNOWMAN shape!”)

This activity is similar to the cookie cutter activity. We did this one around St. Patrick’s Day, hence the gold coins, but they were the perfect size to tape to an upside down muffin tin! If you don’t want to wait for St. Patrick’s Day, you could find some other small objects (but not too small) that would fit on the bottom of a tray like this. The gold coins were fun because I was able to add a mini cauldron for him to drop the coins in as he pulled them off.
Friendly reminder to supervise your little ones during these activities. :)
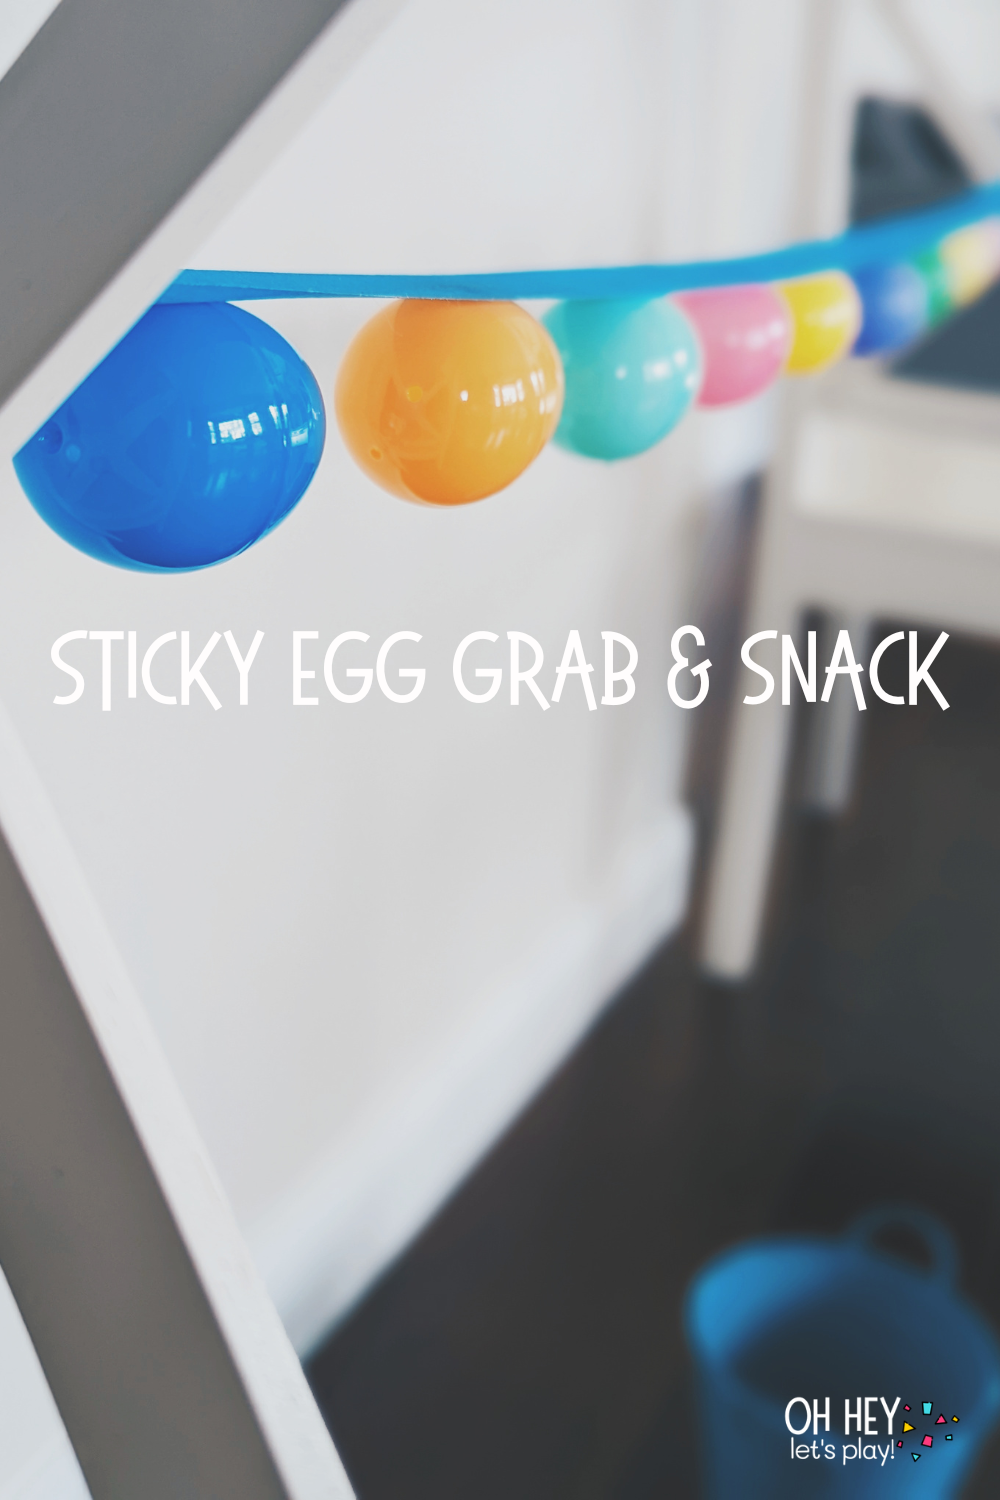
This is an activity we did around Easter time using our plastic eggs. If you like the idea but feel like you can’t have plastic eggs out until it’s closer to Easter (I get it), then use plastic balls! I will say, the best part about doing this activity with the plastic eggs, however, is that you can put snacks/treats inside them! I added a yogurt melt or two inside each plastic egg which made the activity that much more engaging for my little guy!
I secured the tape with the sticky side facing down so that the eggs could be easily grabbed, and even stuck back up to play over and over again. To secure the tape this way, just use another piece of tape at each end.

I love the simplicity of this activity. All you are doing to prep this one is tearing a few pieces of tape in each color in varied sizes and sticking them to a wall. Depending on the age and stage of your little one, you can leave one end of the tape sticking up a bit to make it easier for them to grab. If you think their fine motor skills are ready, press the tape all the way down and let them work at peeling it off!
You can have them gather it all up as they peel it off, or try re-sticking it to play again!
For more ways to play with rainbow painter’s tape, check out THIS POST!

This activity is great because you can leave it up for a long time. My little guy was really into this one around 10 months old and he would come back to it on and off for at least a week. This is just a sheet of clear contact paper taped to a wall with the sticky side facing out.
We used foam fall leaves and the material of them was great because they stuck well enough to the contact paper but they were still easy enough for little fingers to pull off. You could do this activity at any time of year by just switching up the foam shapes. Try hearts for Valentine’s Day, shamrocks for St. Pat’s, Christmas trees around the holidays, etc!
You could even buy just sheets of foam and cut your own shapes!
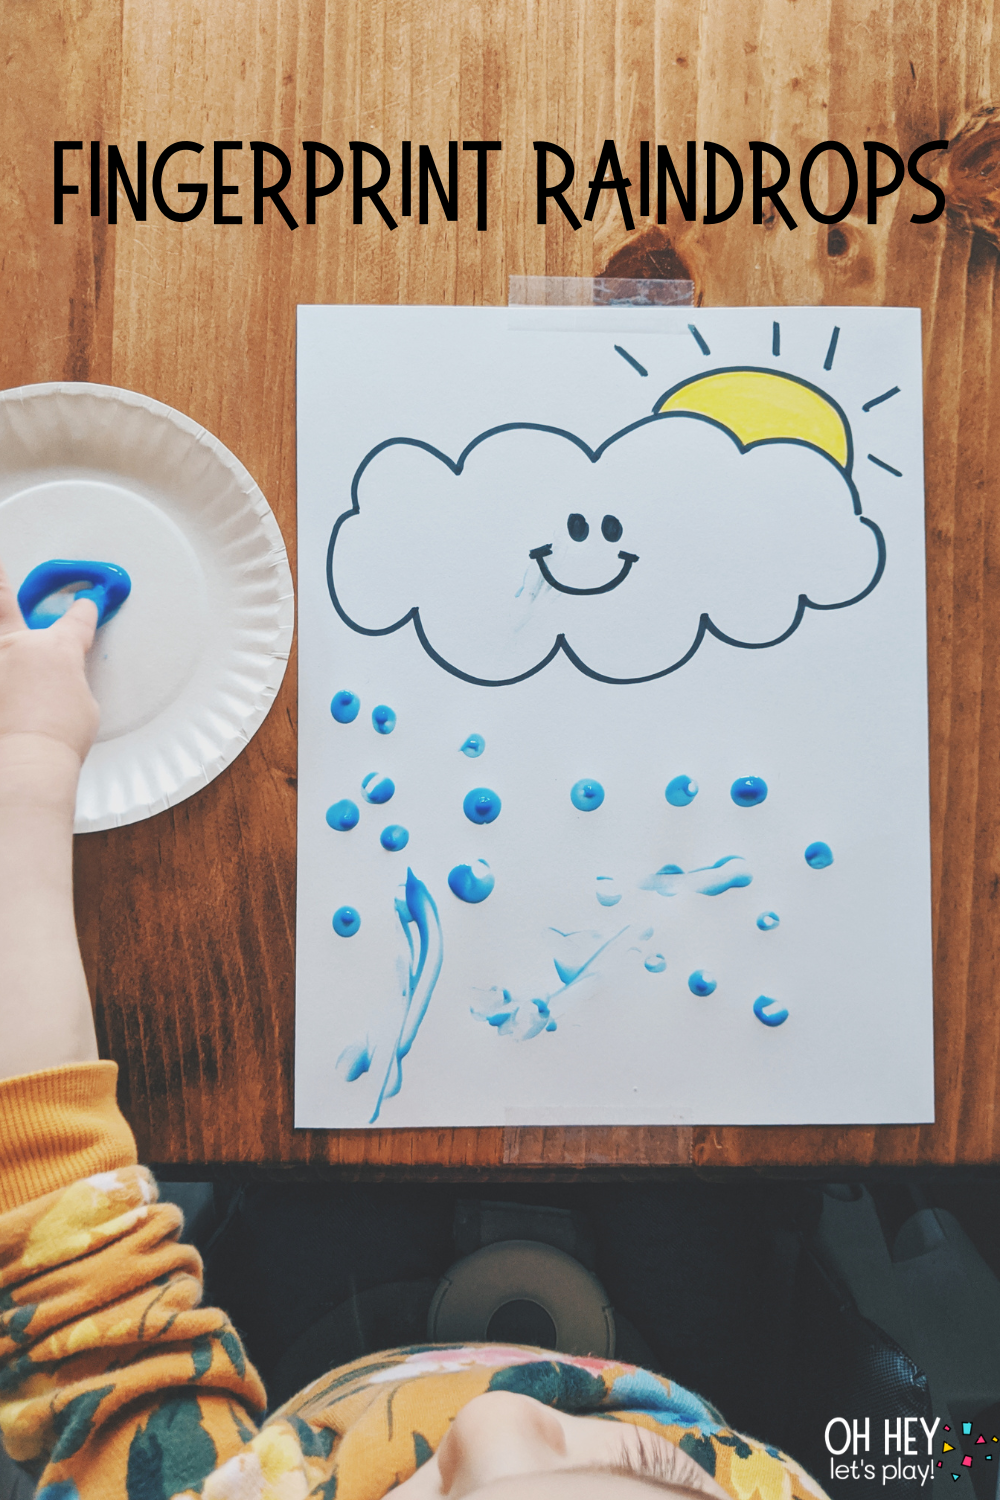
Here is a really simple rainy day art projects for your little ones! If you’re nervous about your little one trying to eat paint, I would suggest using yogurt and adding a little bit of blue food coloring to it to make it taste-safe. If you aren’t worried about your little one trying to eat paint, you can use washable tempera paint, fingerpaint, or an ink pad.
Just draw a cloud at the top of a piece of paper and then show your little one how to dip JUST THE TIP of their finger into the paint and make dots under the cloud on the paper. Narrate what you are doing with them by saying “dot! dot! dot!” with each rain drop and they will likely try to mimic you!

Do you think I’m nuts if I say we made these pretty hearts with our salad spinner? It was SO FUN and a great activity for my two younger kiddos (14 months and 3.5 at the time) to do together - plus, NO MESS!
Here’s what to do: Take the strainer portion of the salad spinner out and trace the circle onto a piece of white cardstock. Use that circle as a guide but cut it a little smaller to ensure it will fit in the bottom and that you can still get it out after.
Place the circle at the bottom of the strainer and place it back into the salad spinner. Squirt some washable tempera paint all over and let them spin away!
HOT TIP: Pull the strainer back out when they’re done, and use a toothpick to push the paper up from underneath to help pull the paper out. Let the paint dry, and then if you want you can cut it into a heart shape like we did here!
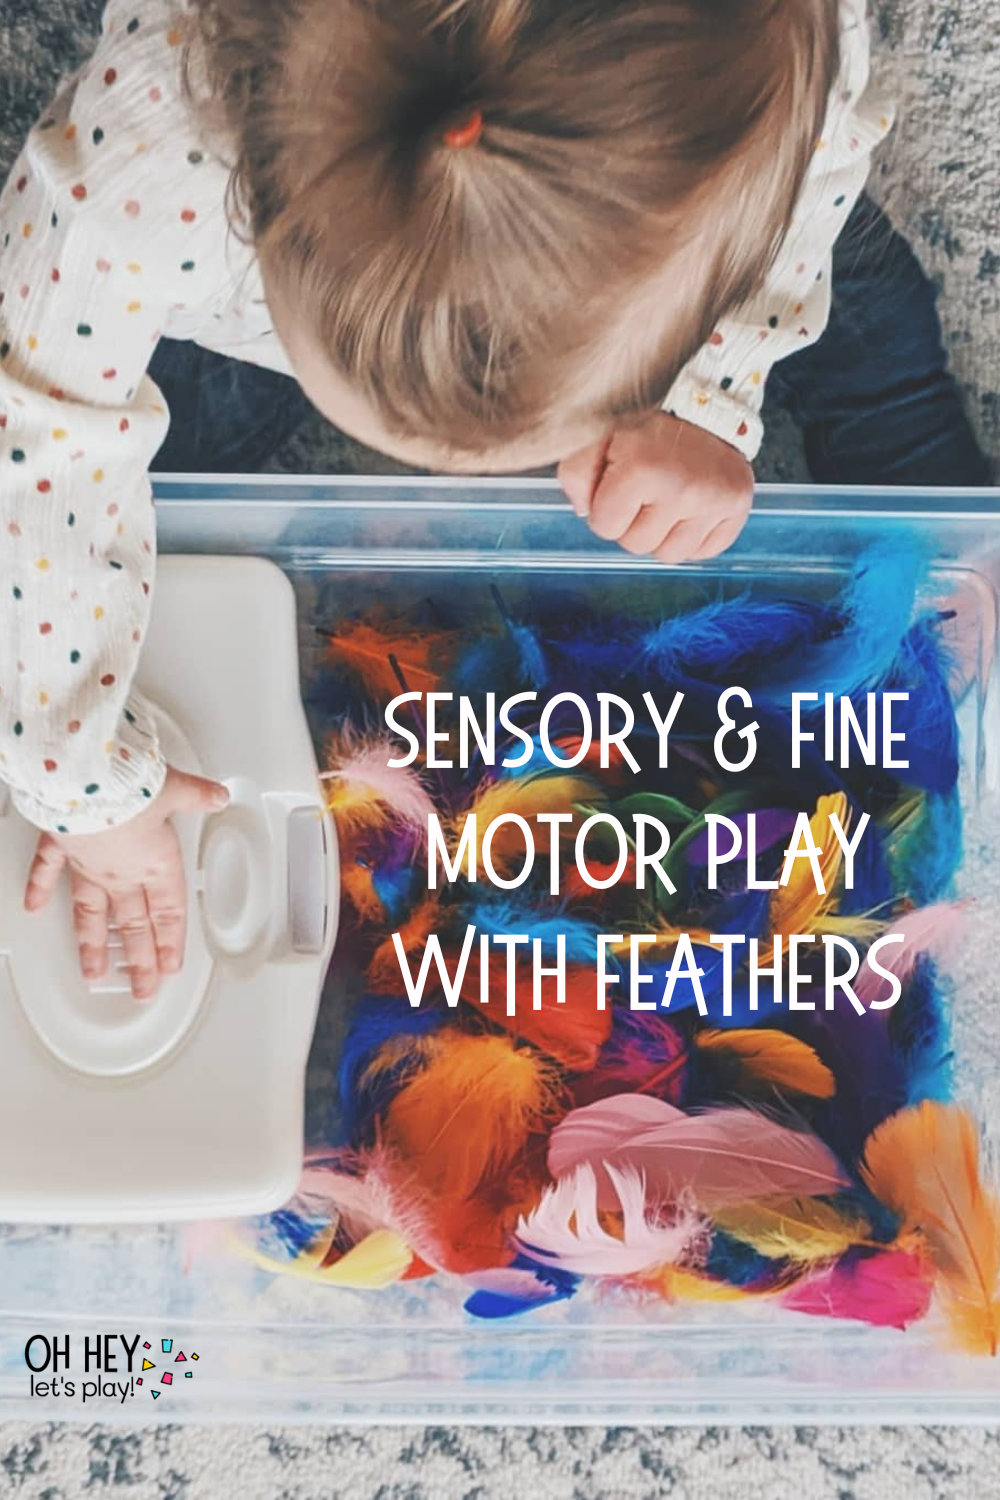
Three cheers for NON-MESSY SENSORY PLAY! This activity is great for you if you have a little one who likes to dump bins. If you have a dumper, you’re not going to want to give them a bin filled with shallow water, or a bin filled dried rice (quite yet). But maybe you still want them to play with a sensory bin- I get it- try feathers!
They are soft, they are COLORFUL, and they’re just plain fun. Add an empty wipes container (or even an empty tissue box) for a fine motor component and show them how to push the feathers into the container.
Read a full post on this activity HERE!

Pouch caps are another fun, easy, and non-messy sensory bin idea for your little one. As soon as they start eating pouches, start saving the caps!
Pour them all into a bin and give them some sort of plastic scoop and a container to transfer them into. I used an empty ice cube tray and demonstrated putting one cap in each spot!
If you liked these ideas, be sure to also check out these posts below:
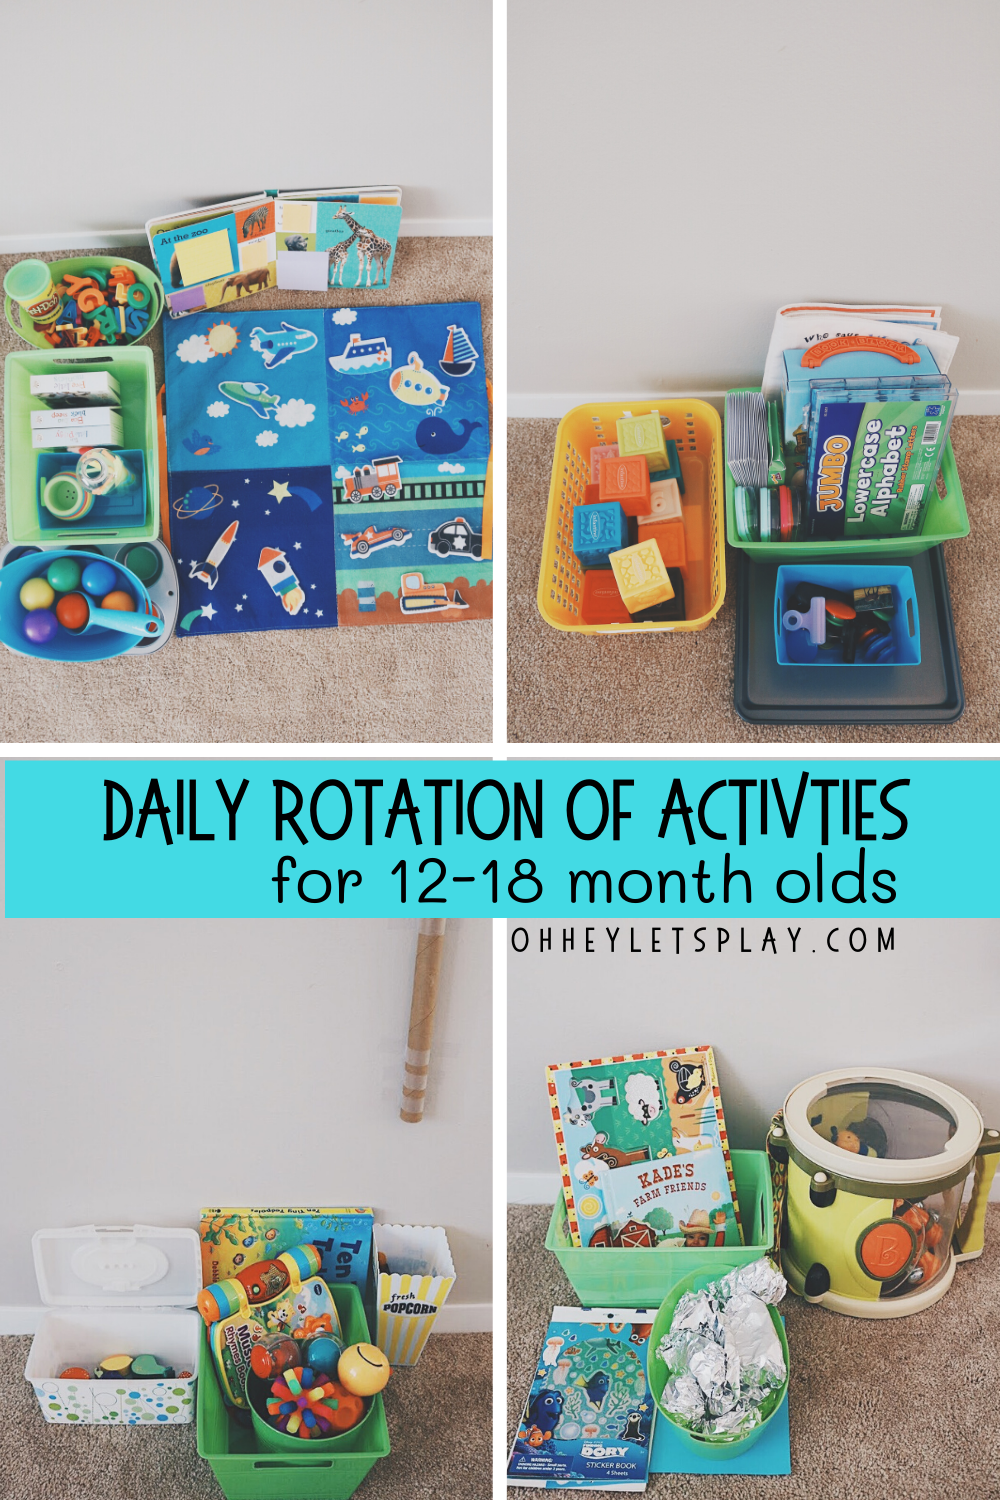
Daily Rotation of Activities for 12-18 Month Olds
Activities for 1-2 Year Olds
Activities for 2-3 Year Olds
Painter’s Tape Activities for 1-2 Year Olds
Rainbow Activities for Toddlers & Preschoolers
And pin the image below to save these ideas!